Z-wave is still glitchy

We’ve been using Z-wave here in the new house for several months. The hardware is still glitchy. It does not have high enough nines to be super dependable.

Just today, the Aeotec Zstick S2 got “stuck” for lack of a better description. The blue light was stuck on, but it would not respond to software commands. The Zstick has a built in battery, so you can’t just unplug it to perform a reset. After some trial and error I found there is a small pinhole size button on the bottom of the stick. I commenced pushing this virtual red button hoping that it was not a factory reset button. This little button did the trick, all is working again until I have to repeat this process.

Two timezone network (NTP) clock

I’ve been looking for a two time zone clock that display my time zone (pacific) and GMT. A lot of Amateur Radio operators use GMT for logging. I built this network aware clock using an Arduino Pro mini, two Sparkfun 7-segment displays, a I2C RTC, and an ENC28J60 cheap Ethernet PCB.

There is an Arduino library Ethercard for the ENC28J60 with built-in API’s for DHCP, DNS, and NTP. The clock goes fetches the current time from an NIST NTP server, and updates the RTC every hour (perhaps too frequent). The display time is always derived from the RTC. With a backup battery in the RTC, this thing can go for days or weeks without a NTP update.

The ENC28J60 draws about 180ma. In total, the units draws about 200ma current.

The Sparkfun 7-Segment displays are based on ATMEGA328’s. This design could be simplified using one of those instead of the Arduino Pro Mini.

NTP Clock - New Page

2tz clock

New parts

I don’t place orders from Mouser very often, but when I do, it is usually for a lot of discrete components. In this case they are now carrying PSoC boards and cases for the Intel Galileo. I also decided it was time to get a JTAG.

IMG_0330

IMG_0329

Sunrise alarm clock with a SX1509

Prototype sunrise alarm clock. Fades in blue lighting, then white lighting. I built this for the Sparkfun Faire challenge. Uses a SX1509 so it can be hooked up to a Raspberry pi. The SX1509 communicates to an Arduino or Rpi via I2C and has built-in PWM, so you don’t need a DAC. The SX1509 feeds two FET controllers (again on Sparkfun breakout boards) to control higher current strips of LED’s. The strips are manhattan style LED’s on copper clad board. I ran the boards across a table saw to produce a nice 1/8 inch that effectively makes two buses.

_DSC1997 copy

_DSC1992 copy

_DSC1999

Running an Atmel ARM from Bare Metal

Ever since I learned that Atmel bundles a ROM bootloader that allows a FLASH program to be loaded via serial without any JTAG hardware, I’ve hankered to program and run an ARM chip from bare metal. Just for experience.

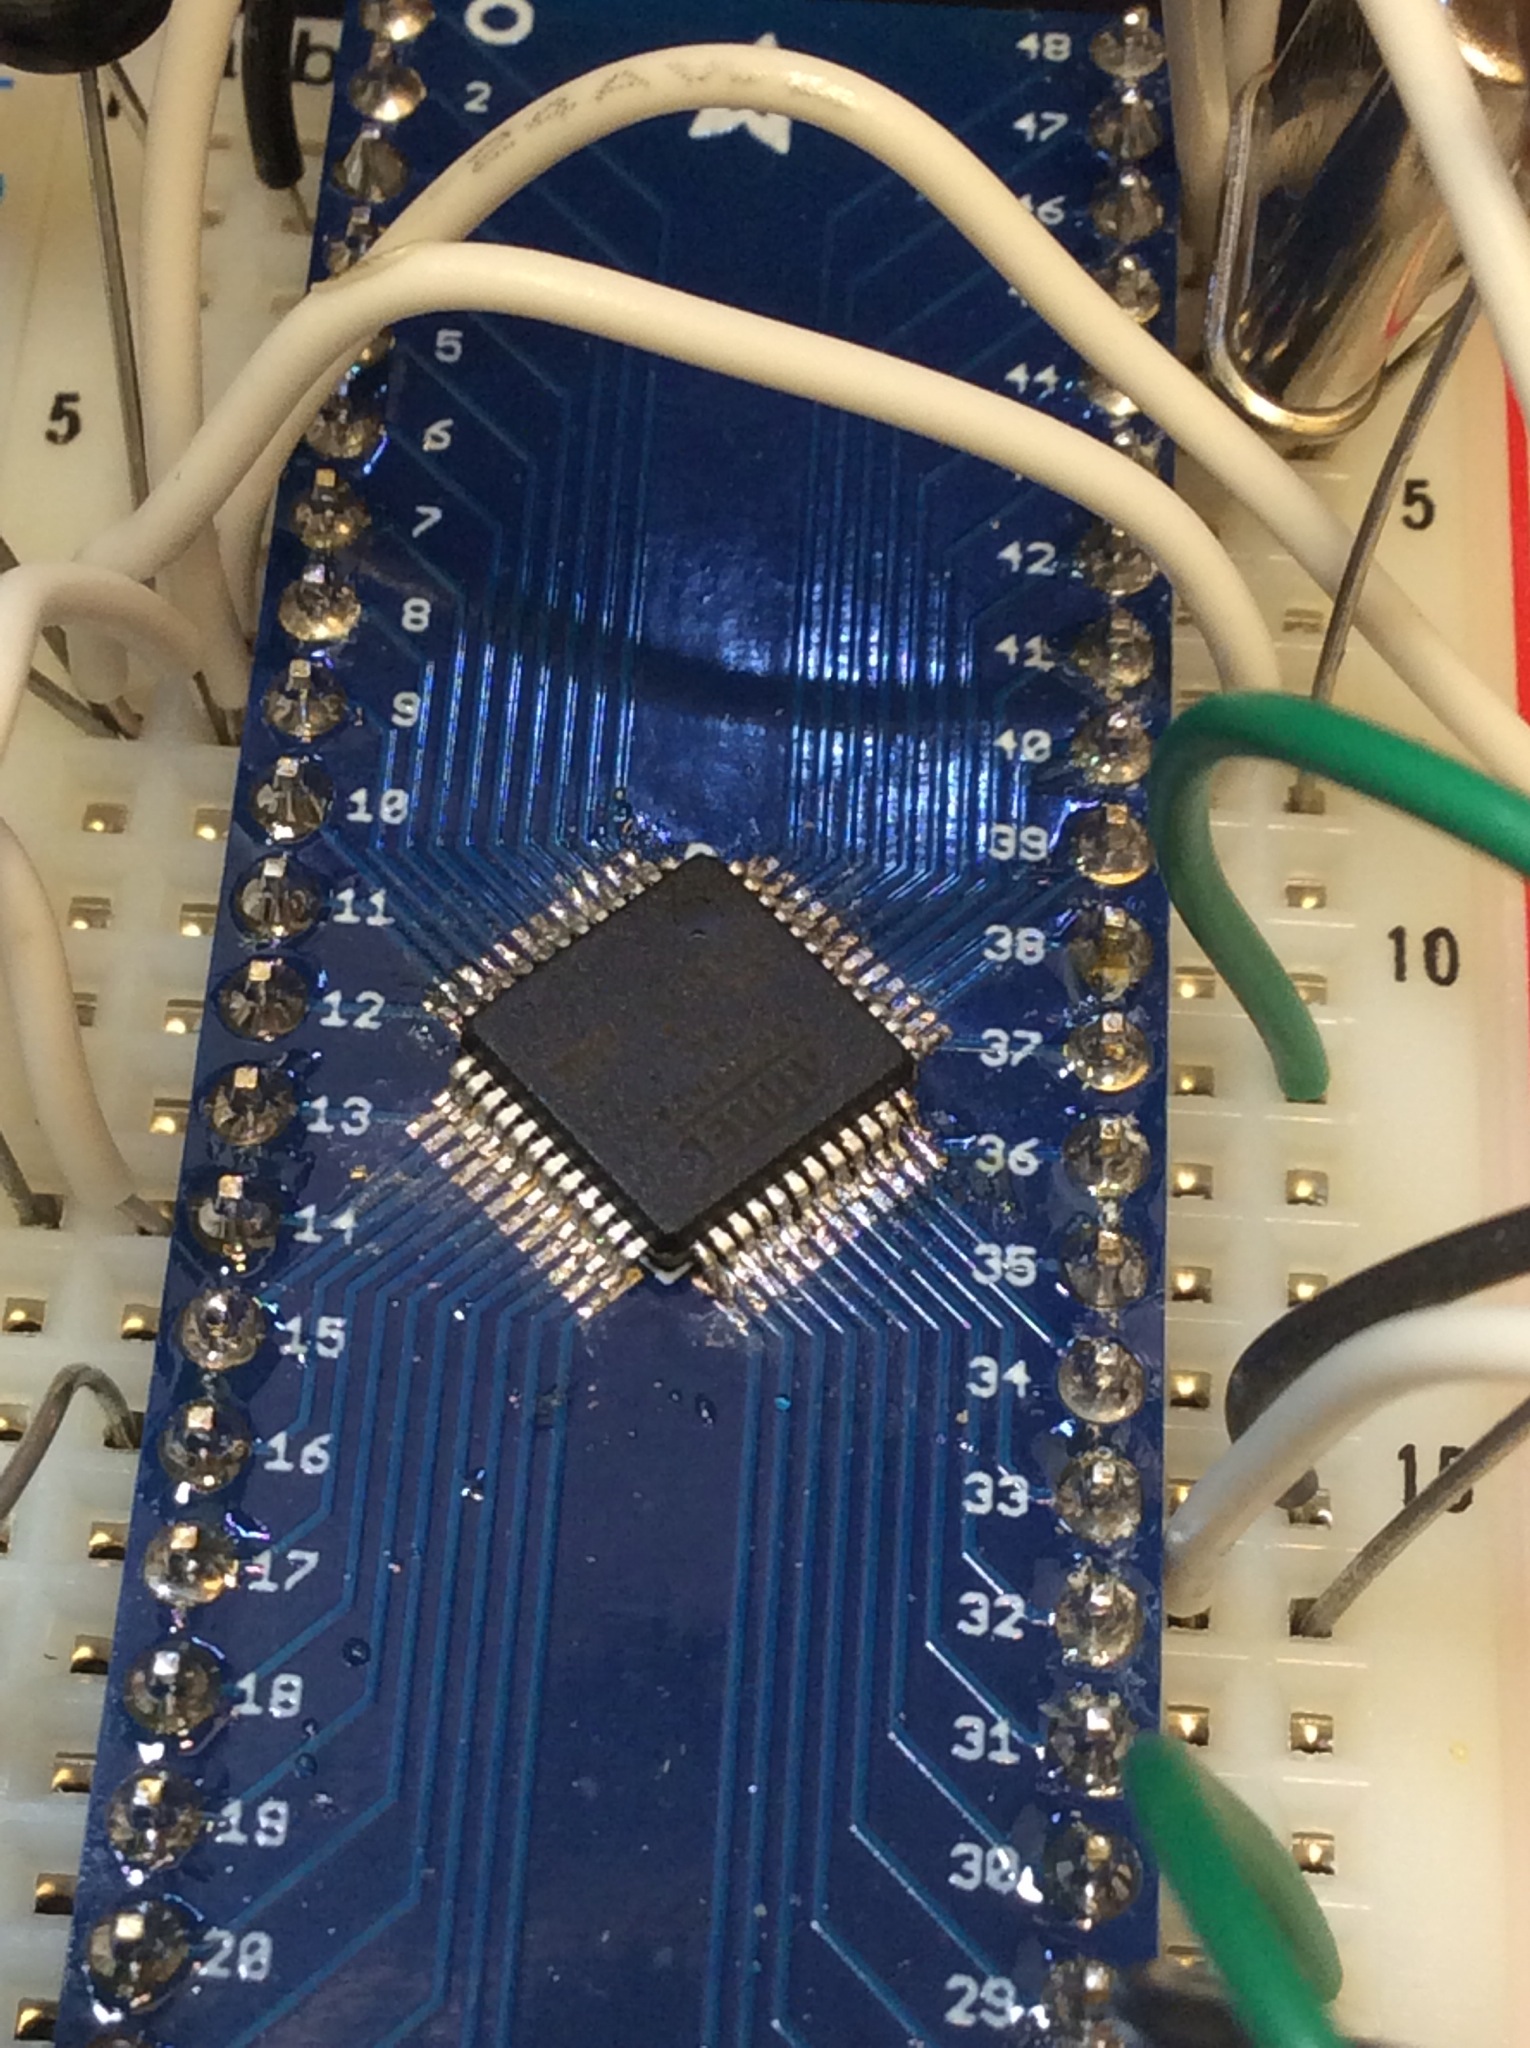
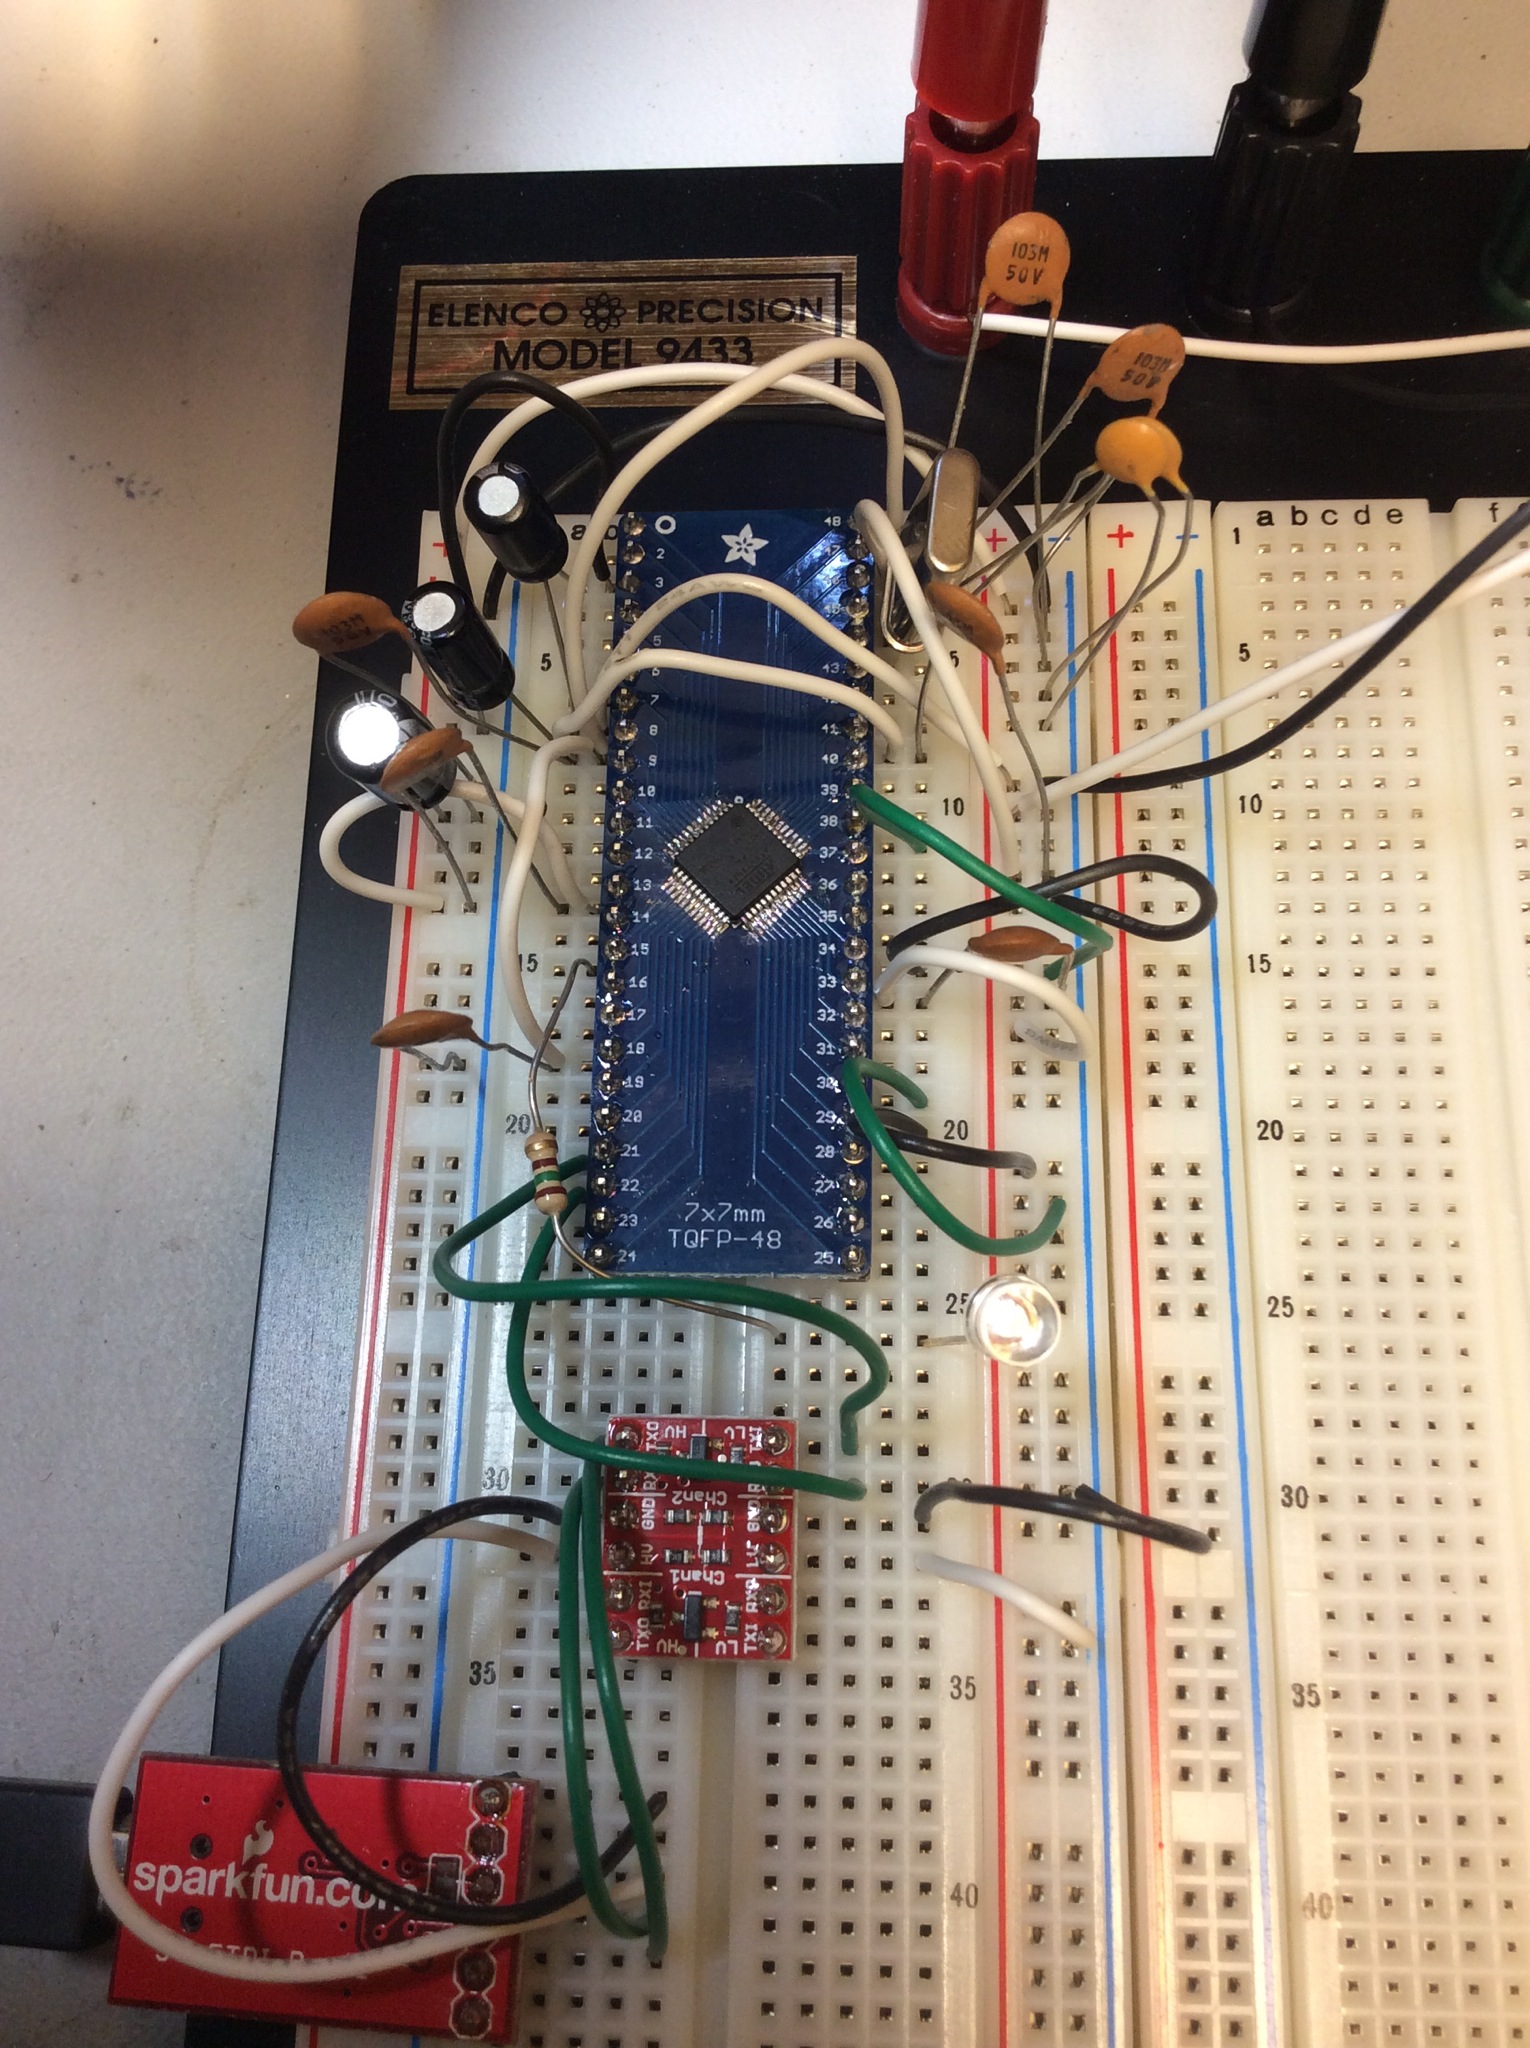
I choose a “cost effective” SAM3n2 variety in a LQFP-48 footprint. These cost $3 to $4 in single unit quantities from Mouser. I stock every variety of Adafruit SMT adapters. So it was only natural that I solder the SAM3n2 to the Adafruit adapter, then build up the circuit on a breadboard.

Several hours later one trip to Fry’s for a 0.007″ soldering tip, some cursing, a lot of solder wick I finally got the the SAM3n on my very own breakout board without any bridges. I’ve done enough surface mount soldering to know what I was getting into, but it did not decrease the amount of labor and frustration that can go into a chip with a lot of pins.

Atmel distributes the SAM-BA “SAM Boot Assistant” program that can talk to the ROM bootloader. It’s very unfortunate that SAM-BA becomes SAMBA. This makes it hard to search for help. Hey Atmel, how about using an unused acronym? SAM-BA talks to the SAM3n2 via UART0. These ARM chips are not 5V tolerant. I used a Sparkfun level shifter and a FTDI interface to connect up SAM-BA. The SAM3n2 starts off using an internal RC oscillator. You do not need to connect an external crystal. Add some bypass capacitors and everything is ready to go.

IMG_0294-0.JPG

IMG_0293-0.JPG

Kuru Toga Mechanical Pencil

The kidsb lost my Graph Gear 1000 mechanical pencil this past weekend at the cabin. Instead of purchasing a replacement, I decided to try a Uni Kuru Toga. It was a few dollars cheaper than the GG1K. It came in a package that was written entirely in Japanese (Awesome!). After using it for a week, I’m sold. The body feels much more solid that the GG1K. I like the black matte finish better too.

Arduino clock with network time

This weekend’s project is to pull out a [cheap] ethernet board that utilizes a ENC28J60, and build an NTP client that can display the time on a Sparkfun I2C 7-segment display. This is a building block for a future project that will integrate two displays (one that shows local time and the second for GMT) and use an RTC in addition to NTP.

I purchased the ENC28J60 board from Aliexpress at least a year ago. Getting DHCP to work correctly was the hardest part of this project. I never got DHCP to work correctly; in the end I resorted to using a static IP. It appears that the ENC28J60 does not like DHCP served up across a vlan boundary. I use multiple vlans in my house, and a Cisco L3 switch provides DHCP. The DHCP client gets an IP, but the final DHCPACK seems to get lost on both sides. Maybe I’ll pursue this further someday.

arduino NTP clock