Instrument for Measuring Absorbance 

I’ve been thinking about how to teach my kids quantifiable science.  I got a cheap science kit off Amazon for the kids a while back. The kit uses color changes to measure reactions using plant-based powders, but this is a binary outcome. It works or doesn’t. This is great for the first one or two experiments, but doesn’t really teach enduring principles, such as taking measurements, graphing, and ultimately forming to a conclusion.

The general idea behind measuring absorbance is to shine a light through a corvette (or test tube) and measure the amount of light that makes it through. Fancier instruments will use multiple wavelengths or an entire spectrum.

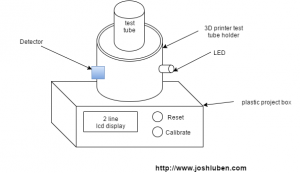
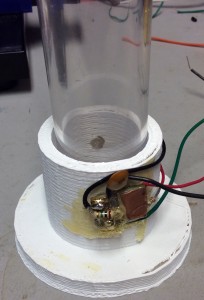
To keep this simple, I used a 3D printer to fabricate a holder for the test tubes from the science kit. A 635nm red LED shines in one side, and a BPW35 detects the light. The next step is to mount this on a small plastic project box with a cheap two line LCD display. A button (or two) will control taking measurements (and some kind of integrated calibration cycle).

This instrument will enable a simple number to be presented to the user. My kids can then perform reactions or dilute samples, and graph those numbers (math yeah).

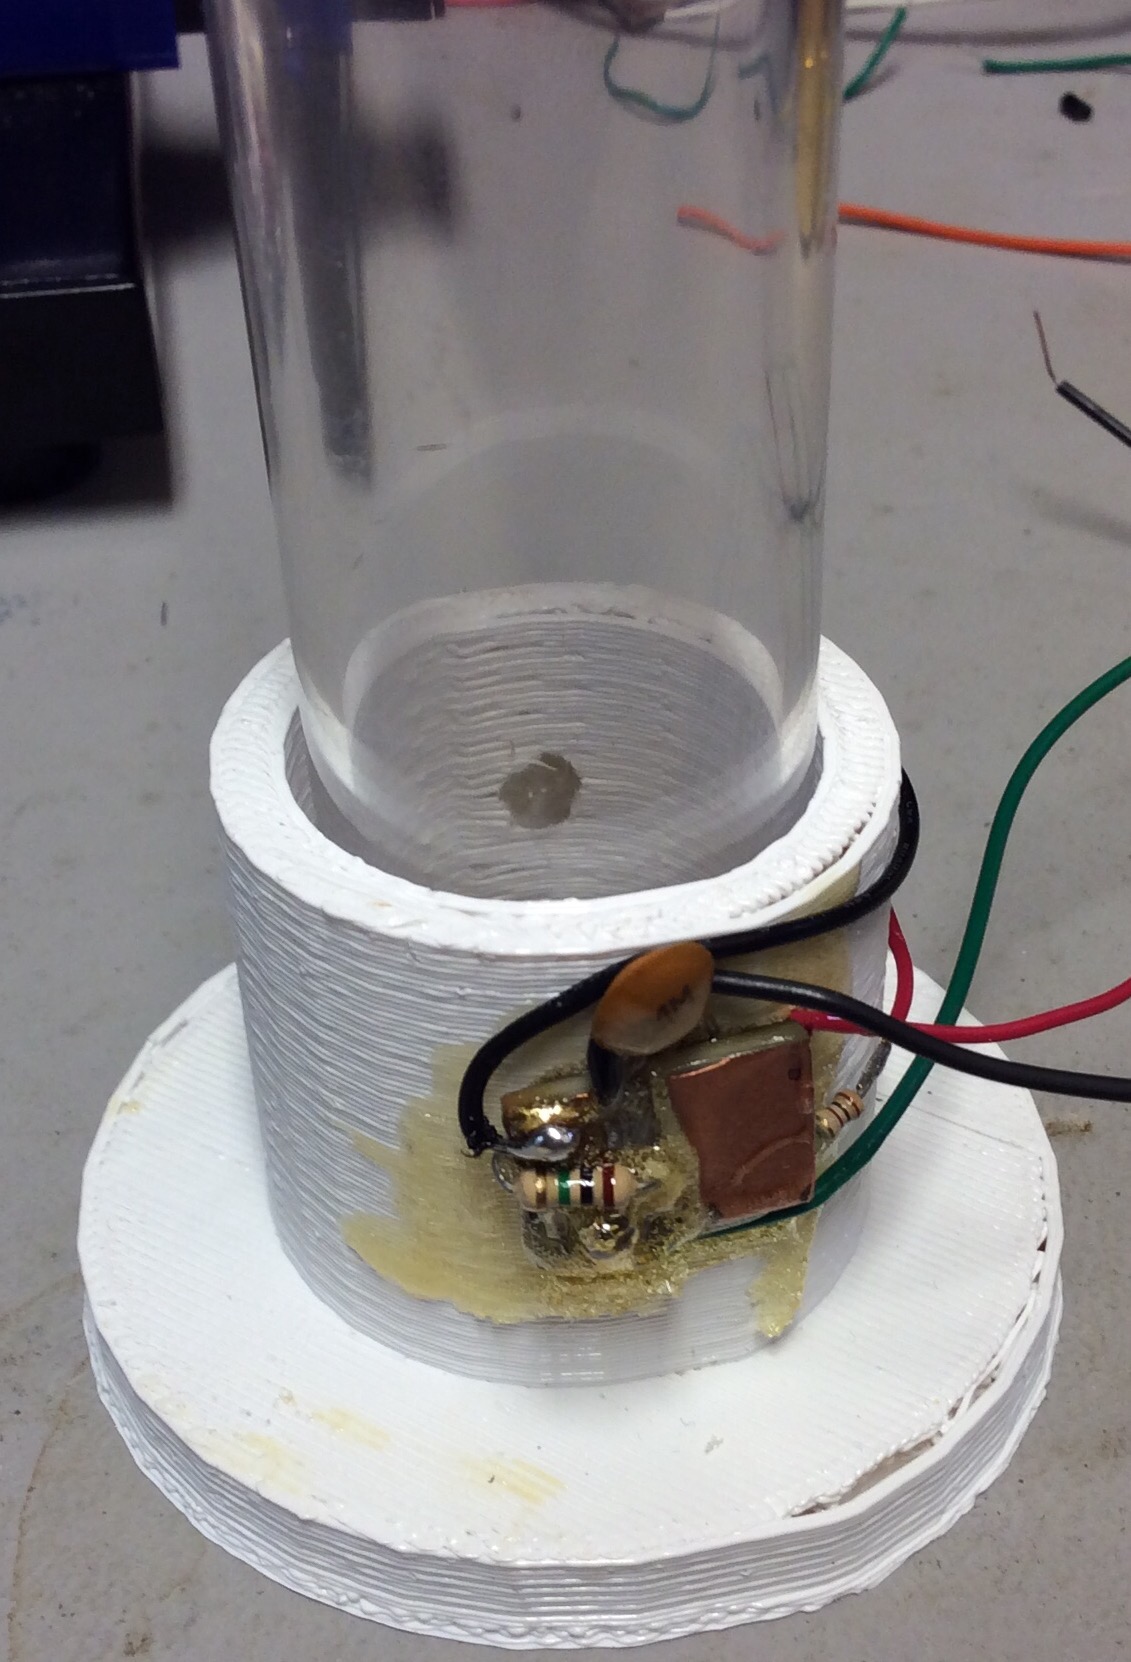
absorbance instrument img_0880.jpg

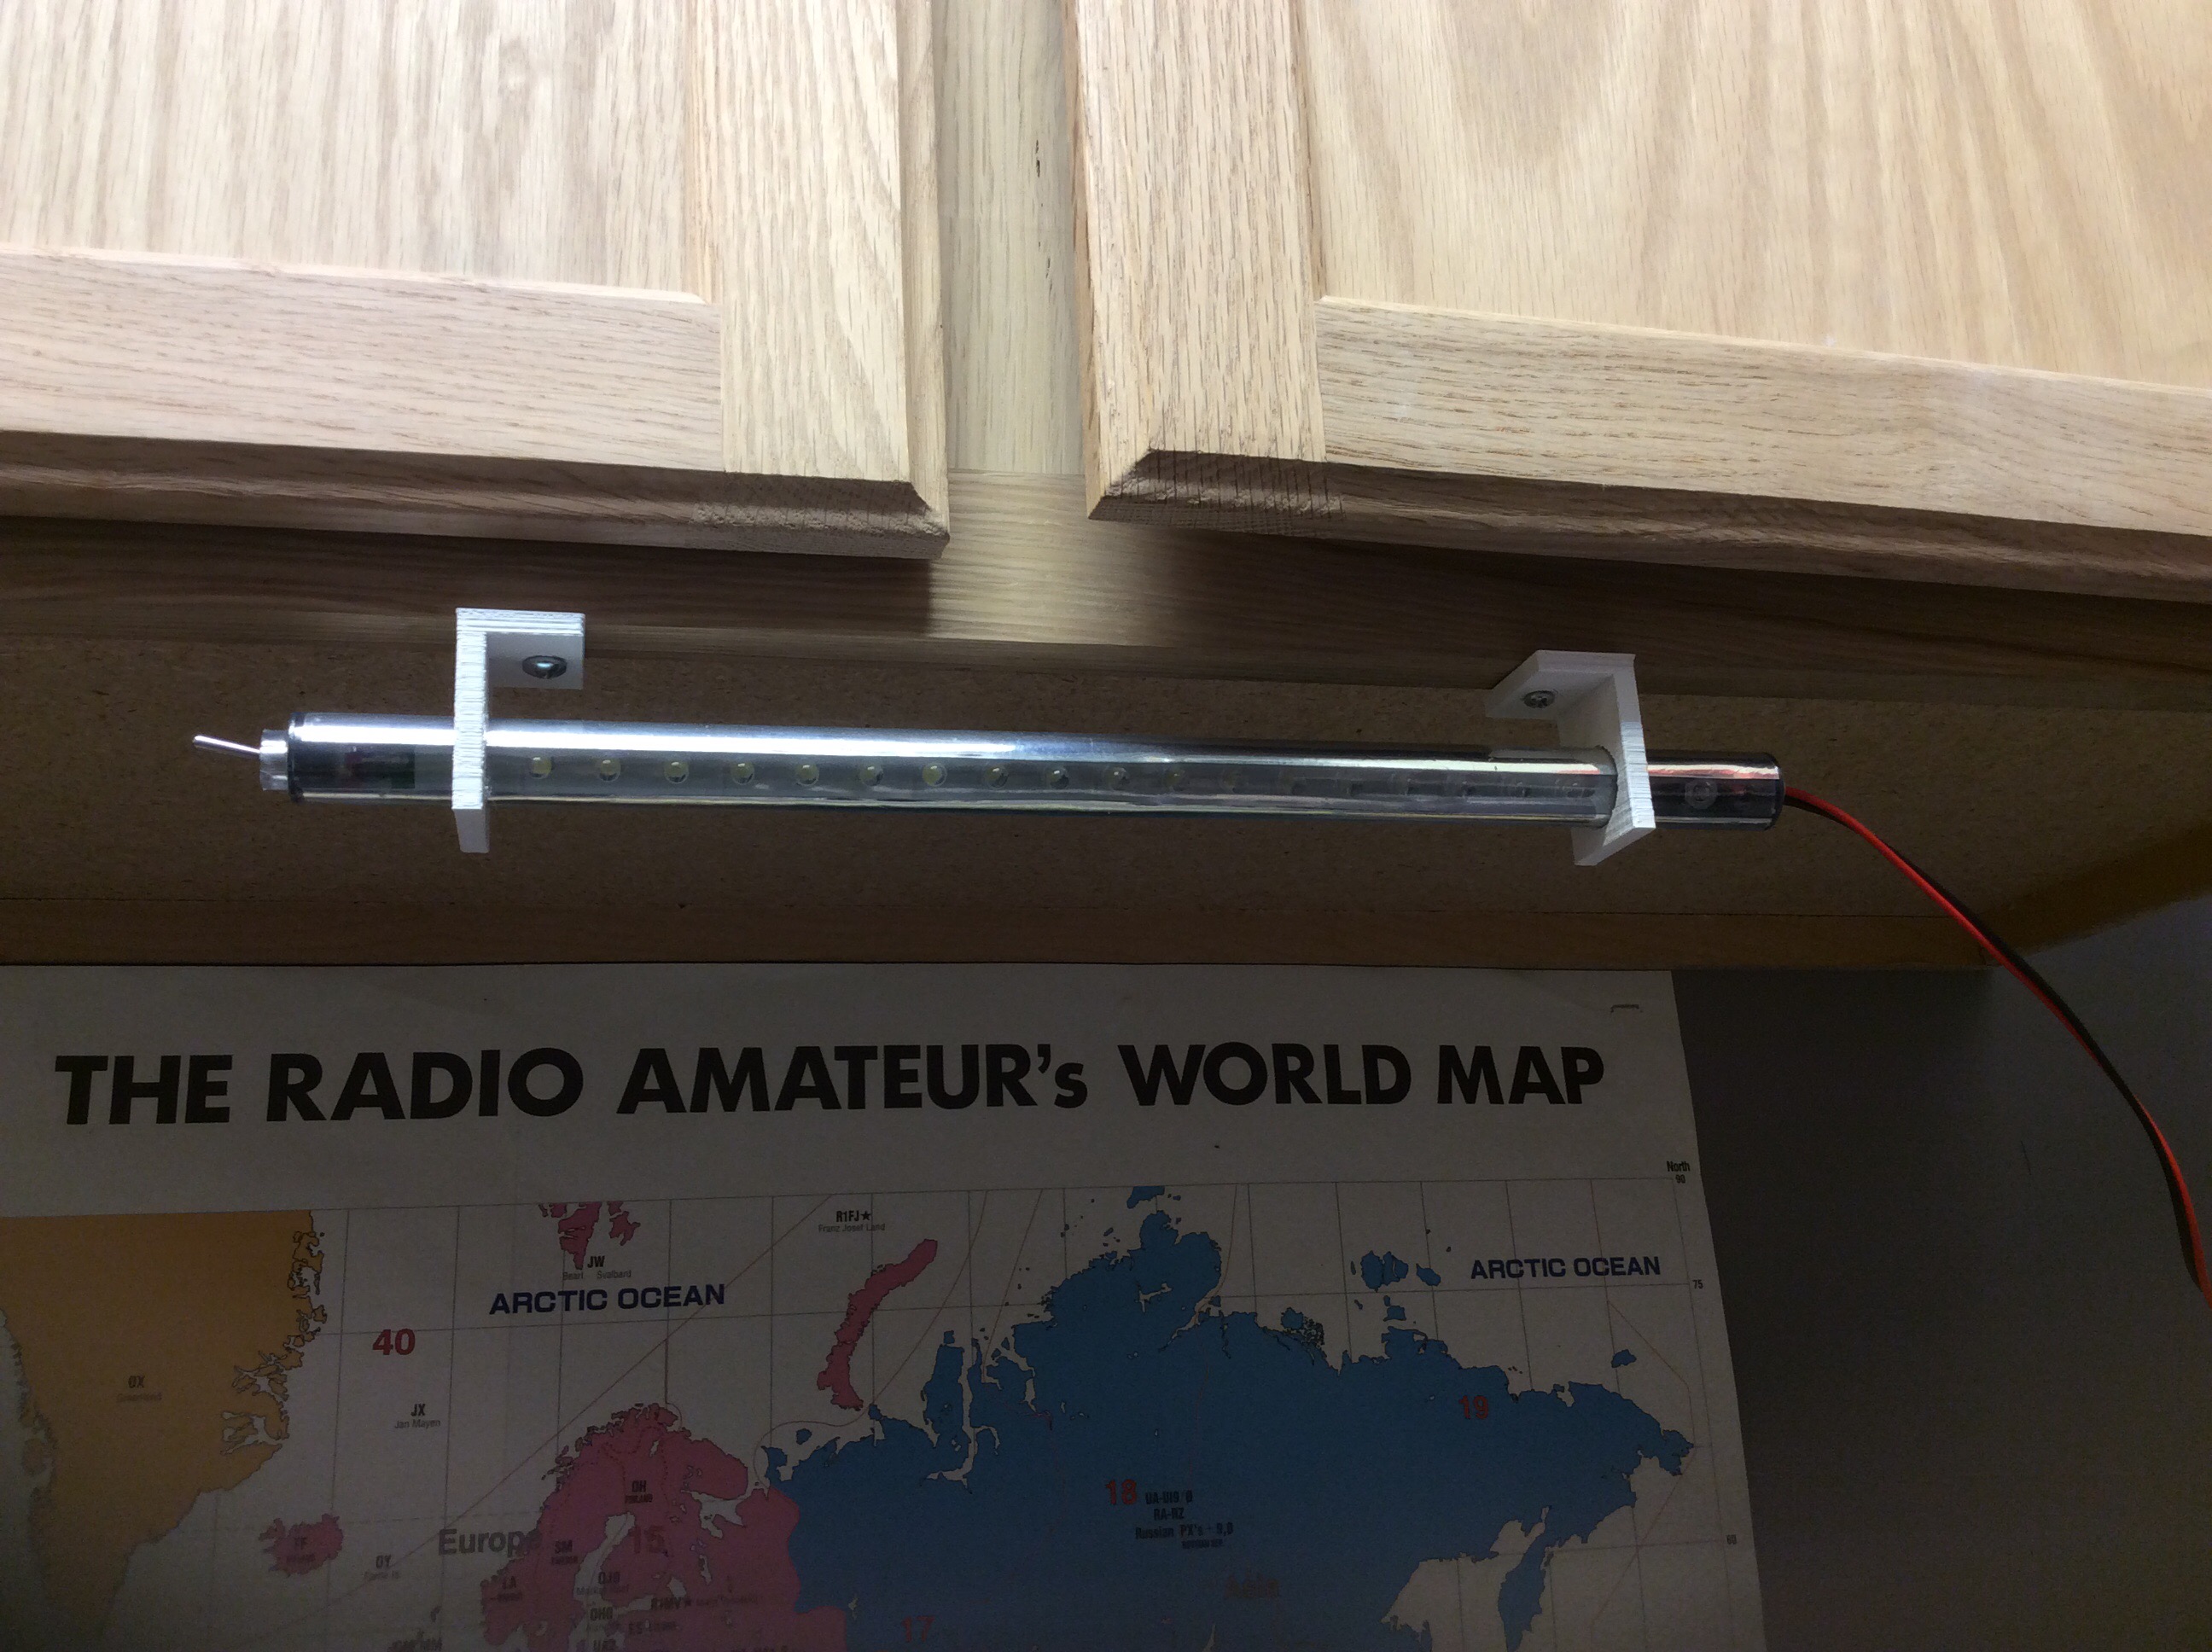
3D printed brackets

I designed and printed these brackets to hold a Western Mountain Radio PWRbrite. This is a LED strip light that runs off 12VDC and uses PowerPole connectors. It may have come with with zip ties at one point, but those are now long gone.

This is part of my journey learning to use OpenSCAD.


mount(30, 40, 18, 5, 20);

module mount(width, height, hole, mount_width, flange)
{

difference() {
cube(size = [mount_width,height,width], center = true);

translate(v=[-3,6,0]) {
rotate ([0,90,0])
cylinder(r=hole/2, h=mount_width+2);
}
}

difference() {
translate(v=[0,-height/2,-15]) {
rotate ([0,0,90])
cube(size = [mount_width,flange,width]);
}

translate(v=[-2*flange/3, -width/2+1, 0]) {
rotate ([90,0,0])
cylinder(r=3, h=mount_width+2);
}
}
}

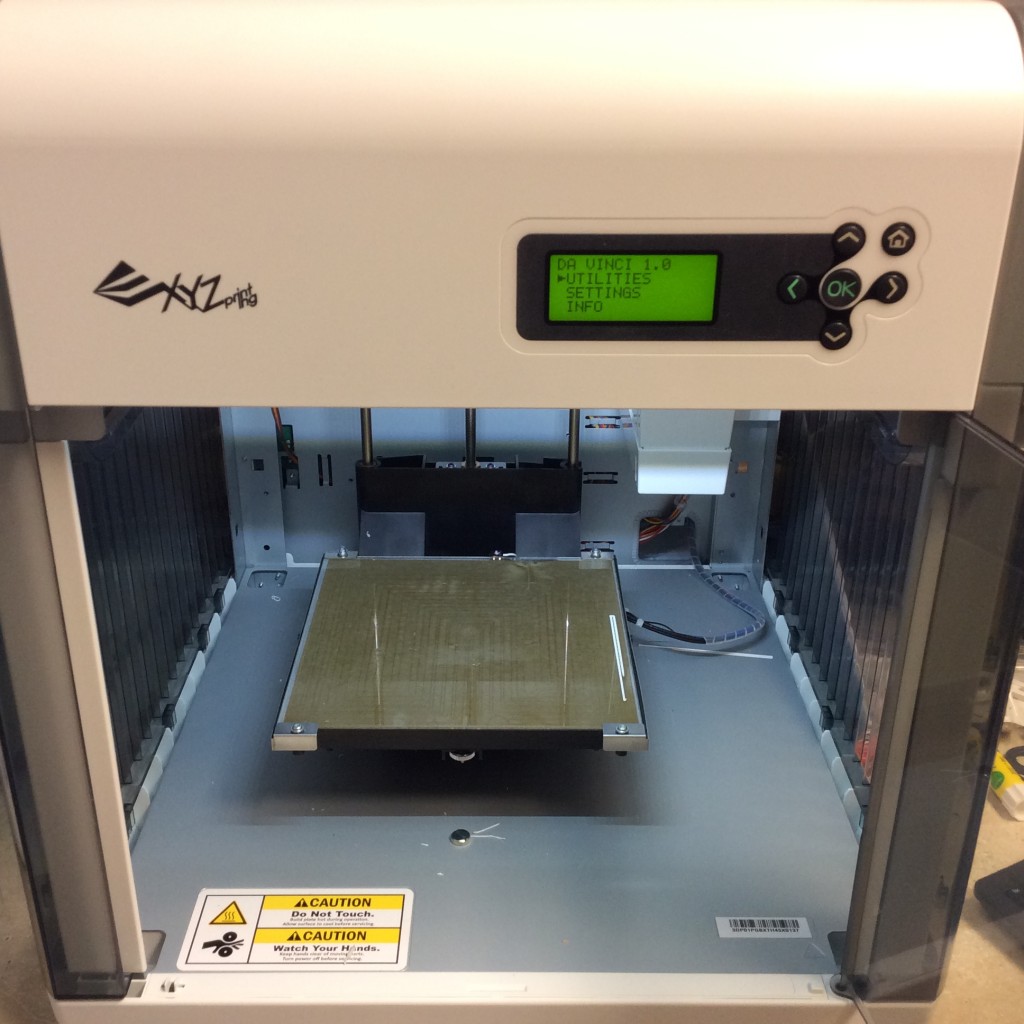
XYZ Printing DaVinci 1.0

A colleague at work bought a XYZ DaVinci 3D printer. I watched his break-in progress with great interest. This printer has a fantastic price point: $500 MSRP. I purchased mine on sale for USD$400. I’ve waited for the right time to purchase a 3D printer. I strongly believe this is a paradigm shifting technology, and my children need to be introduced to it. I’ve equated 3D printers as the “Mac moment.” In 1985, I remember when my Dad brought home a Macintosh. I remember him unboxing it, turning it on, then griping over the star screws that Apple used in the chassis. It forever changed my family. I think 3D printers are the same.

My first experiences with the XYZ are:

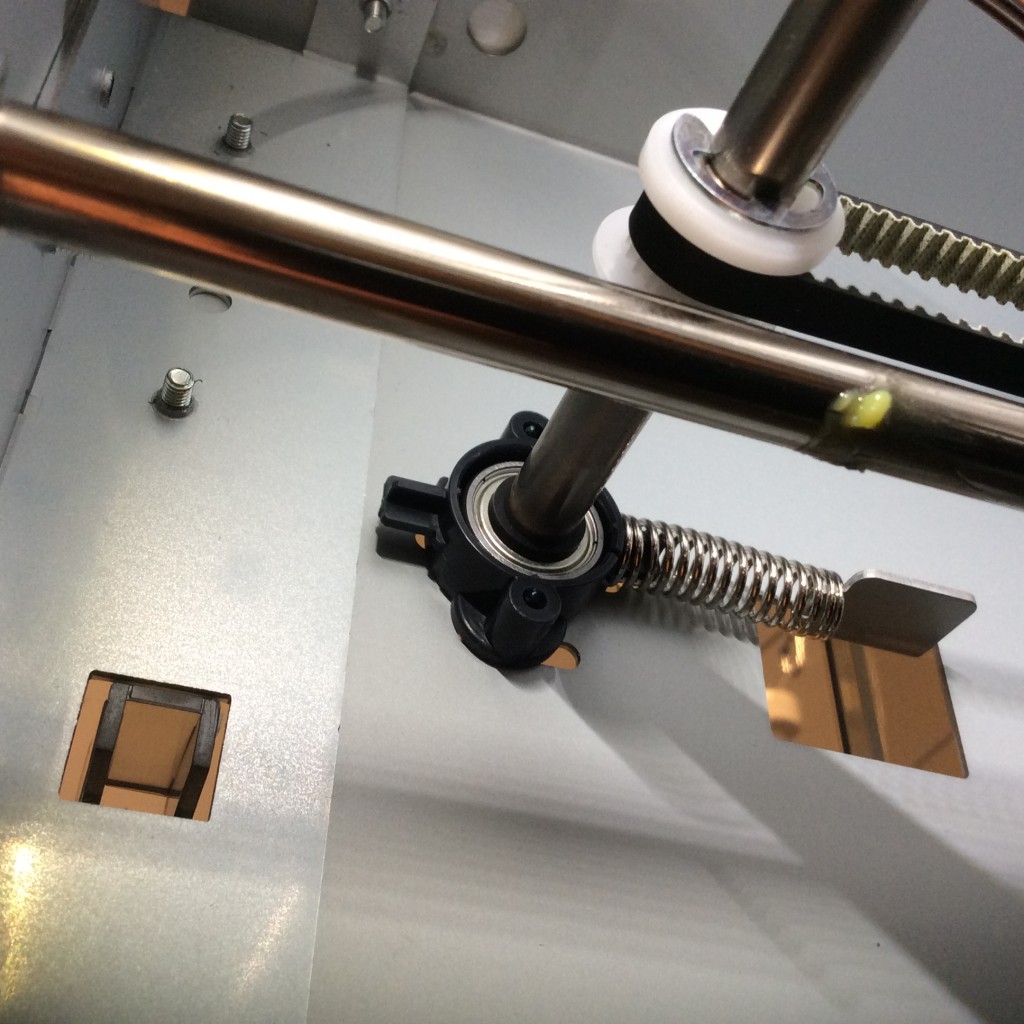
  • The extruder carriage was off by several steps on the belt. I had to push it back into alignment.
  • It appears the UHU glue sticks really are the best thing to use.
  • The unit needed calibration right off.
  • The units comes with a half-size filament cartridge. This lasts surprising long.
  • There is a lot of flex on the chassis. You can see overlapping metal walls lift off each other. This is easily remedied by a few extra rivets.
  • The ball bearing holders are bad of plastic. This will eventually decay and crack.
  • The XYZ software is incredible limited…but still adequate. I’m still running it.
  • After a month, the glass bed is already starting loose pieces of the glass when scraping off the product. These slivers are not large enough to affect the print quality, but this is the first piece that is going to need to be replaced. I’ve read on forums that XYZ will not warranty the glass bed.

IMG_0512

IMG_0514

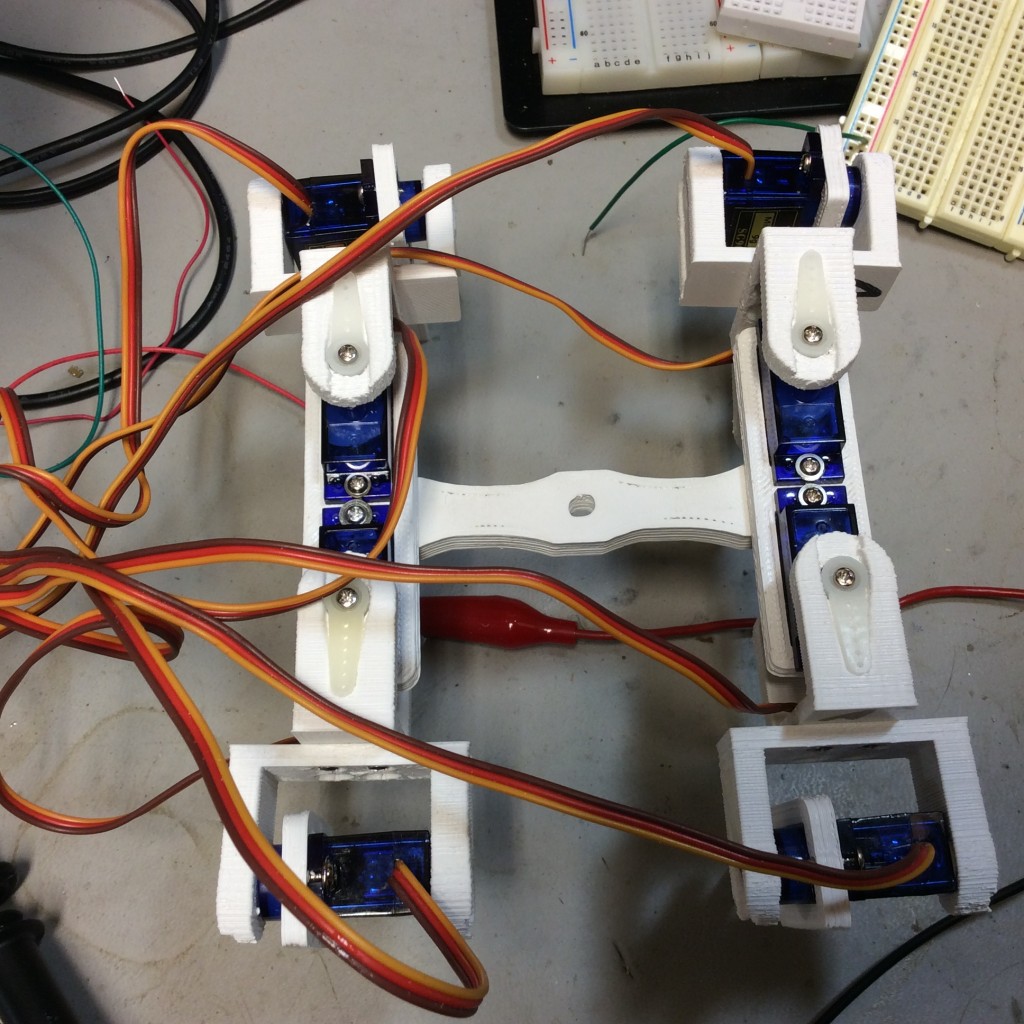
quadrupod - Copy

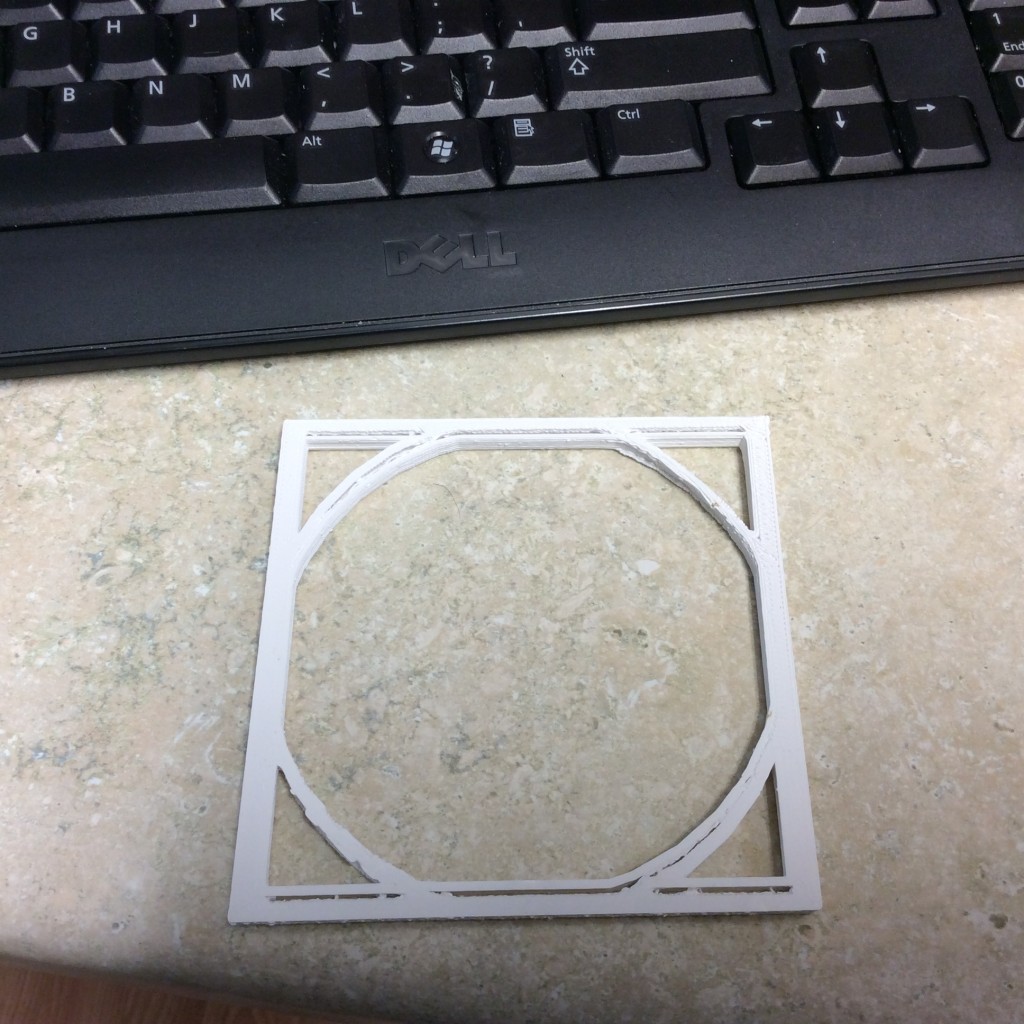
IMG_0515 - Copy