Crypto Currency Mining on Raspberry Pi 2

I got my Raspberry Pi 2 a week ago from Amazon. I got tired of waiting for MCM/Element 14 to lower their ridiculous shipping costs.

The rpi2 is much snappier. I’ve never been a big fan of anything but the price point. I like the pcduino series for actual use.

I installed cpuminer (the trick is to install it from the GitHub download; do not clone the repo). The Rpi2 produces about 1.5 khashes/second. The chipset does get very warm to the touch. I’ve seen anecdotal comments that the original Pi could hash less than 0.5 khashes/second.


IMG_0523.JPG

Pcduino Cluster Part 1

I used to do a lot [more] HPC software development when I had access to the Penguin cluster at a previous place of employment. The cluster was a full upright rack full of nodes.

As I get more into node.js (and some other stuff: you can do MPI in python), I decided to build a small cluster for development purposes. After my really good initial experiences with a pcduino3, I decided to use the pcduino3 nano instead of raspberry pi’s. The pcduino3 has a lot more power than the rpi and you can find it for about the same price if you shop sales (checkout LinkSprite).

With the proliferation of cheap gigabit switches and high amperage multi-port USB chargers (like the EZOPower 96 watt 8-Port) you can build a fairly affordable low end cluster that is not very big.

IMG_0470.JPG

Cheap webcams on raspberry pi and HTTP

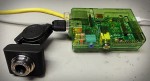
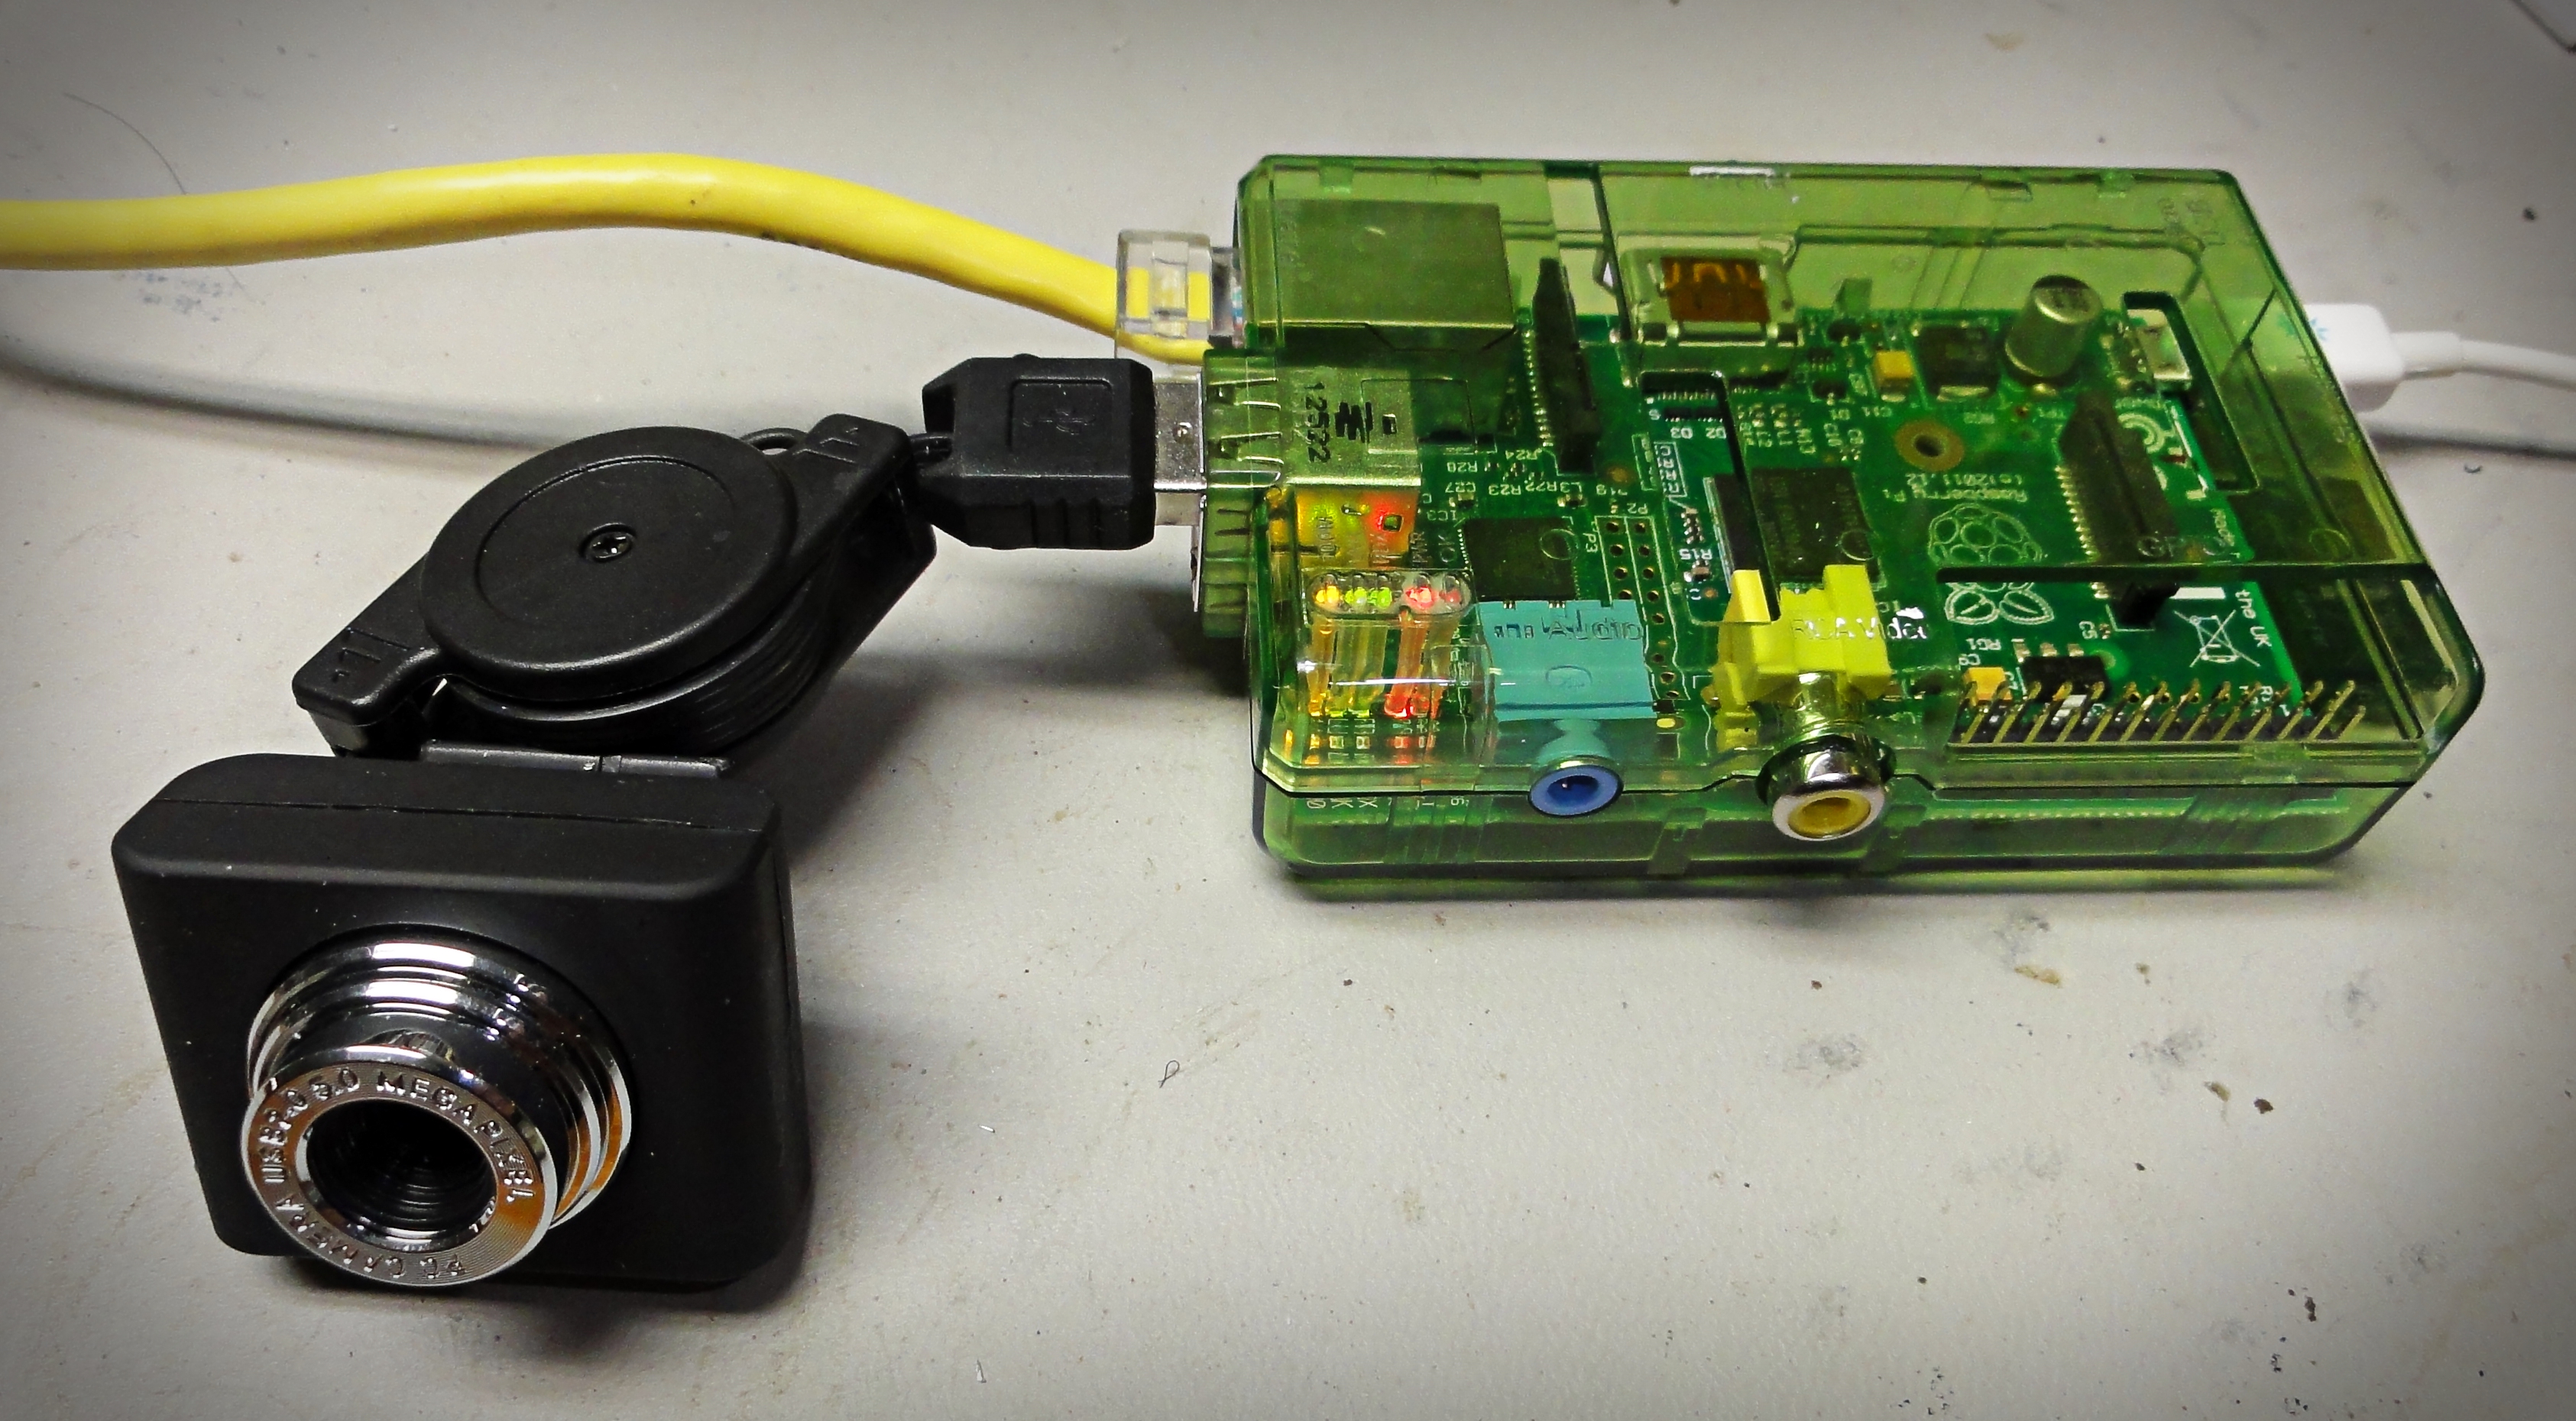
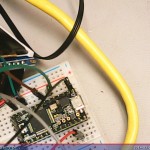
I finally found a webcam and software combination that is not only cheap, but relatively easy to setup. Being a cheapskate, I have avoided the Raspberry pi camera. The Raspberry pi camera has several things going for it (from what I gather): lower power consumption, faster response, and it does not use a USB port. I ordered a very cheap webcam (rather blindly) from Amazon hoping it will work. lsusb indicates it is made by Aveo (or at least compatible) and comes up with ID 1871:0101 (my kernel is 3.10.25). This webcam works without a powered USB hub. It typically shows up in the device tree as /dev/video0 (if it’s the only device you have plugged in). I’ve found that the rpi does not supply enough USB power to power the camera and anything else (including a keyboard).
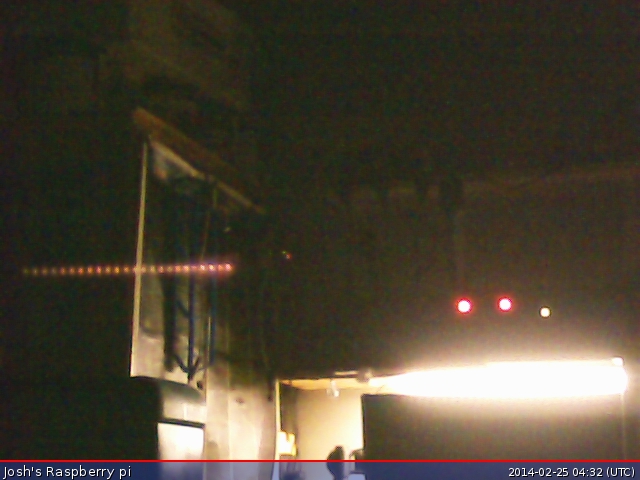
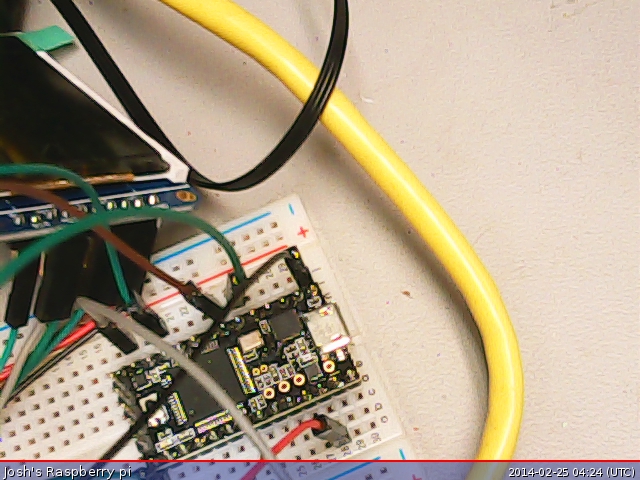
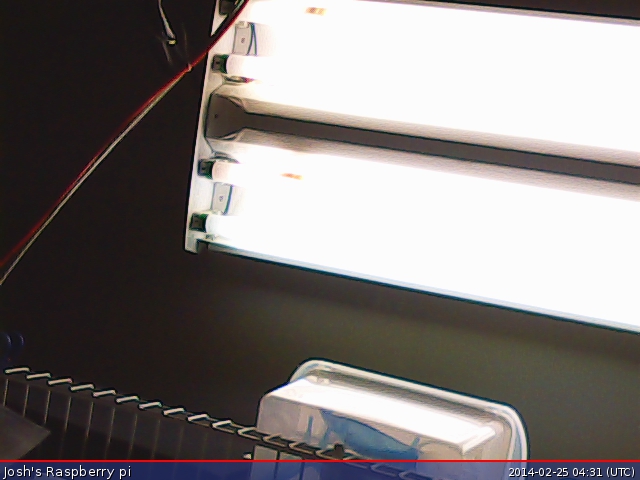
Edit: Demo images
test7

5MP webcam test images

test3

test6
(Amazon Link)

There are several different software packages out there:

  • raspistill for the Official Rasperry pi camera
  • OpenCV or SimpleCV
  • pygame
  • imgproc a library for Python (no save capability)
  • fswebcam

I’ve found fswebcam to be the fastest way of getting started. I burned a lot of time looking at OpenCV or combinations of mpeg-streamer. fswebcam just works. It comes in a package:

sudo apt-get install fswebcam

and it is very easy to use:

fswebcam -d /dev/video0 -r 640x480 test.jpg

and it is very easy to use:

fswebcam -d /dev/video0 -r 640x480 test.jpg

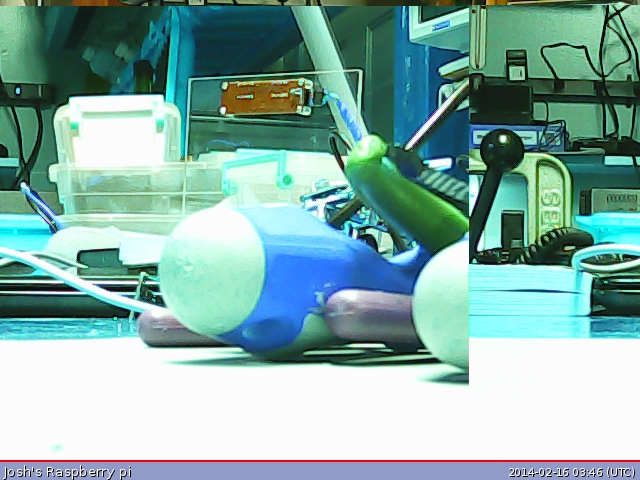
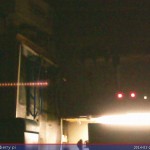
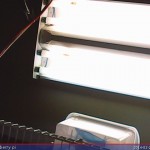
I found that the software can sometimes return an image that contains parts of two frames, like this:
messedup

To avoid this problem, tell the program to skip two frames:

fswebcam -d /dev/video0 -S 2 -r 640x480 test.jpg

There is also a background mode (using -b) to enable it run as a background daemon. So far fswebcam will not retrieve images at greater than 640×480 resolution from this camera.

Raspberry webcam

OpenSwan IPSEC L2L with ASA5505

I recently configured a IPSEC site-to-site (L2L in cisco language) with a ClearOS router running OpenSwan against a Cisco ASA5505. The first thing I tried (and did not work) was to add Tim Burgess marketplace add-in “Static IPsec VPN Basic.” Using this add-in the basic configuration was created, but the phase 2 transports do not match the options that Cisco has. I edited the ipsec config in /etc/ipsec.d/ipsec.unmanaged.xxx.conf and added these lines,

pfs=no
ike=aes256-sha1
esp=3des-md5
auth=esp

LVM killed my VM

Spent a marathan week getting my server and VM back up and running. LVM went corrupt and took my VM. KVM made it worse. Goodbye KVM, hello VMware. Sorry about the images…they will stay broken for a while.

Bricked the Angstrom image

I think the angstrom package updater tried to update the kernel. This bricked my BeagleBone. It took several hours to rebuild the image (the hard way), then reinstall the software I want.

Turn’s out the BeagleBone is for early adopters. Buy it, play with it, and don’t upgrade it. The makers next really planned on doing distro updates with any kind of Quality Assurance.

Edit 2015: The BeagleBone Black has better long-term linux support. However, if one really wants stable updates, choose a Raspberry pi.

Beagle Board first steps

Got a partially booting BeagleBoard. Spent an hour battling the serial port. The IDC10 adaptor I purchased was not a pass-thru. It is very nice to get serial output without a working kernel. Managed to get an angstrom kernel working with no rootfs.

The downside to this board, is that it does not have built-in ethernet. You need to buy the add-on board of a USB dongle.

Edit 2014: Gave this board to Robert Wamble. In the age of Raspberry PI’s, this board is an antique.


beagleboard