Hands-on with the Asus Tinkerboard

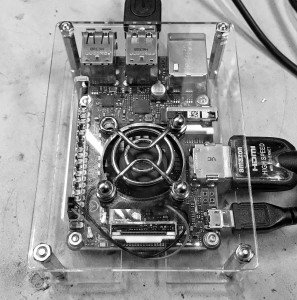
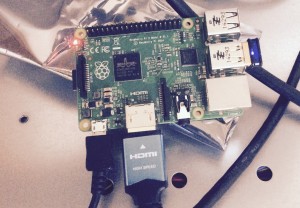
When the Asus Tinkerboard came available on Amazon, I decided to go ahead and buy one.

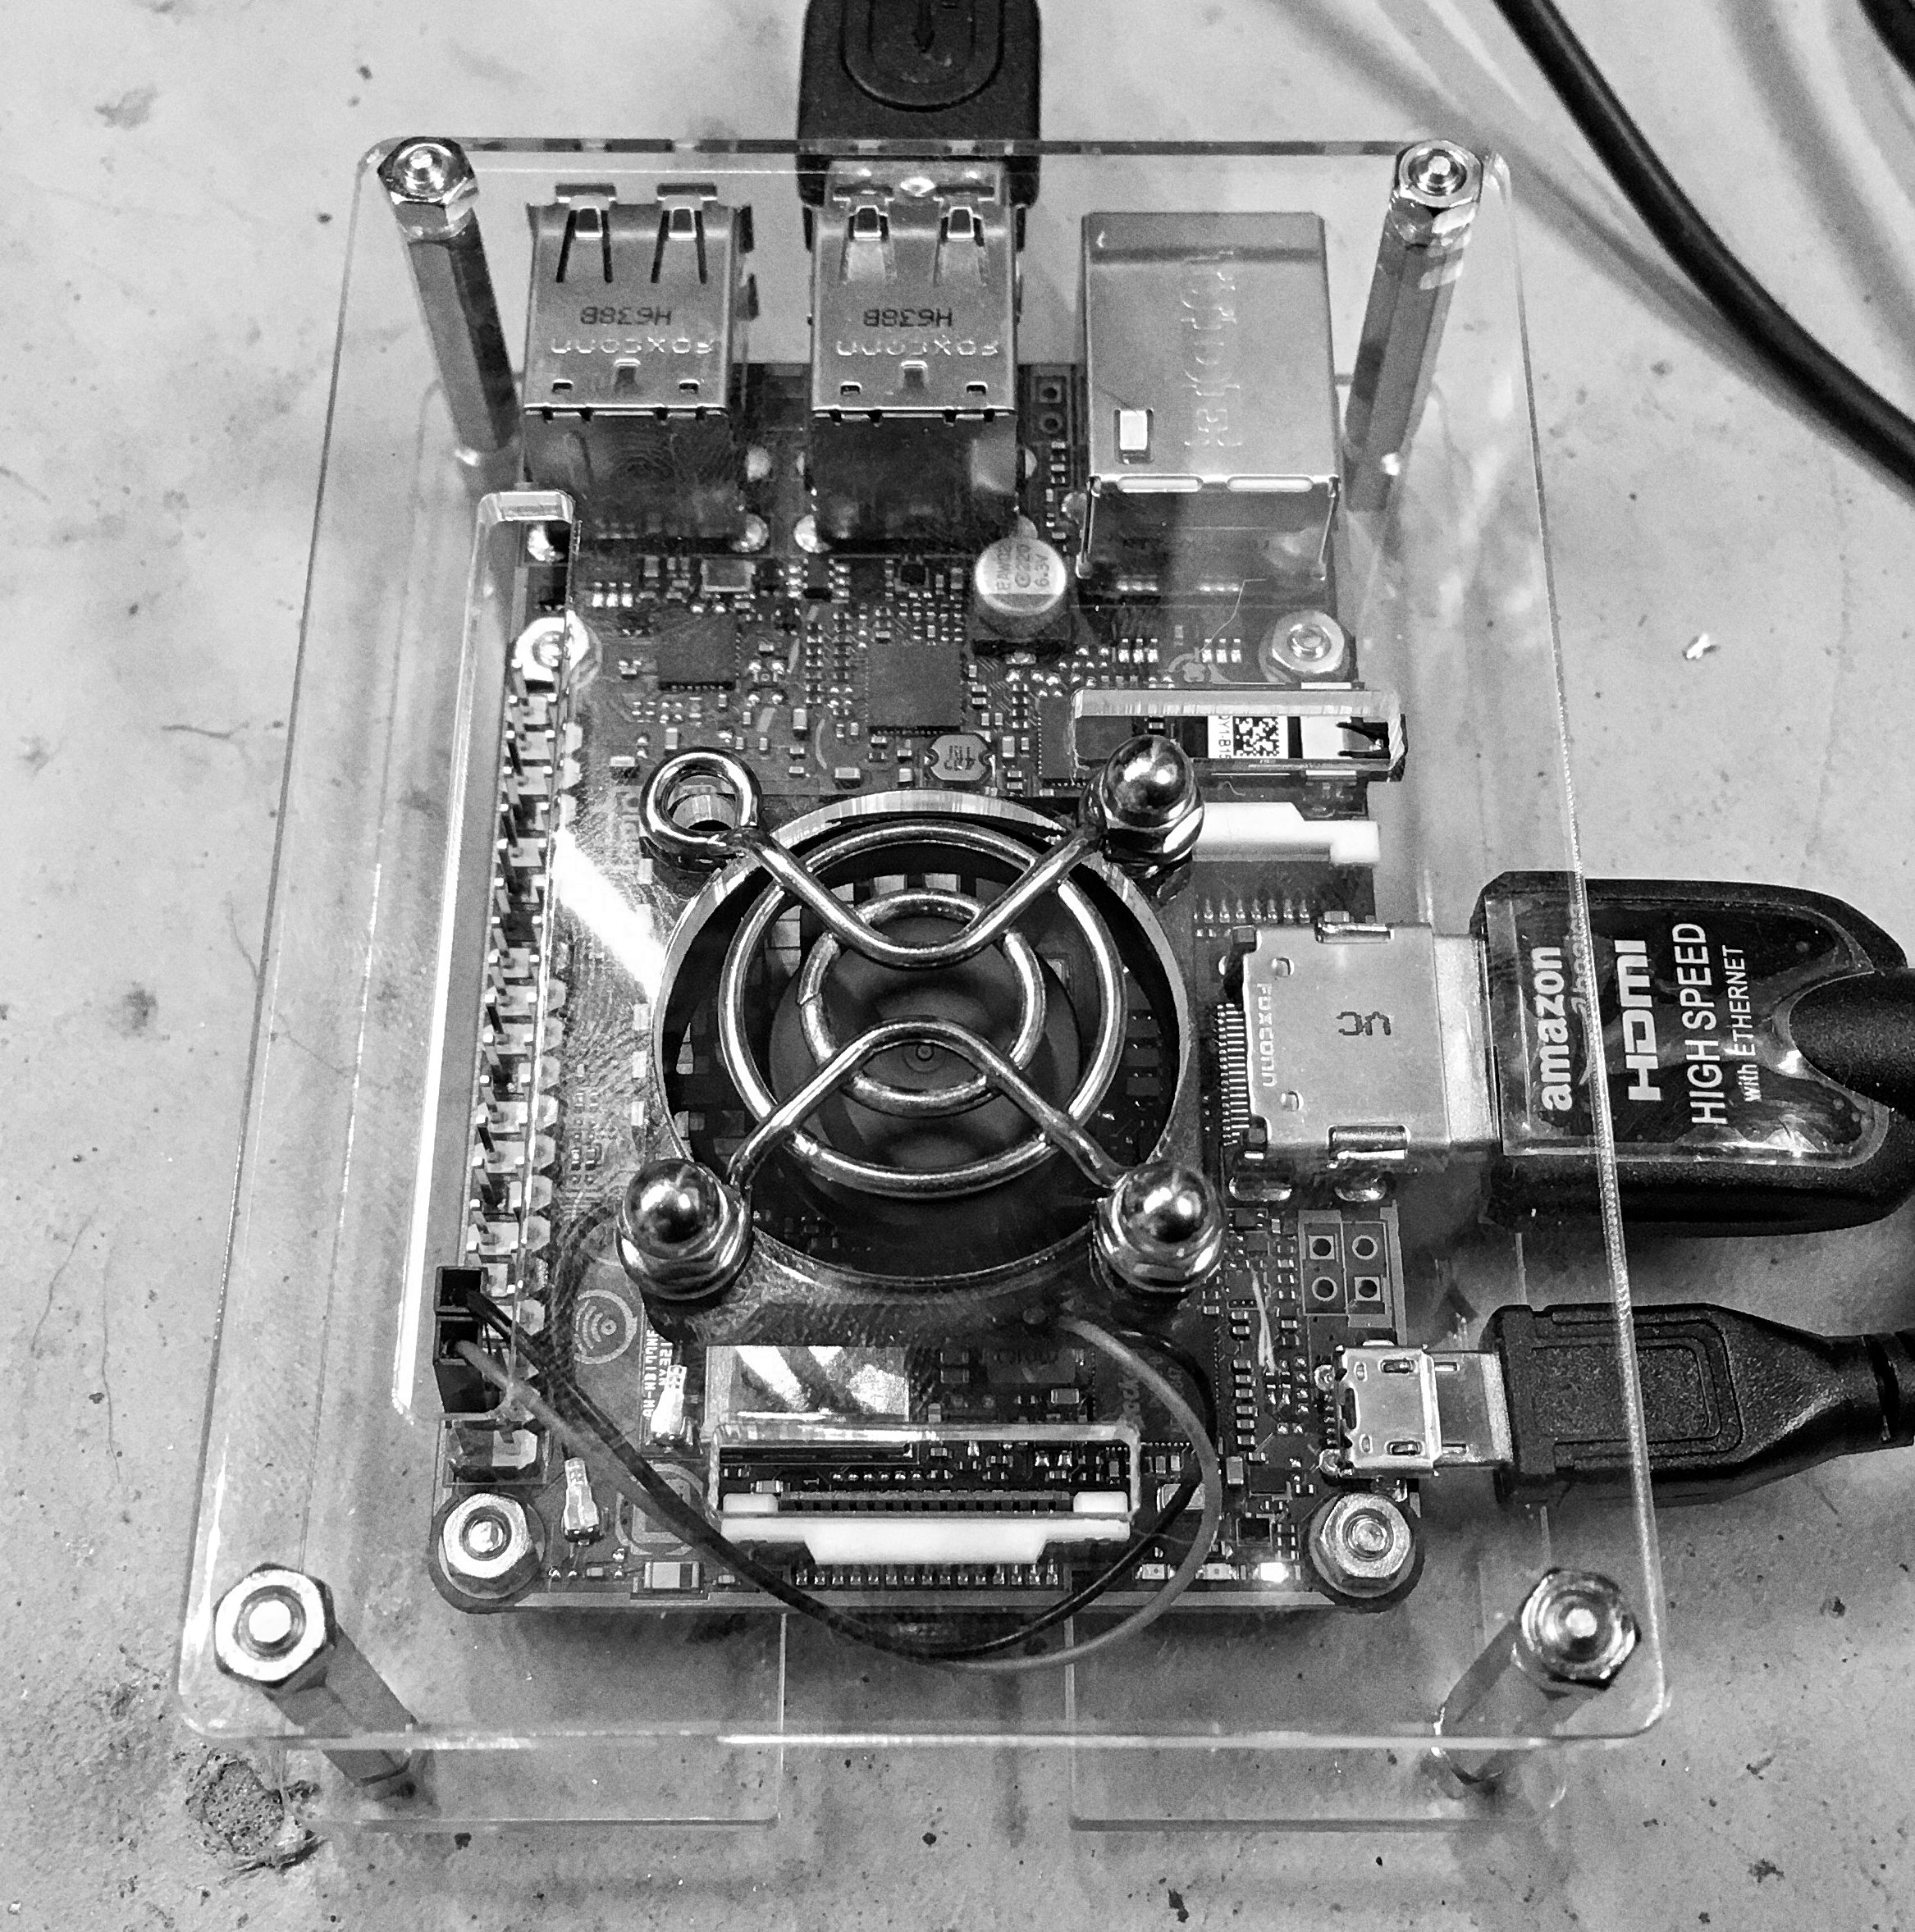
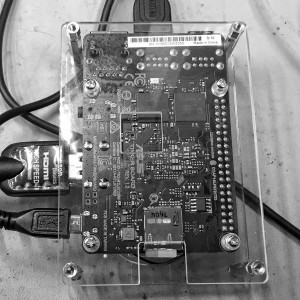
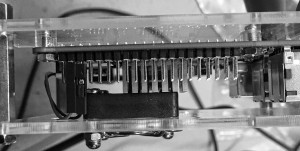
I really like the color coded GPIO header. I have not tried to access the GPIO pins yet. That will come soon. The Tinkerboard does run much hotter than a Raspberry pi. My Tinkerboard came with two heat sinks. I bought a Smraza branded rpi case on Amazon that has a fan. One of the screws needs to be left off the fan as it sits directly on top of the heatsink.

The first version of TinkerOS I installed (1.4) would not boot after updating packages. I flashed the kingston micro sd card with 1.8 beta, and it is much more reliable.

Just for kicks I installed cpu scrypt mining software (just like with the Raspberry pi 3) to see how fast the cores work. Across all four cores, I see four to six kilo hashes per second. In my experience this is roughly twice the speed of the rpi 3.


blog0 copy blog0 copy1 blog0

Pushing a MAX11115 8 bit ADC on the Raspberry Pi 3

I’m working up a Raspberry PI 3 add-on that gives the user a single 8 bit A/D channel. Over the last week I tried pushing this $2 adc chip as fast as possible via bit banging (no SPI here). Others have reported that they can toggle a GPIO pin fast enough to generate a clock in the high 20mhz range.

20khz at 600mv P-P

20khz

50khz

50khz


100khz

100khz


Here at 200khz you can see that data is starting to get lost
200khz


// The following code uses macros from http://elinux.org/RPi_GPIO_Code_Samples
for (samples=0 ; samples < kSampleCount ; ++samples)
{
GPIO_CLR = 1<<CS;

value = 0;
for (i=0 ; i < 16 ; ++i)
{
GPIO_SET = 1<<SCLK;
GPIO_CLR = 1<<SCLK;

if (i > 0 && i < 9)
{
bit = GET_GPIO(DIN) > 0 ? 1 : 0;
if (bit)
value |= 1 << (i-1);
}
}

GPIO_SET = 1<<CS;
sampleData[samples] = reverse(value); // Convert from MSB to LSB
}


Bogey runt rover

I ran across the Actobotics Bogey Runt Rover on Amazon a few weeks ago. I thought the platform was pretty neat. I have some reservations about the motors, they look cheap. The platform itself is really solid. I’m pleased with it.

I’ve got a Raspberry PI 2 and an Adafruit 4 motor hat installed on it. There is plenty of room on the platform for batteries, sensors, etc. The 2nd blue PCB in the picture is a DC-DC converter. I’m going to use a 7.4 volt LiPO battery, and I’m down converting it to 4.5 to 5 volts.


Crypto Currency Mining on Raspberry Pi 2

I got my Raspberry Pi 2 a week ago from Amazon. I got tired of waiting for MCM/Element 14 to lower their ridiculous shipping costs.

The rpi2 is much snappier. I’ve never been a big fan of anything but the price point. I like the pcduino series for actual use.

I installed cpuminer (the trick is to install it from the GitHub download; do not clone the repo). The Rpi2 produces about 1.5 khashes/second. The chipset does get very warm to the touch. I’ve seen anecdotal comments that the original Pi could hash less than 0.5 khashes/second.


IMG_0523.JPG

Cheap webcams on raspberry pi and HTTP

I finally found a webcam and software combination that is not only cheap, but relatively easy to setup. Being a cheapskate, I have avoided the Raspberry pi camera. The Raspberry pi camera has several things going for it (from what I gather): lower power consumption, faster response, and it does not use a USB port. I ordered a very cheap webcam (rather blindly) from Amazon hoping it will work. lsusb indicates it is made by Aveo (or at least compatible) and comes up with ID 1871:0101 (my kernel is 3.10.25). This webcam works without a powered USB hub. It typically shows up in the device tree as /dev/video0 (if it’s the only device you have plugged in). I’ve found that the rpi does not supply enough USB power to power the camera and anything else (including a keyboard).

Edit: Demo images
test7

5MP webcam test images

test3

test6
(Amazon Link)

There are several different software packages out there:

  • raspistill for the Official Rasperry pi camera
  • OpenCV or SimpleCV
  • pygame
  • imgproc a library for Python (no save capability)
  • fswebcam

I’ve found fswebcam to be the fastest way of getting started. I burned a lot of time looking at OpenCV or combinations of mpeg-streamer. fswebcam just works. It comes in a package:

sudo apt-get install fswebcam

and it is very easy to use:

fswebcam -d /dev/video0 -r 640x480 test.jpg

and it is very easy to use:

fswebcam -d /dev/video0 -r 640x480 test.jpg

I found that the software can sometimes return an image that contains parts of two frames, like this:
messedup

To avoid this problem, tell the program to skip two frames:

fswebcam -d /dev/video0 -S 2 -r 640x480 test.jpg

There is also a background mode (using -b) to enable it run as a background daemon. So far fswebcam will not retrieve images at greater than 640×480 resolution from this camera.

Raspberry webcam

Raspberry PI and clock stretching

I started playing with i2c (or two-wire) on the Rpi. I quickly found problems when talking to i2c slaves that are usually some sort of embedded processor (mostly AVR’s). The problem is that the current i2c driver in Raspbian “wheezy” has a hard coded timeout flag. I2C is facilitated by a Broadcom 2835 chip that has multiple types of I/O. There is a drive for this chip that maps the different types of I/O to /dev/ devices.

I’ve had this problem with blinkm’s and Sparkfun’s 7 segment serial/i2c board (both use AVR’s). I also tried smbus and quick2wire. What makes this problem maddening is that the timeout is problem very close to the actual timing and will fail sometimes but not others.

Back to the problem: if the i2c slave does not ACK a command within a certain number of rpi clock cycles, then the driver returns errno 5. On the i2c slave side, the AVR (or other processor) may be do work in response to a command. If the slaves waits to long, the timeout gets exceeded and the Linux driver returns that pesky error. Until this is fixed at the driver level, people are going to have to live this annoyance. Edit: Reading from smarter people: this is a really a chip set issue. The best solution is to use an I2C chip set that handles this in hardware. Fixing it in software (at the driver) level is just kludge.

To me this is more than an annoyance, it’s pesky and makes the i2c nearly unusable. There are a few work arounds:

  1. Reduce (or changed) the i2c bus frequency
  2. Rewrite the firmware on the i2c slave to immediately return the ACK
  3. Catch the errno 5 and repeat until success

Raspberry pi Model A with Edimax

I got my Model A Raspberry pi working with the Edimax EW-7811 USB wifi adapter and no additional network connectivity. I used a cheap USB hub and could power the mouse, keyboard, and wifi with no external power.

There are a few tricks: the first is to use the most recent version Raspbian.

The second trick is to edit the /etc/wpa_supplicant/wpa_supplicant.conf file and manually join to an SSID:


ctrl_interface=DIR=/var/run/wpa_supplicant GROUP=netdev

network={
ssid="luben"
proto=RSN
key_mgmt=WPA-PSK
pairwise=CCMP
group=CCMP
psk="*password*"
}

The /etc/network/interfaces file looks like this,


auto lo

iface lo inet loopback
iface eth0 inet dhcp

auto wlan0
allow-hotplug wlan0
iface wlan0 inet manual
wpa-roam /etc/wpa_supplicant/wpa_supplicant.conf
iface default inet dhcp

Raspberry pi model A versus B

Received my first raspberry pi. I’ve been looking for a use for one of these for a while and finally found it. Come to find out there are three different types of pi’s on the market: Model A, Model B Rev 1 and Model B Rev 2. The Model A has no ethernet. To get connectivity, you must use a USB adaptor. Model B Rev 1 has wired ethernet whereas Rev 2 is the same, but with an extra 256mb RAM (512 total).

Raspberry Pi’s are now starting to show up on Amazon Prime, but the price is a bit higher than ordering from Sparkfun or Adafruit, but it will appeal the instant gratification crowd.