
Back when I was kid playing games on my dad’s Mac II, my favorite game was the little 2D RPG called GangWars. This game was brutally hard to play. Some good fellows have ported the game and graphics to Java. They call it NitsLoch.
Cheap webcams on raspberry pi and HTTP
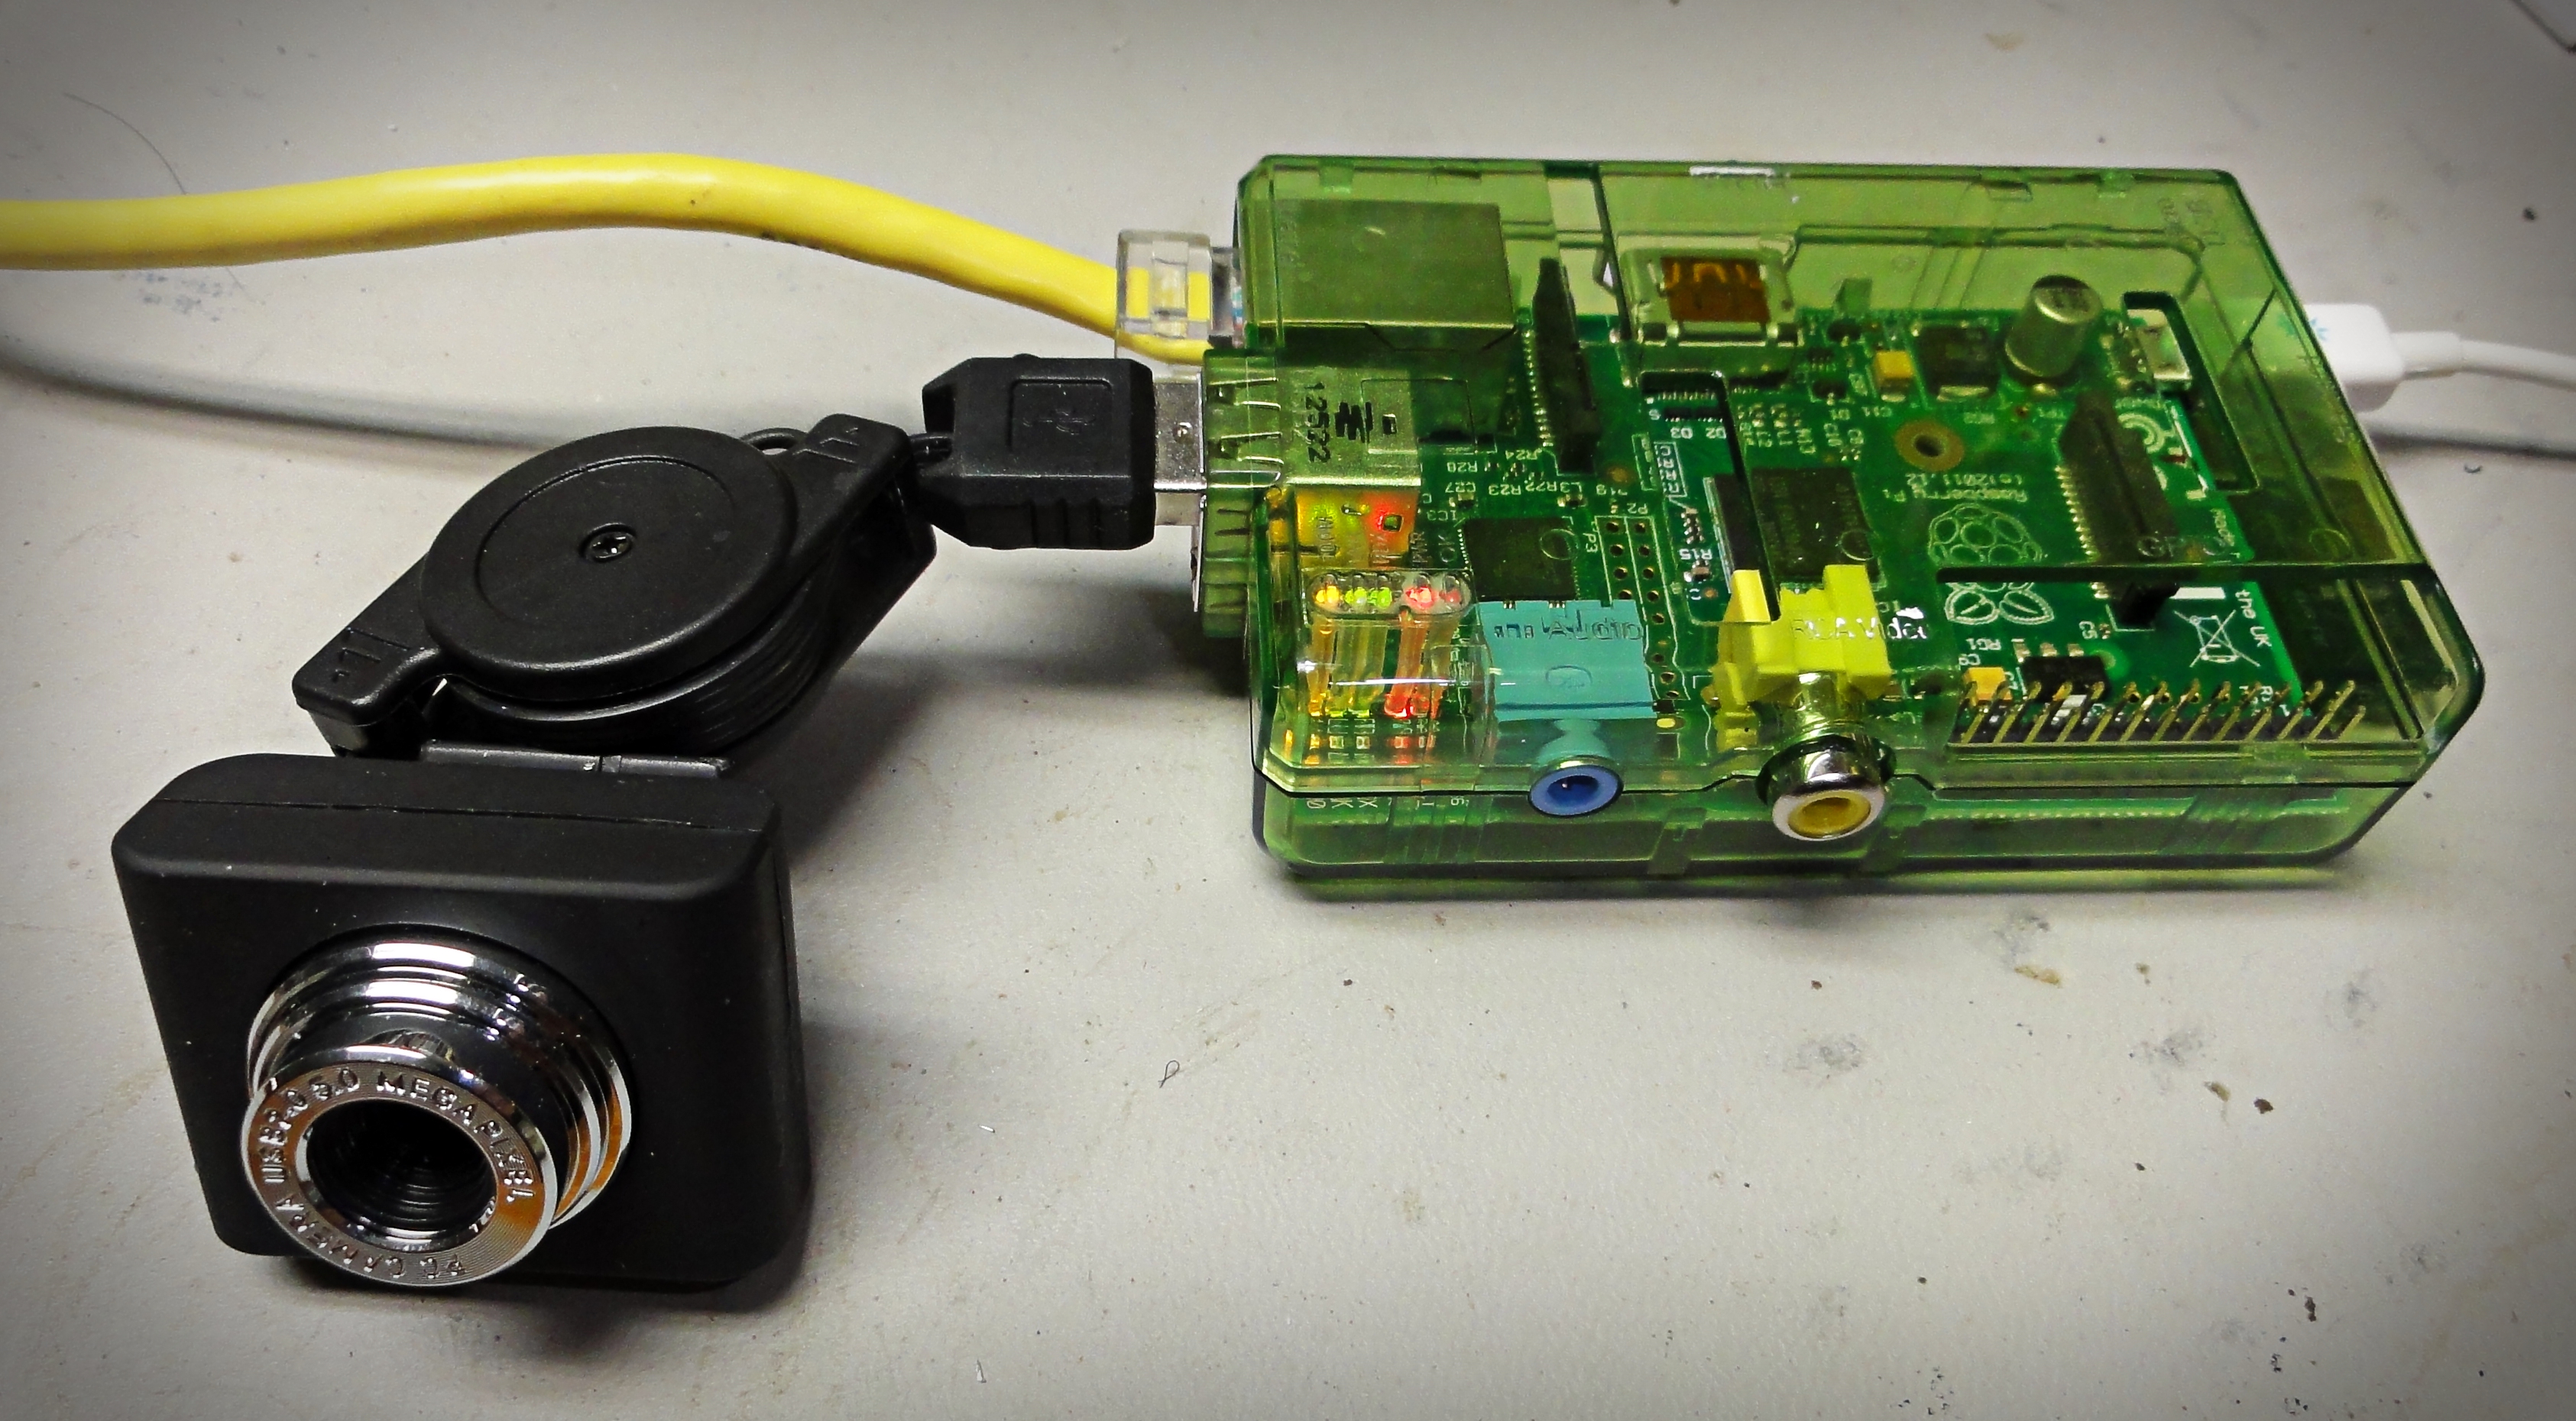
I finally found a webcam and software combination that is not only cheap, but relatively easy to setup. Being a cheapskate, I have avoided the Raspberry pi camera. The Raspberry pi camera has several things going for it (from what I gather): lower power consumption, faster response, and it does not use a USB port. I ordered a very cheap webcam (rather blindly) from Amazon hoping it will work. lsusb indicates it is made by Aveo (or at least compatible) and comes up with ID 1871:0101 (my kernel is 3.10.25). This webcam works without a powered USB hub. It typically shows up in the device tree as /dev/video0 (if it’s the only device you have plugged in). I’ve found that the rpi does not supply enough USB power to power the camera and anything else (including a keyboard).
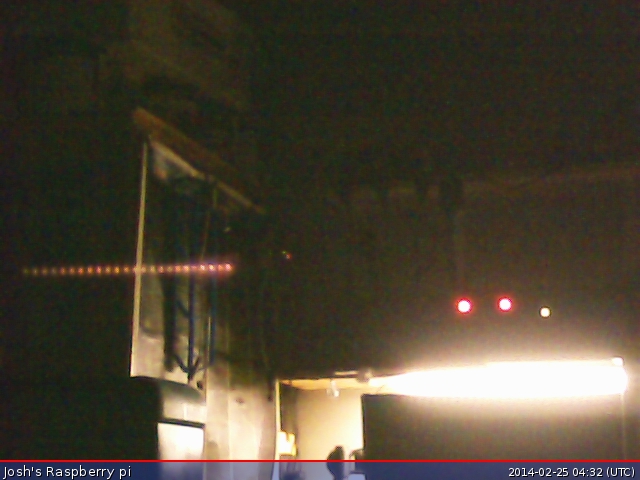
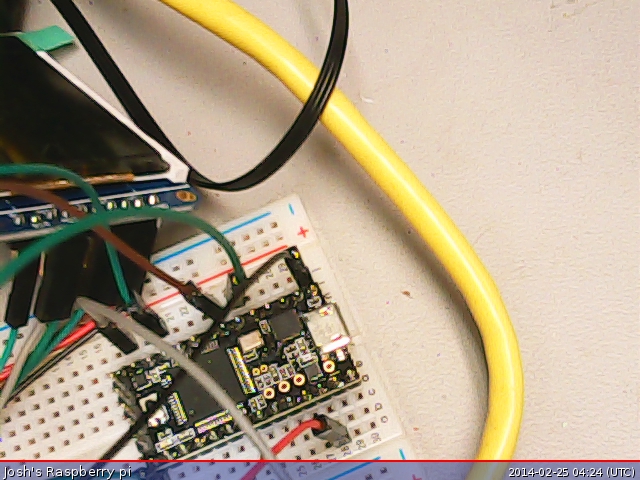
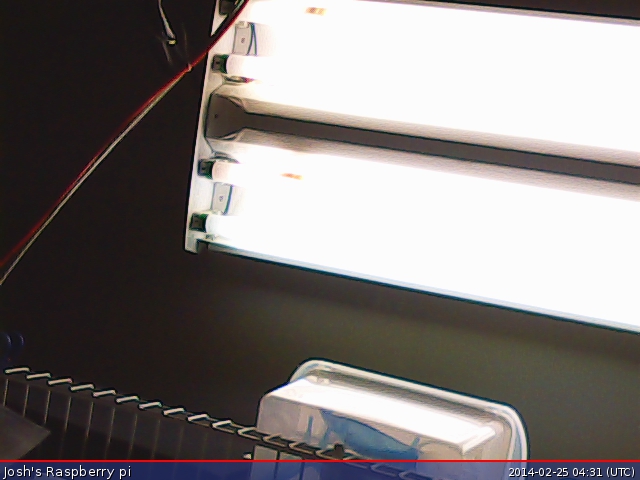
Edit: Demo images

 (Amazon Link)
There are several different software packages out there:
- raspistill for the Official Rasperry pi camera
- OpenCV or SimpleCV
- pygame
- imgproc a library for Python (no save capability)
- fswebcam
I’ve found fswebcam to be the fastest way of getting started. I burned a lot of time looking at OpenCV or combinations of mpeg-streamer. fswebcam just works. It comes in a package:
sudo apt-get install fswebcam
and it is very easy to use:
fswebcam -d /dev/video0 -r 640x480 test.jpg
and it is very easy to use:
fswebcam -d /dev/video0 -r 640x480 test.jpg
I found that the software can sometimes return an image that contains parts of two frames, like this:
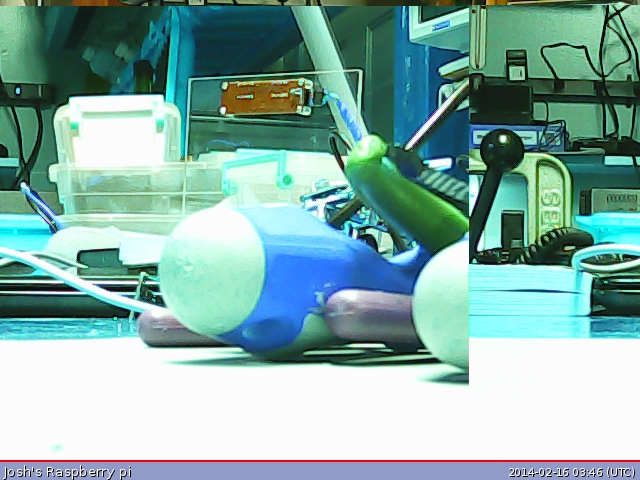
To avoid this problem, tell the program to skip two frames:
fswebcam -d /dev/video0 -S 2 -r 640x480 test.jpg
There is also a background mode (using -b) to enable it run as a background daemon. So far fswebcam will not retrieve images at greater than 640×480 resolution from this camera.
Yet another failed winter SOTA attempt at W7O/WV-005 Coffin Mountain
This is my third attempt at activating Coffin Mountain. The second time during the winter. This year we did not even make it as far as the trip in 2012. We geared up big time for this trip. Bruce, my trip partner, and I both built pulks to carry all the extra gear needed during winter. I purchased a nice 10 amp/hour LiFEPo4 battery.
We knew by late Friday afternoon that it was not looking good. A winter storm had moved into the area. We erroneously assumed this would us help us snowshoe the route. All told, it can be up to 8.5 miles of travel from OR22. The snow was falling pretty heavily by early Friday afternoon. It was rather dry snow and we figured that the previous two days had brought about 24 inches of new snow. Our snowshoes were sinking 12 to 16 inches in the snow. This limited us to about a maximum speed of half a mile an hour. We snowshoed about two miles on Friday. Friday night brought at least 24 inches of new snow. A local resident measured it at 27 inches.
We did not make it Coffin Mountain, or it’s close sibling: Buck Mountain.
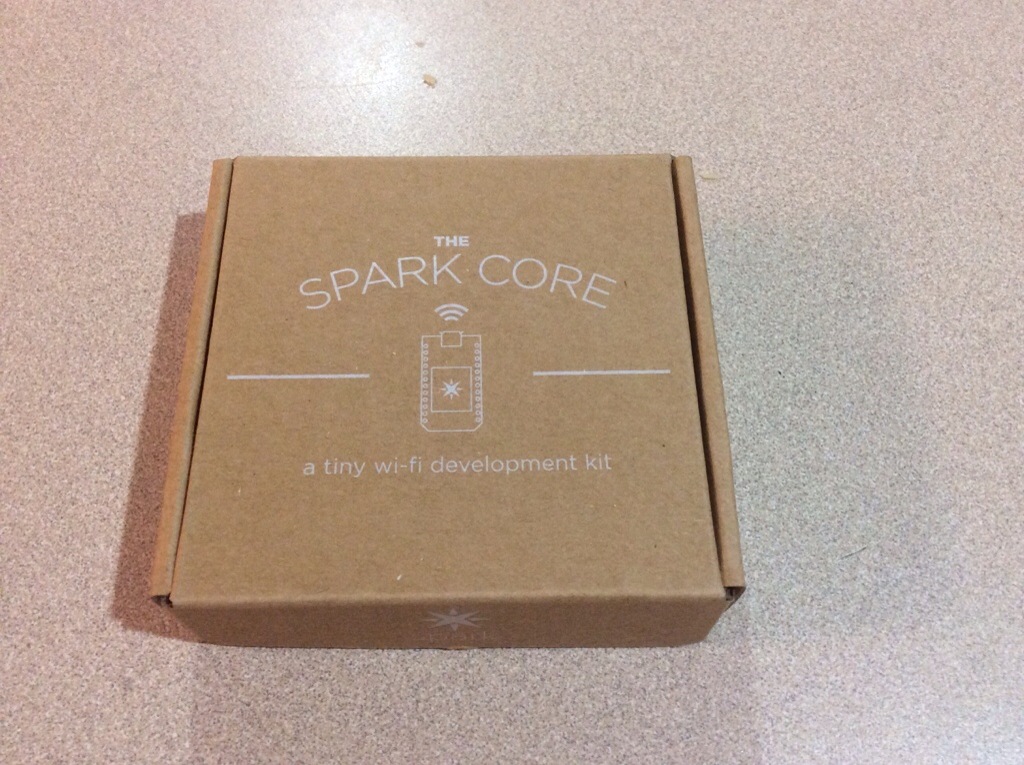
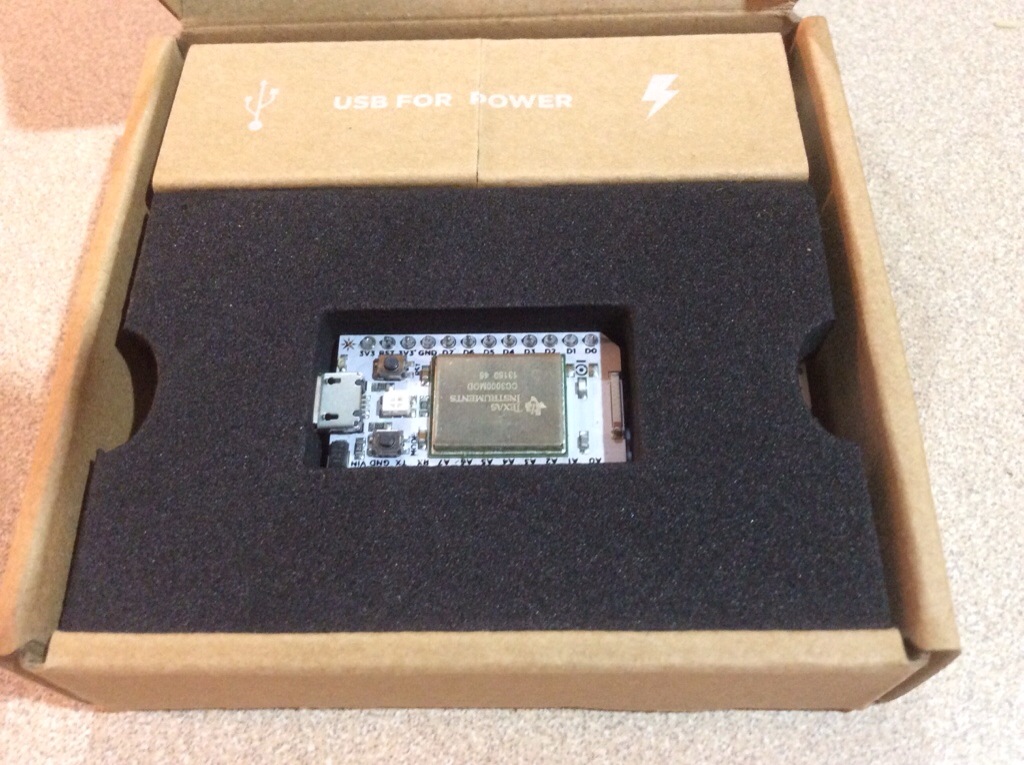
The Spark Core has Arrived
I ordered a Spark core post-Kickstarter. Interestingly, it shipped from Europe. Right out of the box, I could not get it to to connect to wifi (b/g). I tried configuring it by iOS app and by USB (cool!). It turns out that my ancient WAP54G was on channel 11. I changed the channel and it connected immediately. Weird.
I’ve used Electric Imps. I found them to be quirky and nearly impractical. The Imp cloud service is really hard to use. The API’s change a lot. The Imp would get stuck downloading new firmware and takes minutes to come back online after a hardware reset.
Want some quick starter code? Use this to control the built-in RGB LED.
void setup() {

    RGB.control(true);

}
void loop() {
RGB.color(255, 0, 0);
// wait one second
delay(1000);
RGB.color(0, 255, 0);
// wait one second
delay(1000);
RGB.color(0, 0, 255);
// wait one second
delay(1000);
}
Baofeng UV-5R
I have several of the Baofeng UV-5R. Recently found out that is an upgraded model: BF-F8+. The Amazon reviews on it are not that good.
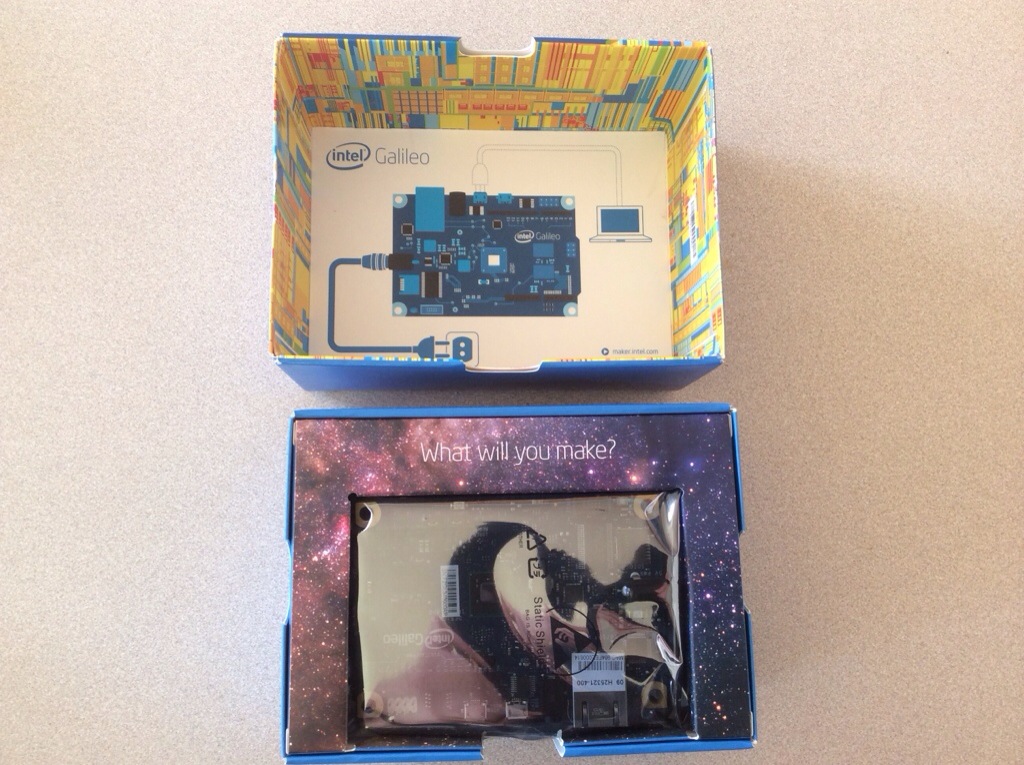
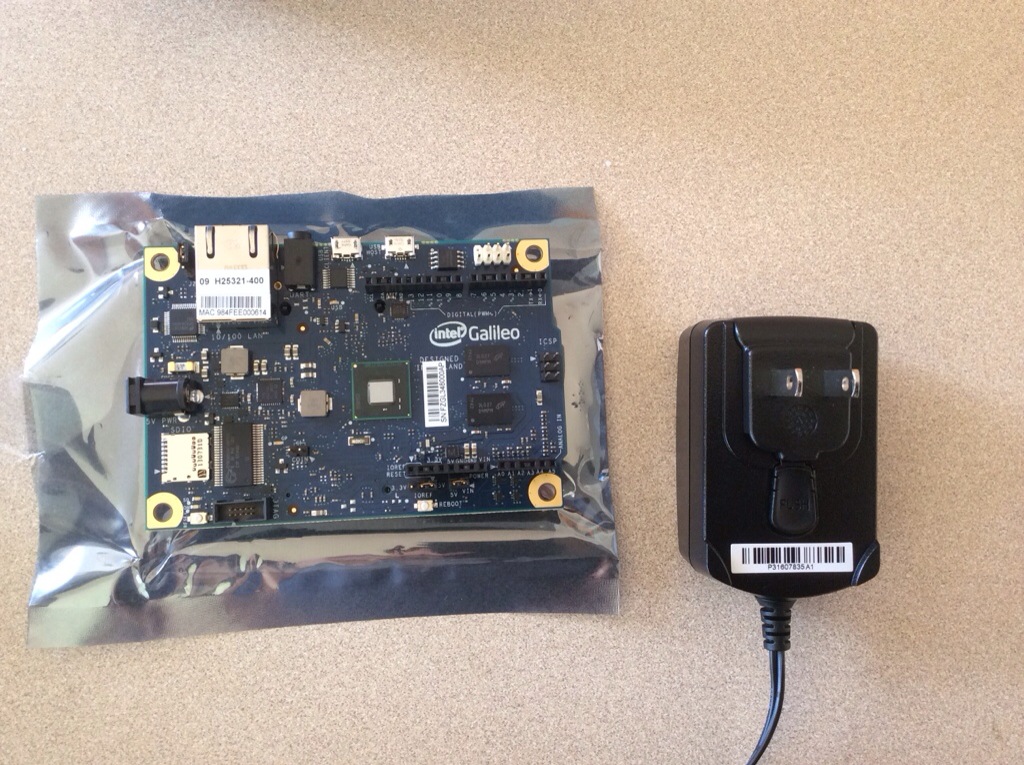
Intel Galileo development board
After several months on pre-order, my Intel Galileo board came in from Mouser. The release date kept getting bumped. No first impressions yet, but it is written in the docs to plug the board into power First, First, First! otherwise risk damage.
There is a Make: Getting Started with Intel Galileo that is up on Amazon.
Here is a link to Intel’s Getting Started docs.
Dnsmasq and universal domain MX’s
Recently encountered a problem inside my network where local DNSmasq returned the same intranet IP for MX entries. This causes a feedback loop where mail is delivered back to the virtual machine where it originated.
To fix this, I configured DNSmasq with the following commands:
mx-target=192.168.1.3

localmx
Internally, I have an unrestricted relay (another virtual machine) at 192.168.1.3. These commands override the MX entry returned by DNSmasq for all entries in /etc/hosts.
If you use dig, it looks like this,
dig joshluben.com

joshluben.com 600 IN A 192.168.1.4
dig mx joshluben.com
joshluben.com 600 IN MX 192.168.1.3
Now you are asking why am I doing this? Because I have a dozen virtual machines inside my network, and some offer services outside my network, mobile devices like iPad’s, etc need consistency in the served domain entries to remain functional.
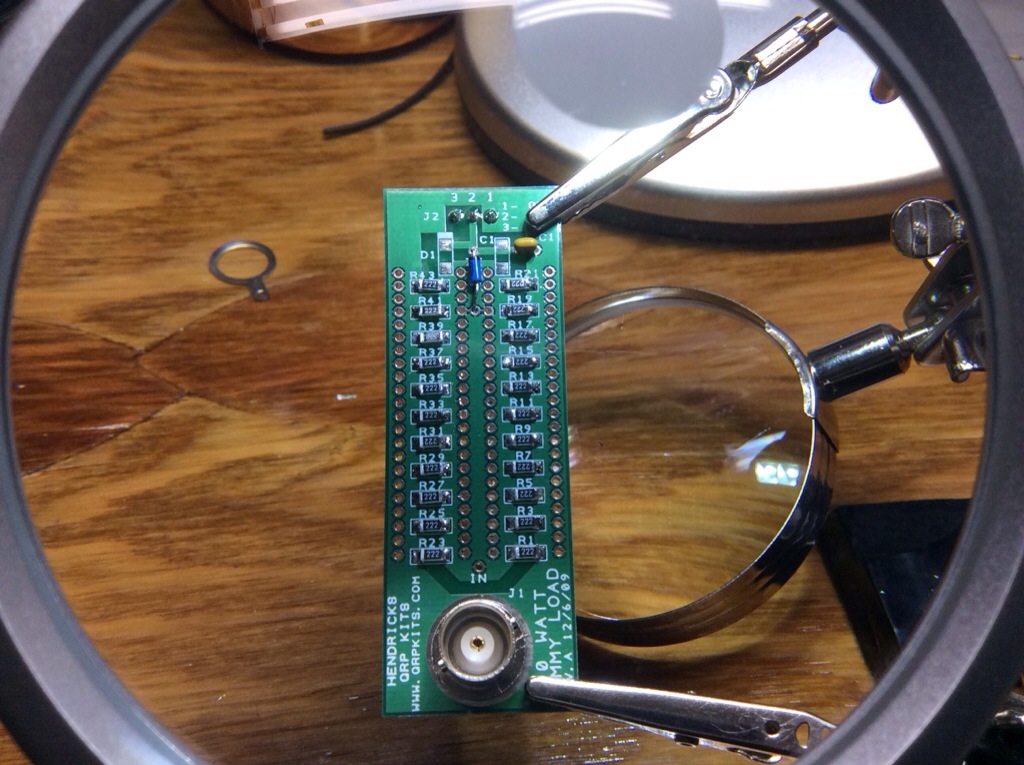
Hendricks dummy load
Recently purchased a Hendricks 10 watt dummy load. This kit comes with through hole or surface mount parts. You choose which ones to install.
It’s a nice one hour project. I enjoyed practicing my soldering skills on the surface mount components.
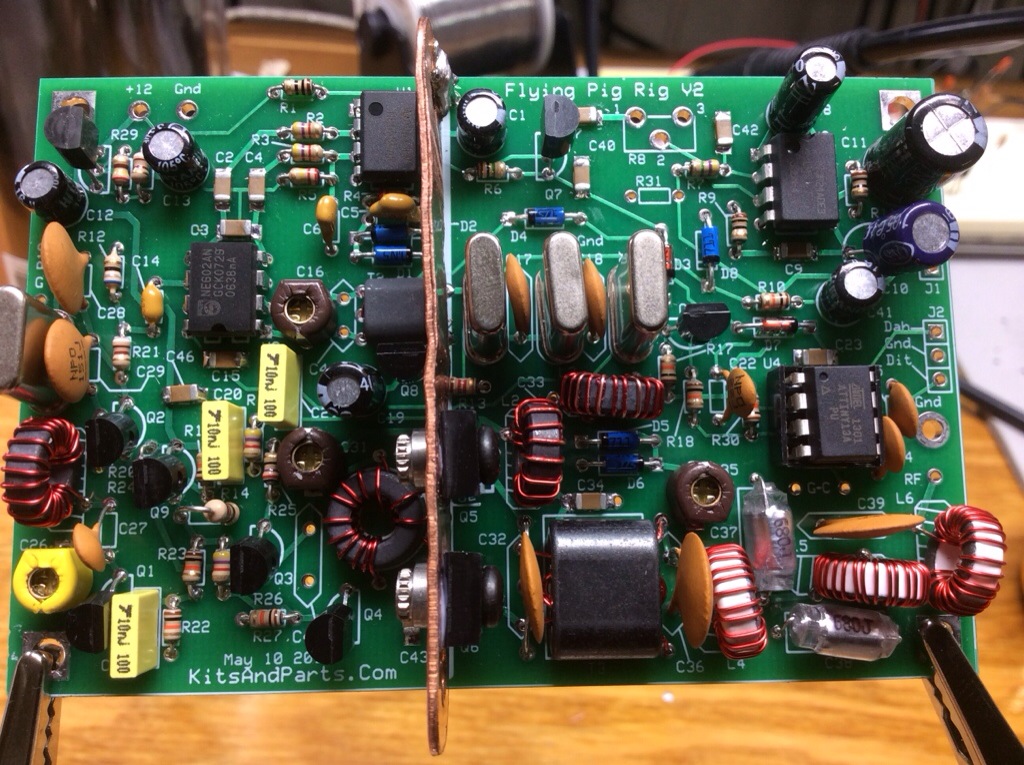
Flying PigRig #316
Finished up the transceiver and ran it through the alignment process. My frequency counter nor my signal generator are accurate to enough decimal places. I ended up aligning it by ear. The oscillator output is a nice clean sign wave. The output looks excellent after a quick look at the output on spectrum analyzer.
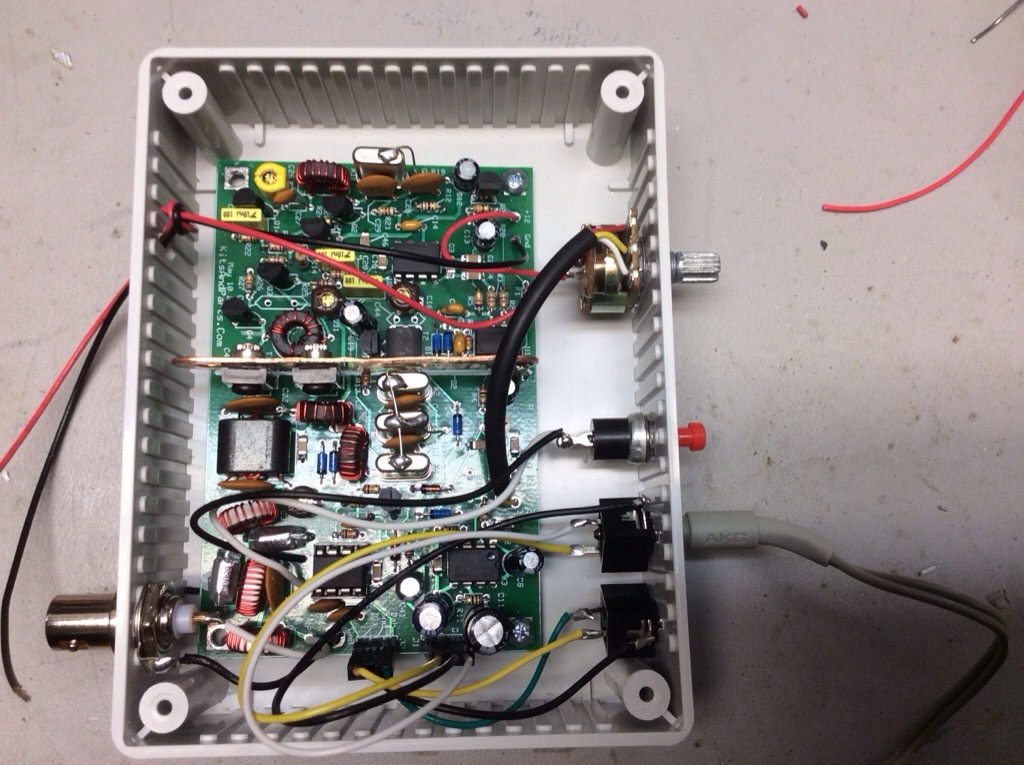
Mounted in a case. The included copper heat sink appears to be quite adequate. Still having thoughts about what type of power cable to use. My preference is Anderson PowerPole, but there are not a lot of chassis mounting options. I’m considering ordering some Anderson AutoGrip blocks from Hardened Power Systems.

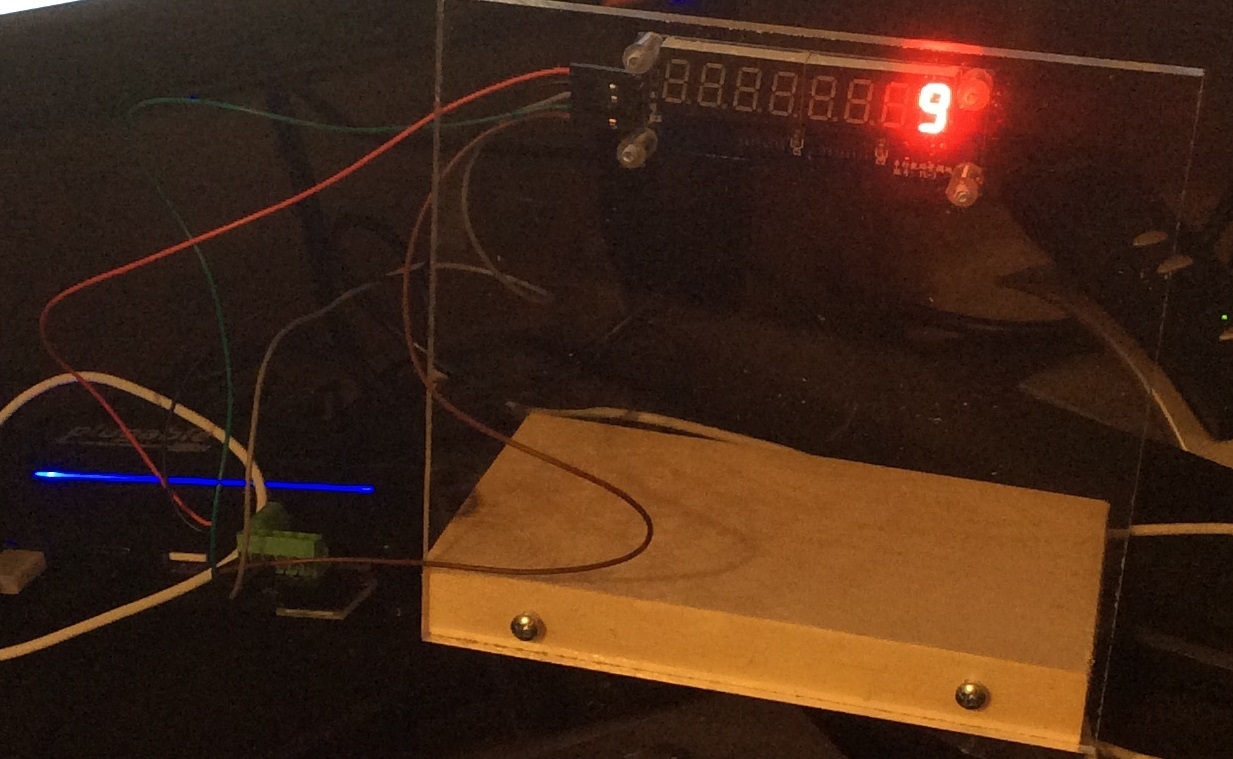
Building a TRAC bug display using Digispark
I decided to build a display for my desk at work that shows my current bug count using the 7 digit segment display that I purchased from DealExtreme. I do not want an Arduino hanging off a USB cable cluttering my desk (or draining my wallet). Enter the Digispark. Designed and produced by a local Portland company, the Digispark is an ATtiny85 that fits directly into a USB port.
On the computer side, A python program runs on my desktop. It queries Trac every once in a while and if the bug count changes, sends a message to the display.
Code for the Digispark:
#include <DigiUSB.h>

#define latch 0
#define clock 1
#define data 2
#define kDigitCount 8

char gDisplayBuffer[kDigitCount+1];

void setup()
{
   pinMode(latch, OUTPUT);
   pinMode(clock, OUTPUT);
   pinMode(data, OUTPUT);

   memset(gDisplayBuffer, ' ', kDigitCount);
   writeToDisplay(true);

   DigiUSB.begin(); // open DigiUSB
}


void writeDigit(int digit, char inValue)
{
  byte value = 0;
  byte bitsToSend = 0;

  bitSet(bitsToSend, digit);

  digitalWrite(latch,LOW);
  shiftOut(data,clock,MSBFIRST, bitsToSend);


    switch (inValue)
    {
        case '.': value = B01111111; break;
        case '1': value = B11111001; break;
        case '2': value = B10100100; break;
        case '3': value = B10110000; break;
        case '4': value = B10011001; break;
        case '5': value = B10010010; break;
        case '6': value = B10000011; break;
        case '7': value = B11111000; break;
        case '8': value = B10000000; break;
        case '9': value = B10010000; break;
        case '0': value = B11000000; break;
        case 'H': value = B10001001; break;
        case 'i': value = B11111011; break;

        default:
        case ' ': value = B11111111; break;
    }

    shiftOut(data,clock,MSBFIRST,value);

  digitalWrite(latch,HIGH);
}

void writeToDisplay(bool inOveride)
{
  for (int i = 0 ; i < kDigitCount ; i++)
  {
    if (' ' != gDisplayBuffer[i] || inOveride)
      writeDigit(i, gDisplayBuffer[i]);
  }
}


int readBytesUntil(char delim, char* outBuffer, int inMaxSize)
{
  int bytesRead = 0;
  int lastRead = 0;

  while ( bytesRead < inMaxSize )
  {
    if (DigiUSB.available())
    {
      lastRead = DigiUSB.read();

      if ('\n' == lastRead)
        break;

      outBuffer[bytesRead] = lastRead;
      ++bytesRead;
    }

    // refresh the usb port for 10 milliseconds
    DigiUSB.delay(10);
  }

  outBuffer[bytesRead] = 0;

  return bytesRead;
}


void loop()
{
  char cmdBuffer[16];

    if (DigiUSB.available())
    {
      memset(cmdBuffer, ' ', 16);
      int iBytes = readBytesUntil('\n', cmdBuffer, 12);
      cmdBuffer[iBytes] = 0;

      if (!strncmp(cmdBuffer, "SET ", 4))
      {
        if (12 != strlen(cmdBuffer))
          DigiUSB.println("ERR");
        else
          memcpy(gDisplayBuffer, &cmdBuffer[4], kDigitCount);
      }
      else if (!strncmp(cmdBuffer, "CLR", 3))
      {
          memcpy(gDisplayBuffer, "        ", kDigitCount);

          writeToDisplay(true);
      }
    }

  writeToDisplay(false);
  DigiUSB.refresh();
}
The Python code:
'''
The Windows (or desktop) software that periodically gets the bug
count from TRAC and sends it to the 8 digit display.
'''

import urllib
import time

from arduino.usbdevice import ArduinoUsbDevice

kTracUrl = "http://trac/report?asc=1&format=csv"


################################################################################
class TracAggregation:
   def __init__(self):
      self.m_BugTickets = 0

   def incrementBugs(self):
      self.m_BugTickets += 1

   def totalBugs(self):
      return self.m_BugTickets

   def __str__(self):
      return str(self.m_BugTickets)


################################################################################
class TracEntry:
   def __init__(self):
      self.m_Ticket    = None
      self.m_Summary   = None
      self.m_Type      = None
      self.m_Priority  = None
      self.m_Milestone = None


################################################################################
def parseLine(inLine):
   tokens = inLine.split(',')

   oEntry             = TracEntry()

   # change for your customized Trac query here
   oEntry.m_Ticket    = tokens[0]
   oEntry.m_Summary   = tokens[1]
   oEntry.m_Type      = tokens[4]
   oEntry.m_Priority  = tokens[5]
   oEntry.m_Milestone = tokens[6]

   return oEntry


################################################################################
def parseTracData(inData):

   entryList = []
   lineList  = inData.splitlines()

   for line in lineList[1:]: # skip the header

      try:
         oEntry = parseLine(line)
         entryList.append(oEntry)
      except:
         pass

   return entryList


################################################################################
def aggregateTracData(parsedData, bExcludeBacklog=True):

   oData = TracAggregation()

   for oEntry in parsedData:
      if "Bug" == oEntry.m_Type:
         if bExcludeBacklog and "Backlog" != oEntry.m_Milestone:
            oData.incrementBugs()
         elif not bExcludeBacklog:
            oData.incrementBugs()

   return oData


################################################################################
def getTracData(url=kTracUrl):
   try:
      tracConnection = urllib.urlopen(url)
      tracData       = tracConnection.read()
      tracConnection.close()
   except Exception as e:
      print(e)
      return (False, None)

   parsedData     = parseTracData(tracData)
   aggregatedData = aggregateTracData(parsedData)

   return (True, aggregatedData)


################################################################################
def sendToDisplay(inMessage):

   try:
      theDevice = ArduinoUsbDevice(idVendor=0x16c0, idProduct=0x05df)
   except:
      return False

   for c in "SET ":
      theDevice.write(ord(c))

   for c in inMessage:
      theDevice.write(ord(c))

   return True


################################################################################
if __name__ == "__main__":

   lastTotalBugs = 0

   while (True):
      (ok, tracData) = getTracData()

      if ok and lastTotalBugs != tracData.totalBugs():
         displayMessage = str(tracData.totalBugs()).rjust(8, ' ')
         lastTotalBugs  = tracData.totalBugs()

         # only send the new bug count if it changed
         sendToDisplay(displayMessage)

      time.sleep(60)