Bogey runt rover

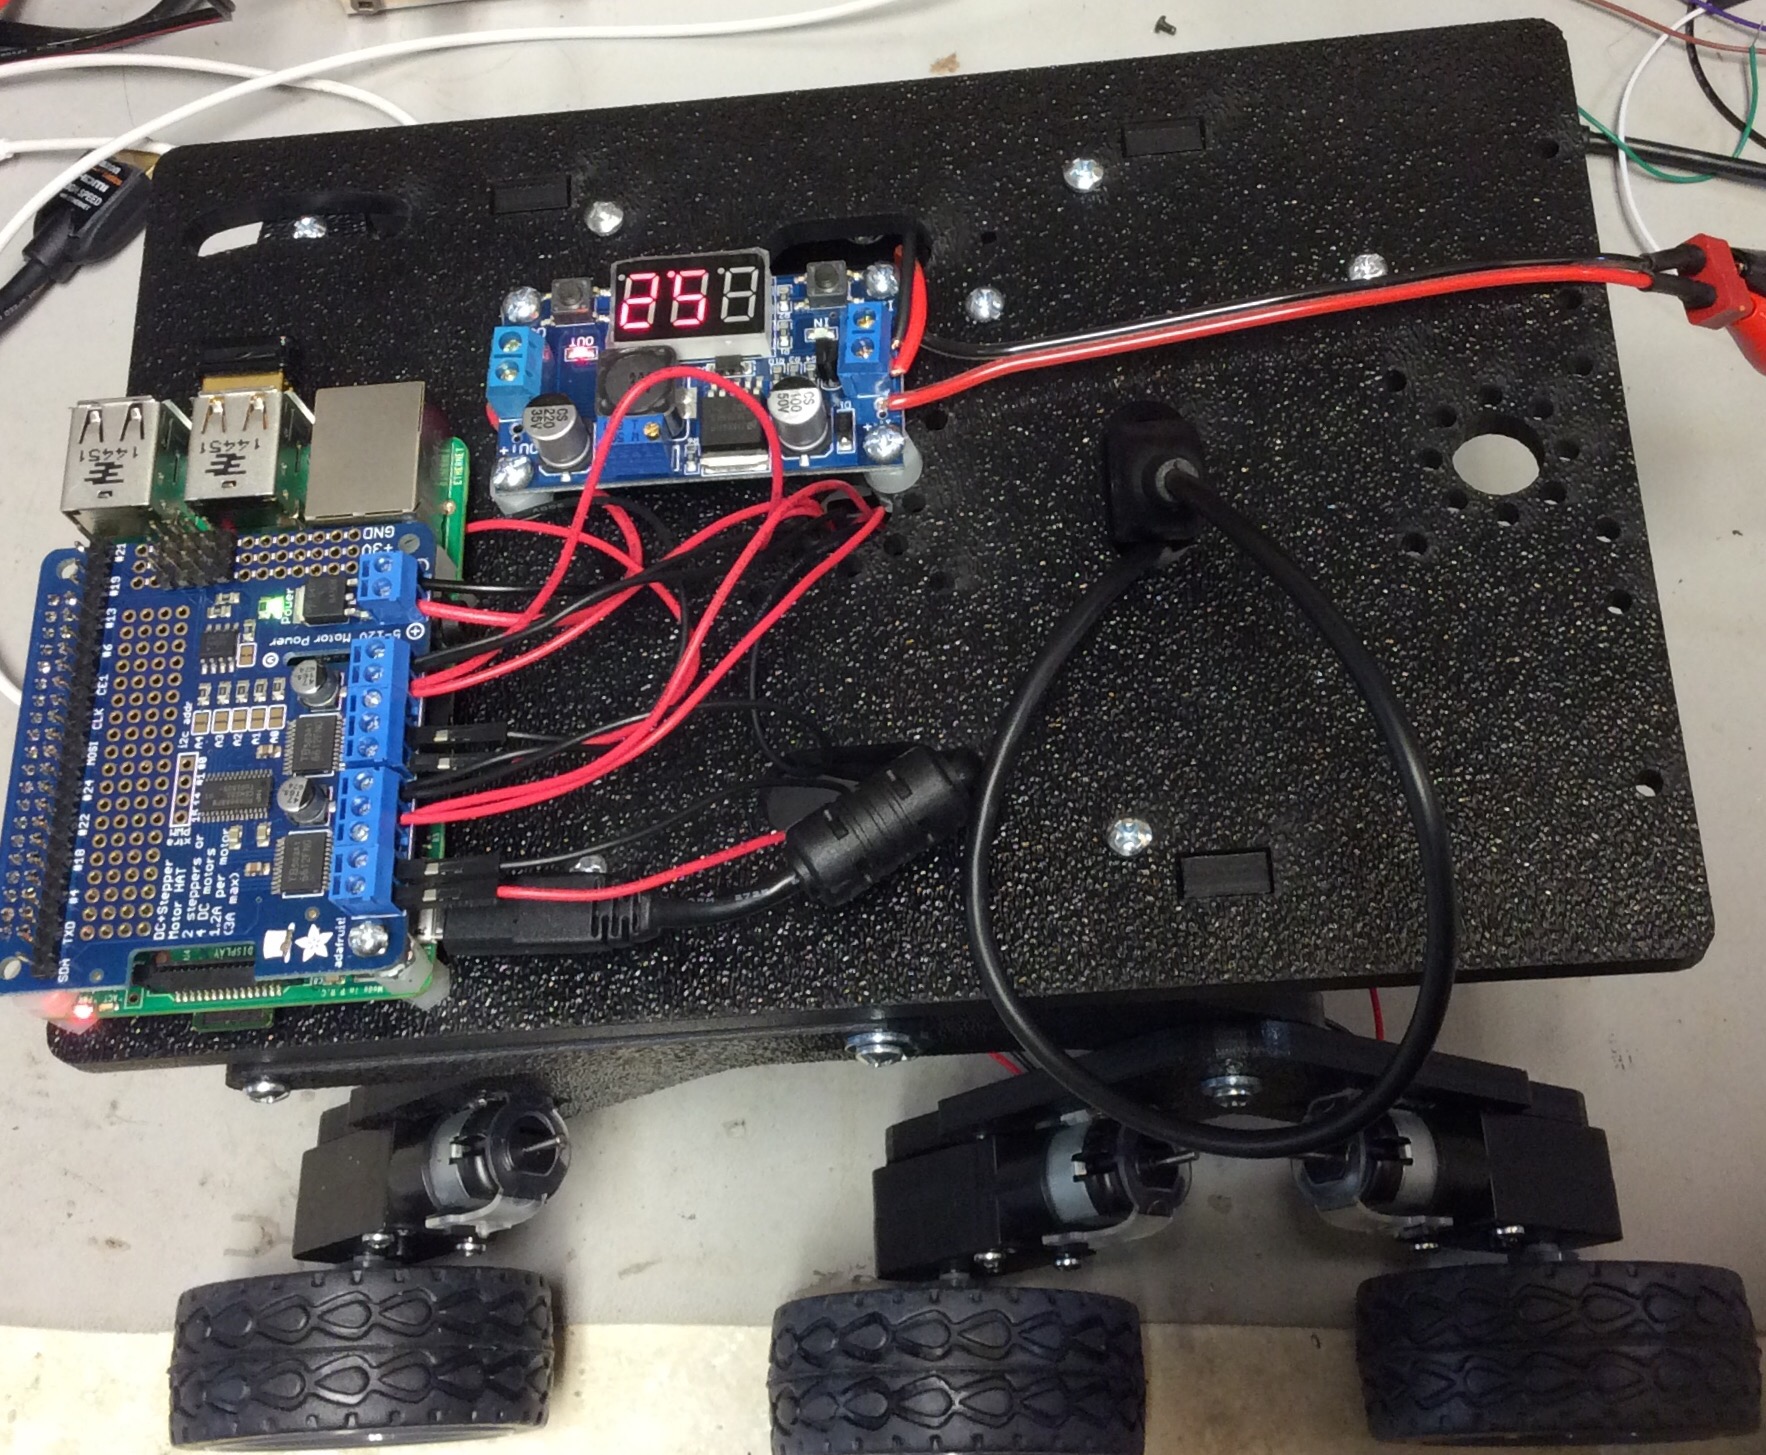
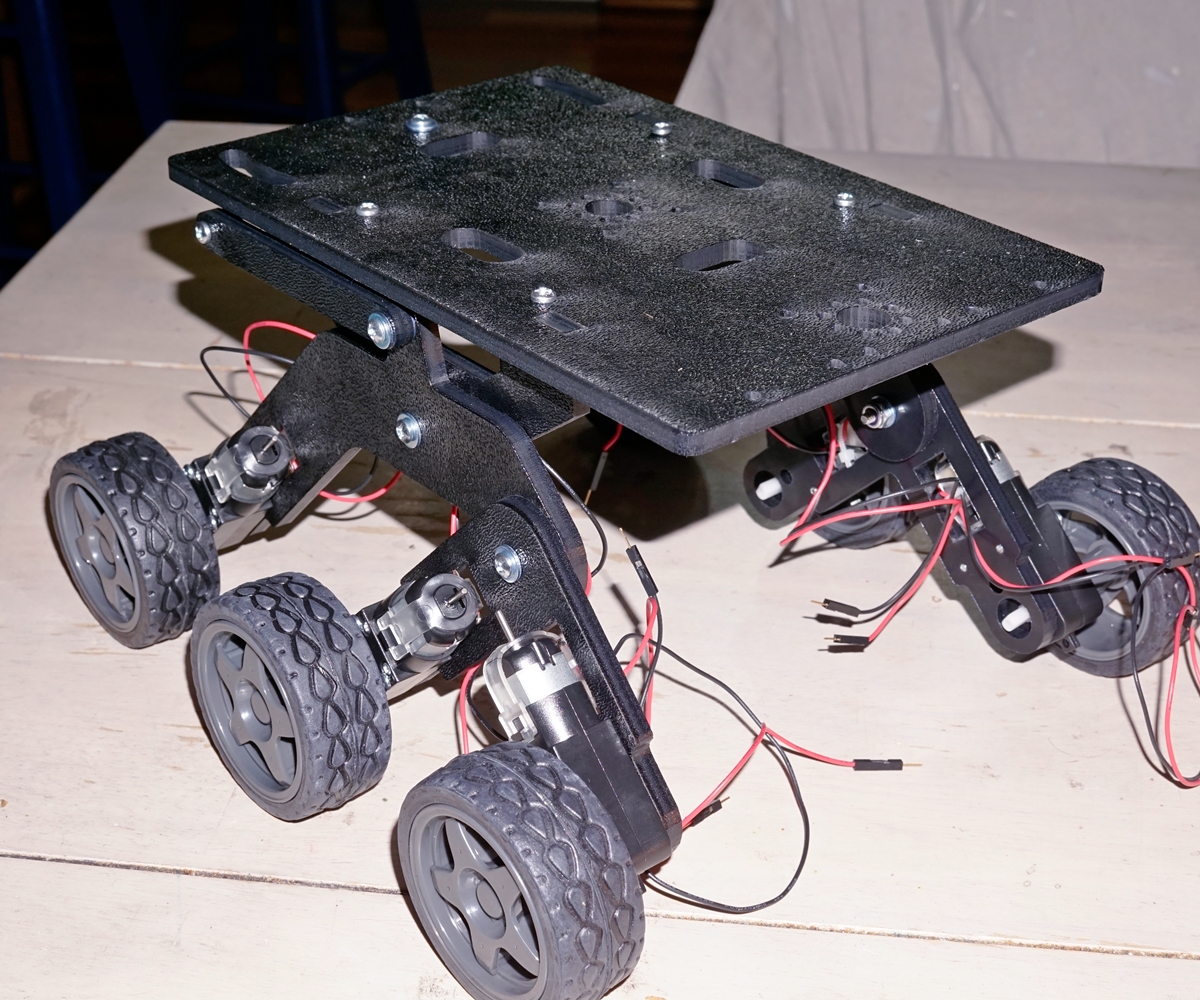
I ran across the Actobotics Bogey Runt Rover on Amazon a few weeks ago. I thought the platform was pretty neat. I have some reservations about the motors, they look cheap. The platform itself is really solid. I’m pleased with it.

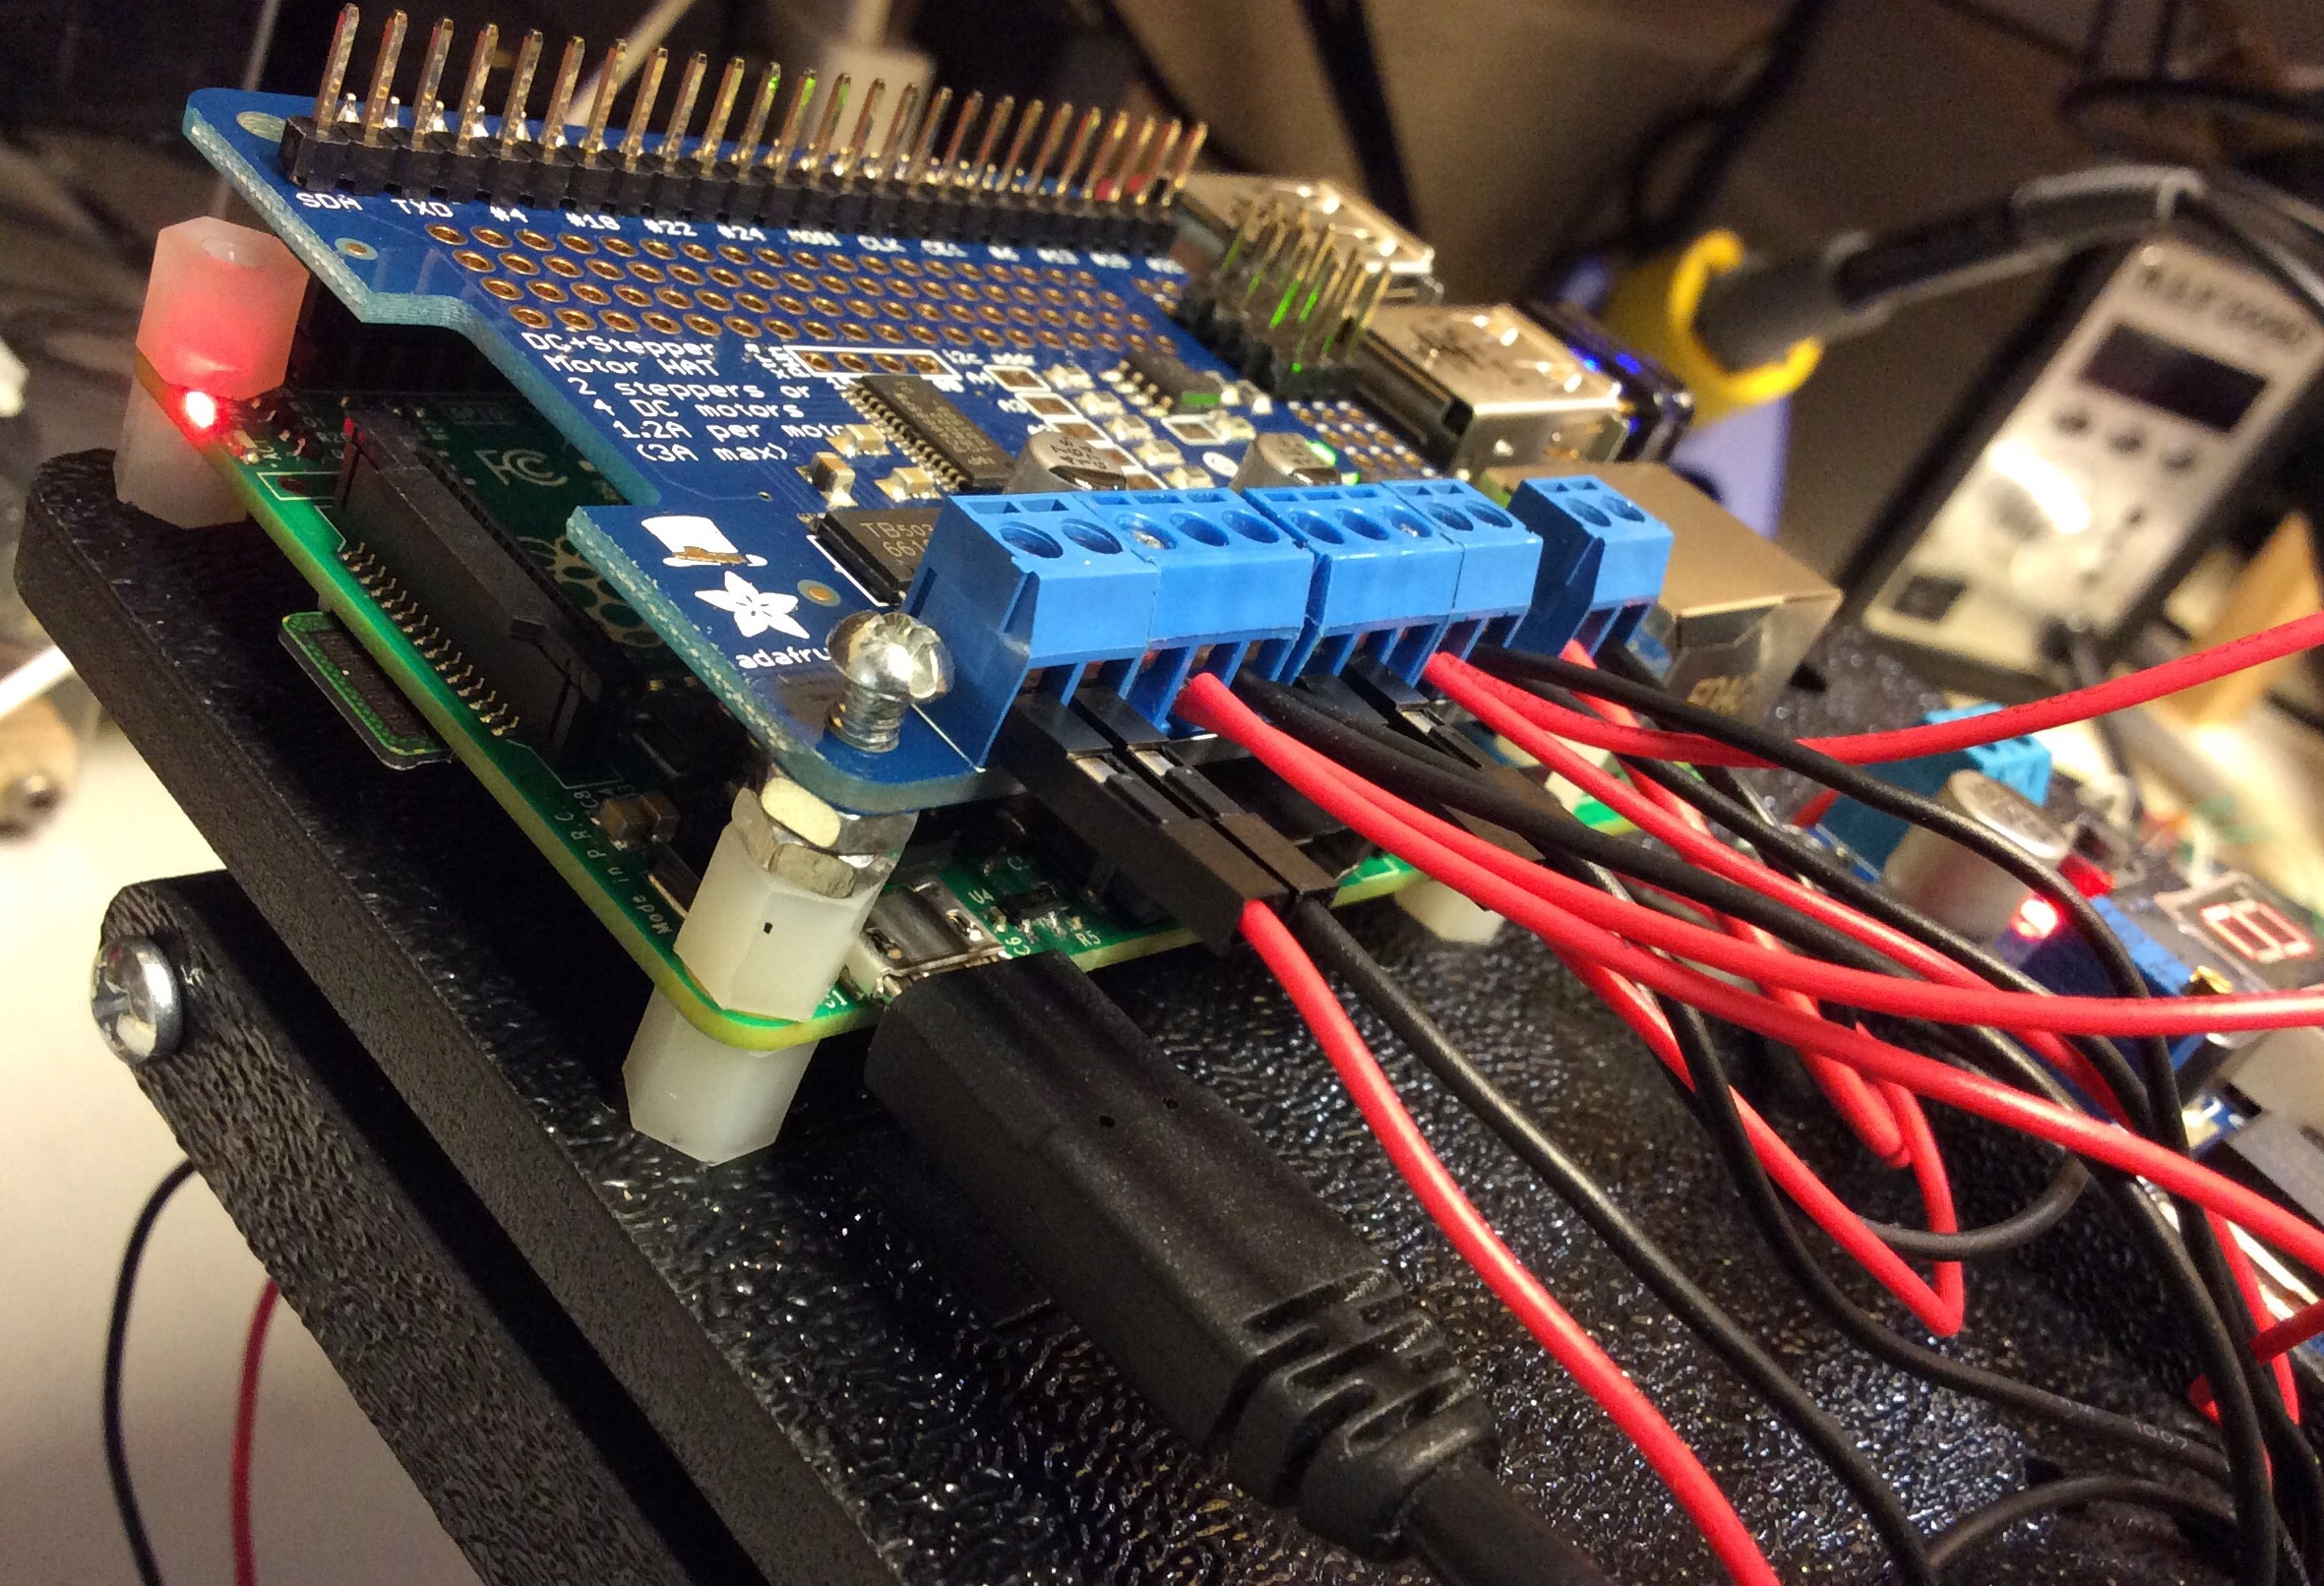
I’ve got a Raspberry PI 2 and an Adafruit 4 motor hat installed on it. There is plenty of room on the platform for batteries, sensors, etc. The 2nd blue PCB in the picture is a DC-DC converter. I’m going to use a 7.4 volt LiPO battery, and I’m down converting it to 4.5 to 5 volts.


Actobotics Bogie Runt Rover

The rain is starting up again here in Oregon. It’s time to start stock piling indoor projects. I recently came across the Bogie Run Rover on Amazon. It’s a cute little robotics platform that is mechanically ready to go. You provide your own electronics. The rover comes with six motors! Unless you chain the two sides together, you won’t be driving this with a generic Arduino motor shield.

My lovely assistant took an interest and spent the hour assembling it with me.

bogie runt rover 1

bogie runt rover motor

assembled bogie runt rover

Under Desk Rack Mount Switch

There are not enough network ports in my office. There are ten home runs to my house’s backbone switch.
With all the network enabled devices I’ve built and computers, I’ve maxed these out.

I have this Cisco switch in storage, but it is big and awkward. This kind of switch is meant for a telecom closet with a rack. To solve this, I purchased some cut rack rails and mounted them on 2×4’s that are screwed under the work table. The switch is recessed far enough that the cable’s won’t exceed the depth of the table.

rack mount switch

Particle Photon has Arrived

My batch of Particle Photon’s arrived on June 27.

I also have a first gen Spark Core. The software stack is much more mature now. Compared to the Spark, the Photon’s are a breeze to setup. They download the latest firmware quickly, and come online. I used my iPad Air to do the associations, the iOS app is much easier to use. Why use an arduino, when you can have ARM power and WiFi for $19.

particle photon

Streamlight Double Clutch

My wonderful wife bought me the new Streamlight Double Clutch head lamp. For run of the mill head lamps Streamlight has really good offerings. Our local Bimart used to carry a $13 3x AAA headlamp. I purchased quite a few of these to stash in backpacks and give to the kids.

There are two features the Double Clutch has that makes it unique: rechargeable lithium polymer (lipo) that uses a micro USB port to charge, and the ability to remove that battery and use straight AAA’s. Just for kicks I pulled out one of my Poweradd 7 watt solar panels and topped up the battery. There is a red/green LED in the lipo battery that tells you if the battery is charging or full. It took about three hours for the battery to register fully charged-I don’t know what the state of the battery was upon arrival.

EARCHI end fed


The new house is in a small development with a HOA. There is enough space in the backyard for a stealth antenna, but not enough length for a dipole. With all the talk on QRP-L, I decided to built an EARCHI end-fed antenna. I really want the 20/17/15 bands. My two story house is about perfect height to meet the minimum 1/4 bandwidth above ground. I used a T130-2 from partsandkits.com.
IMG_0626.JPG


IMG_0627.JPG


Lego play table

I built this LEGO play table over the weekend. It holds nine 10″ base plates on the top and has a bin below to store all the LEGO’s.

I read about screw and gluing three 1×4’s together (laminating?) to cut down lumber cost and increase the strength of the wood. I tried this approach with the vertical leg pieces. I used 2 inch Kreg screws to hold the pieces together after gluing and clamping them. After the legs dried, I ran a belt sander over it to make it smooth. I drilled holes in the bottom of the legs for some salvaged rolling casters. I was skeptical the holes would be strong enough given this pine is really soft. So far so the holes have not degraded.

I did end up having to trim off a few millimeters on the LEGO base plates. It turns out you can run them through a table saw. I used a 140 TPI blade, and had no problems shaving just a bit off. (the kids have not noticed yet.)


IMG_0621.JPG


IMG_0622.JPG