Lego play table

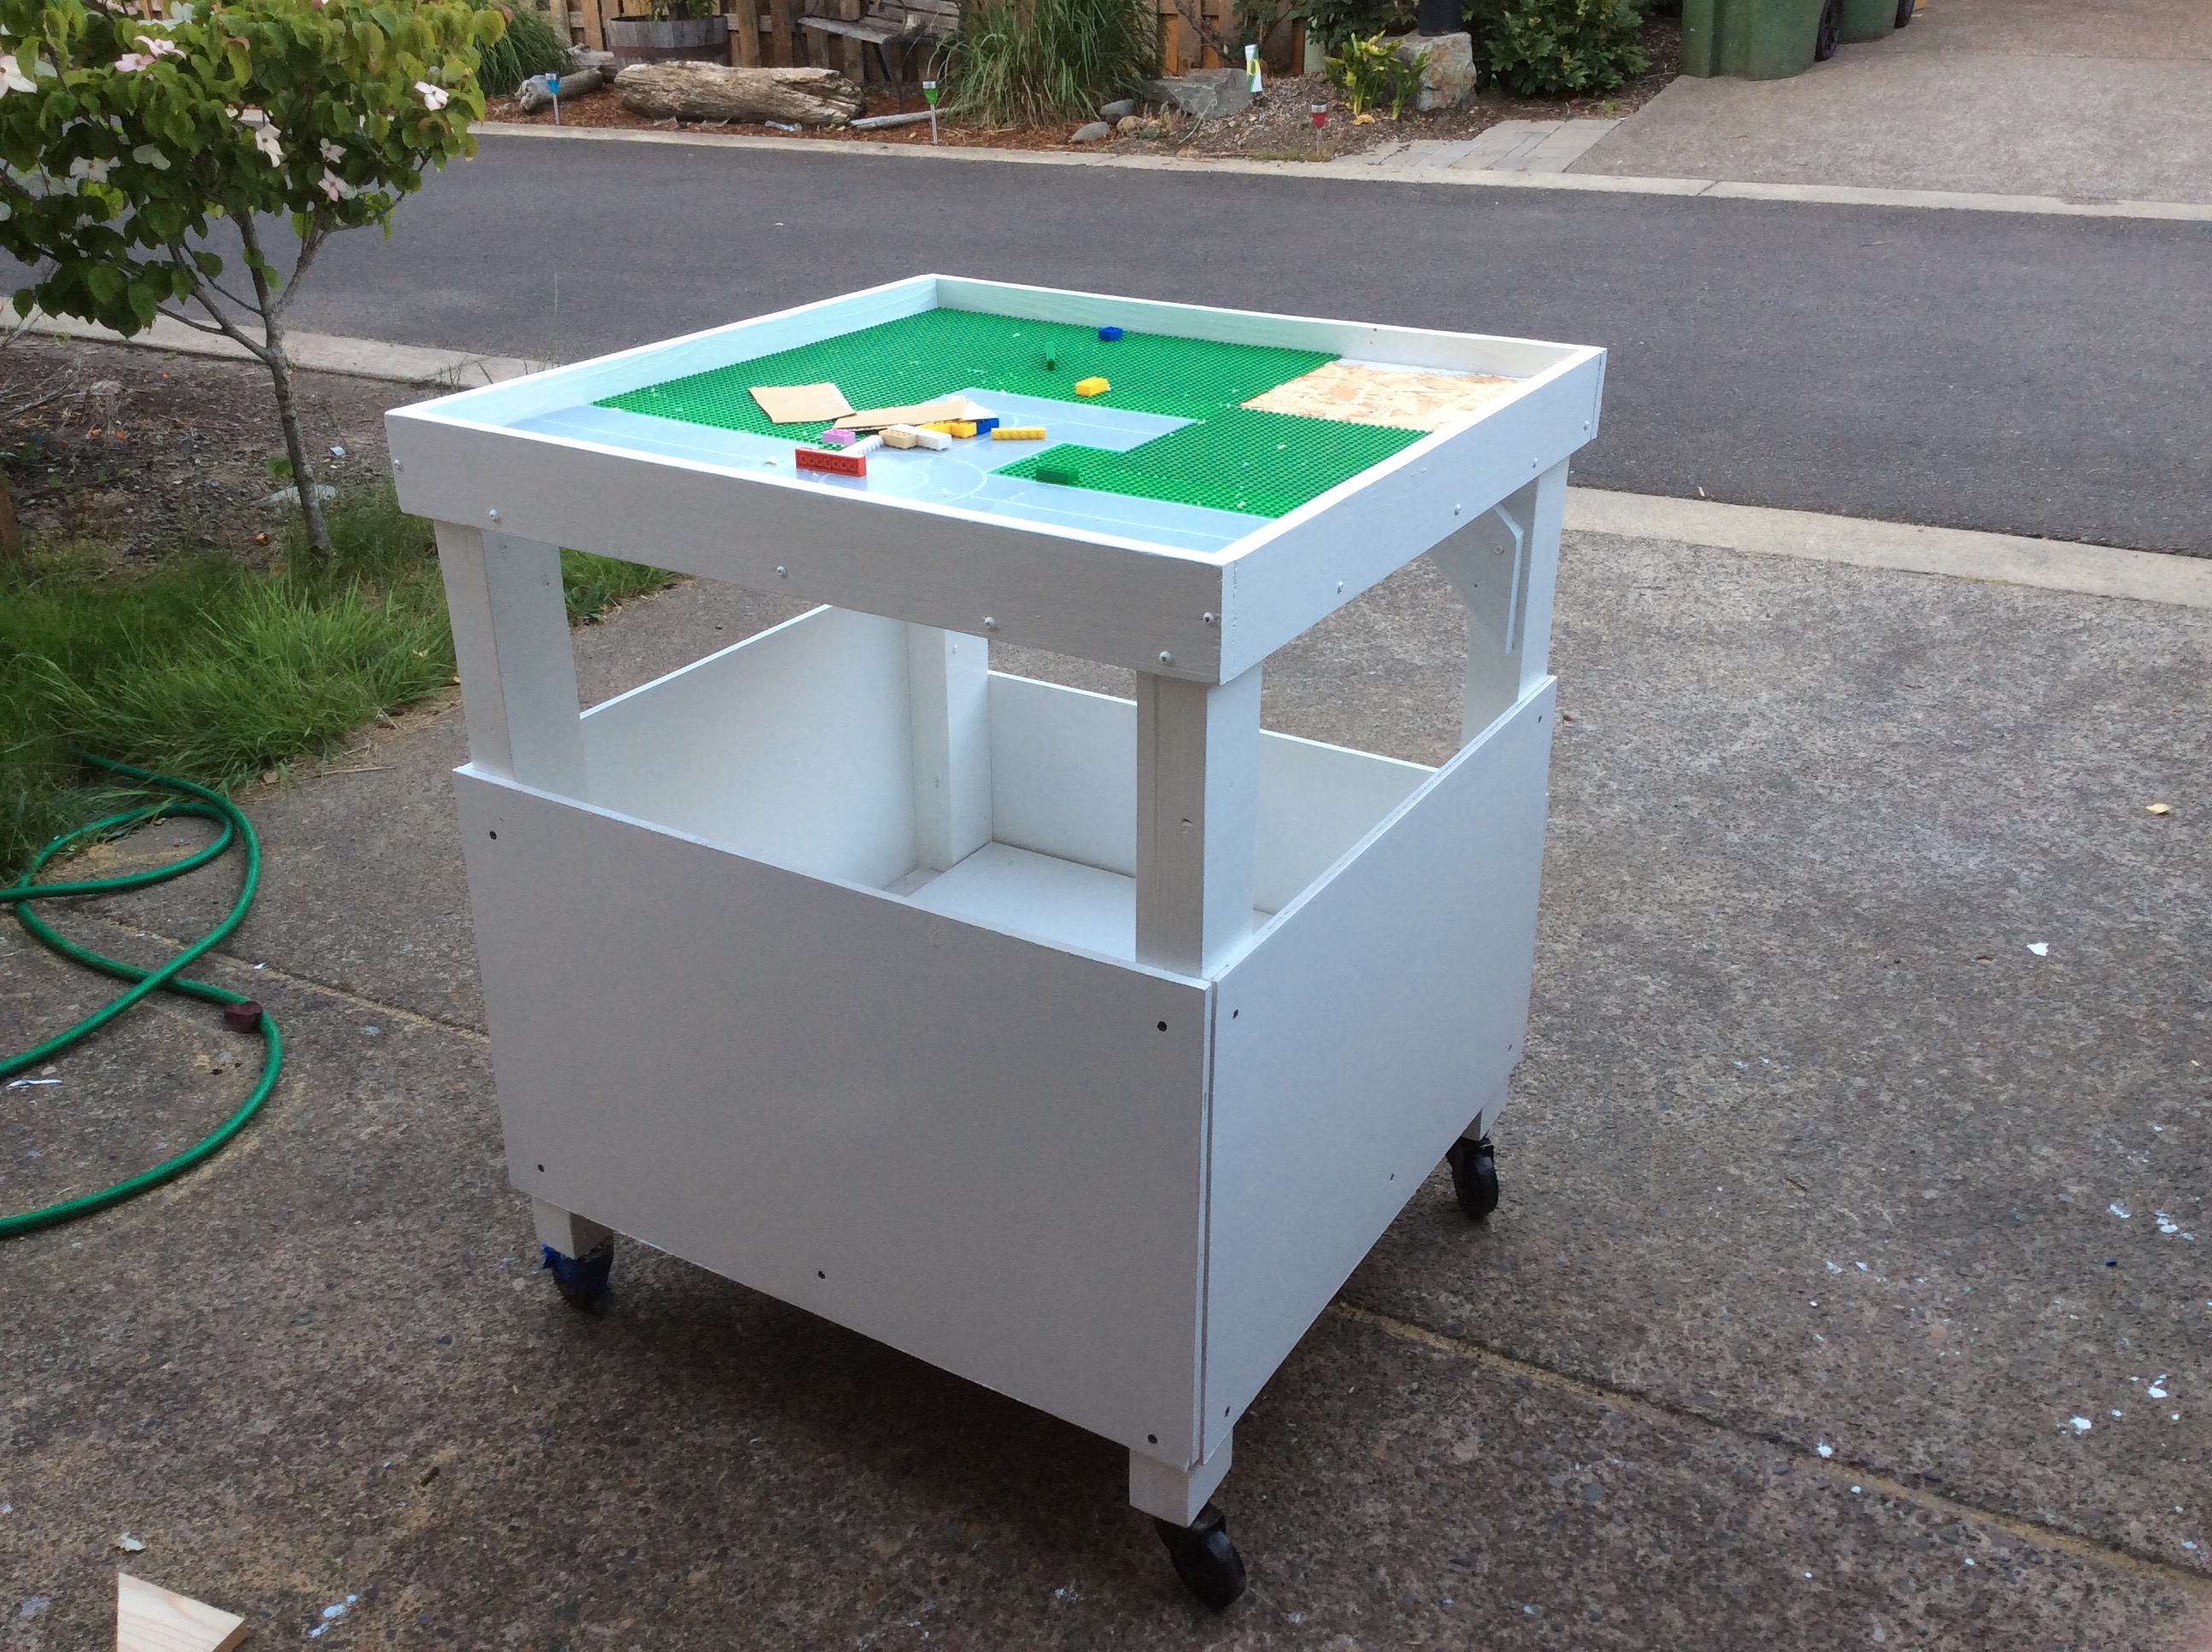
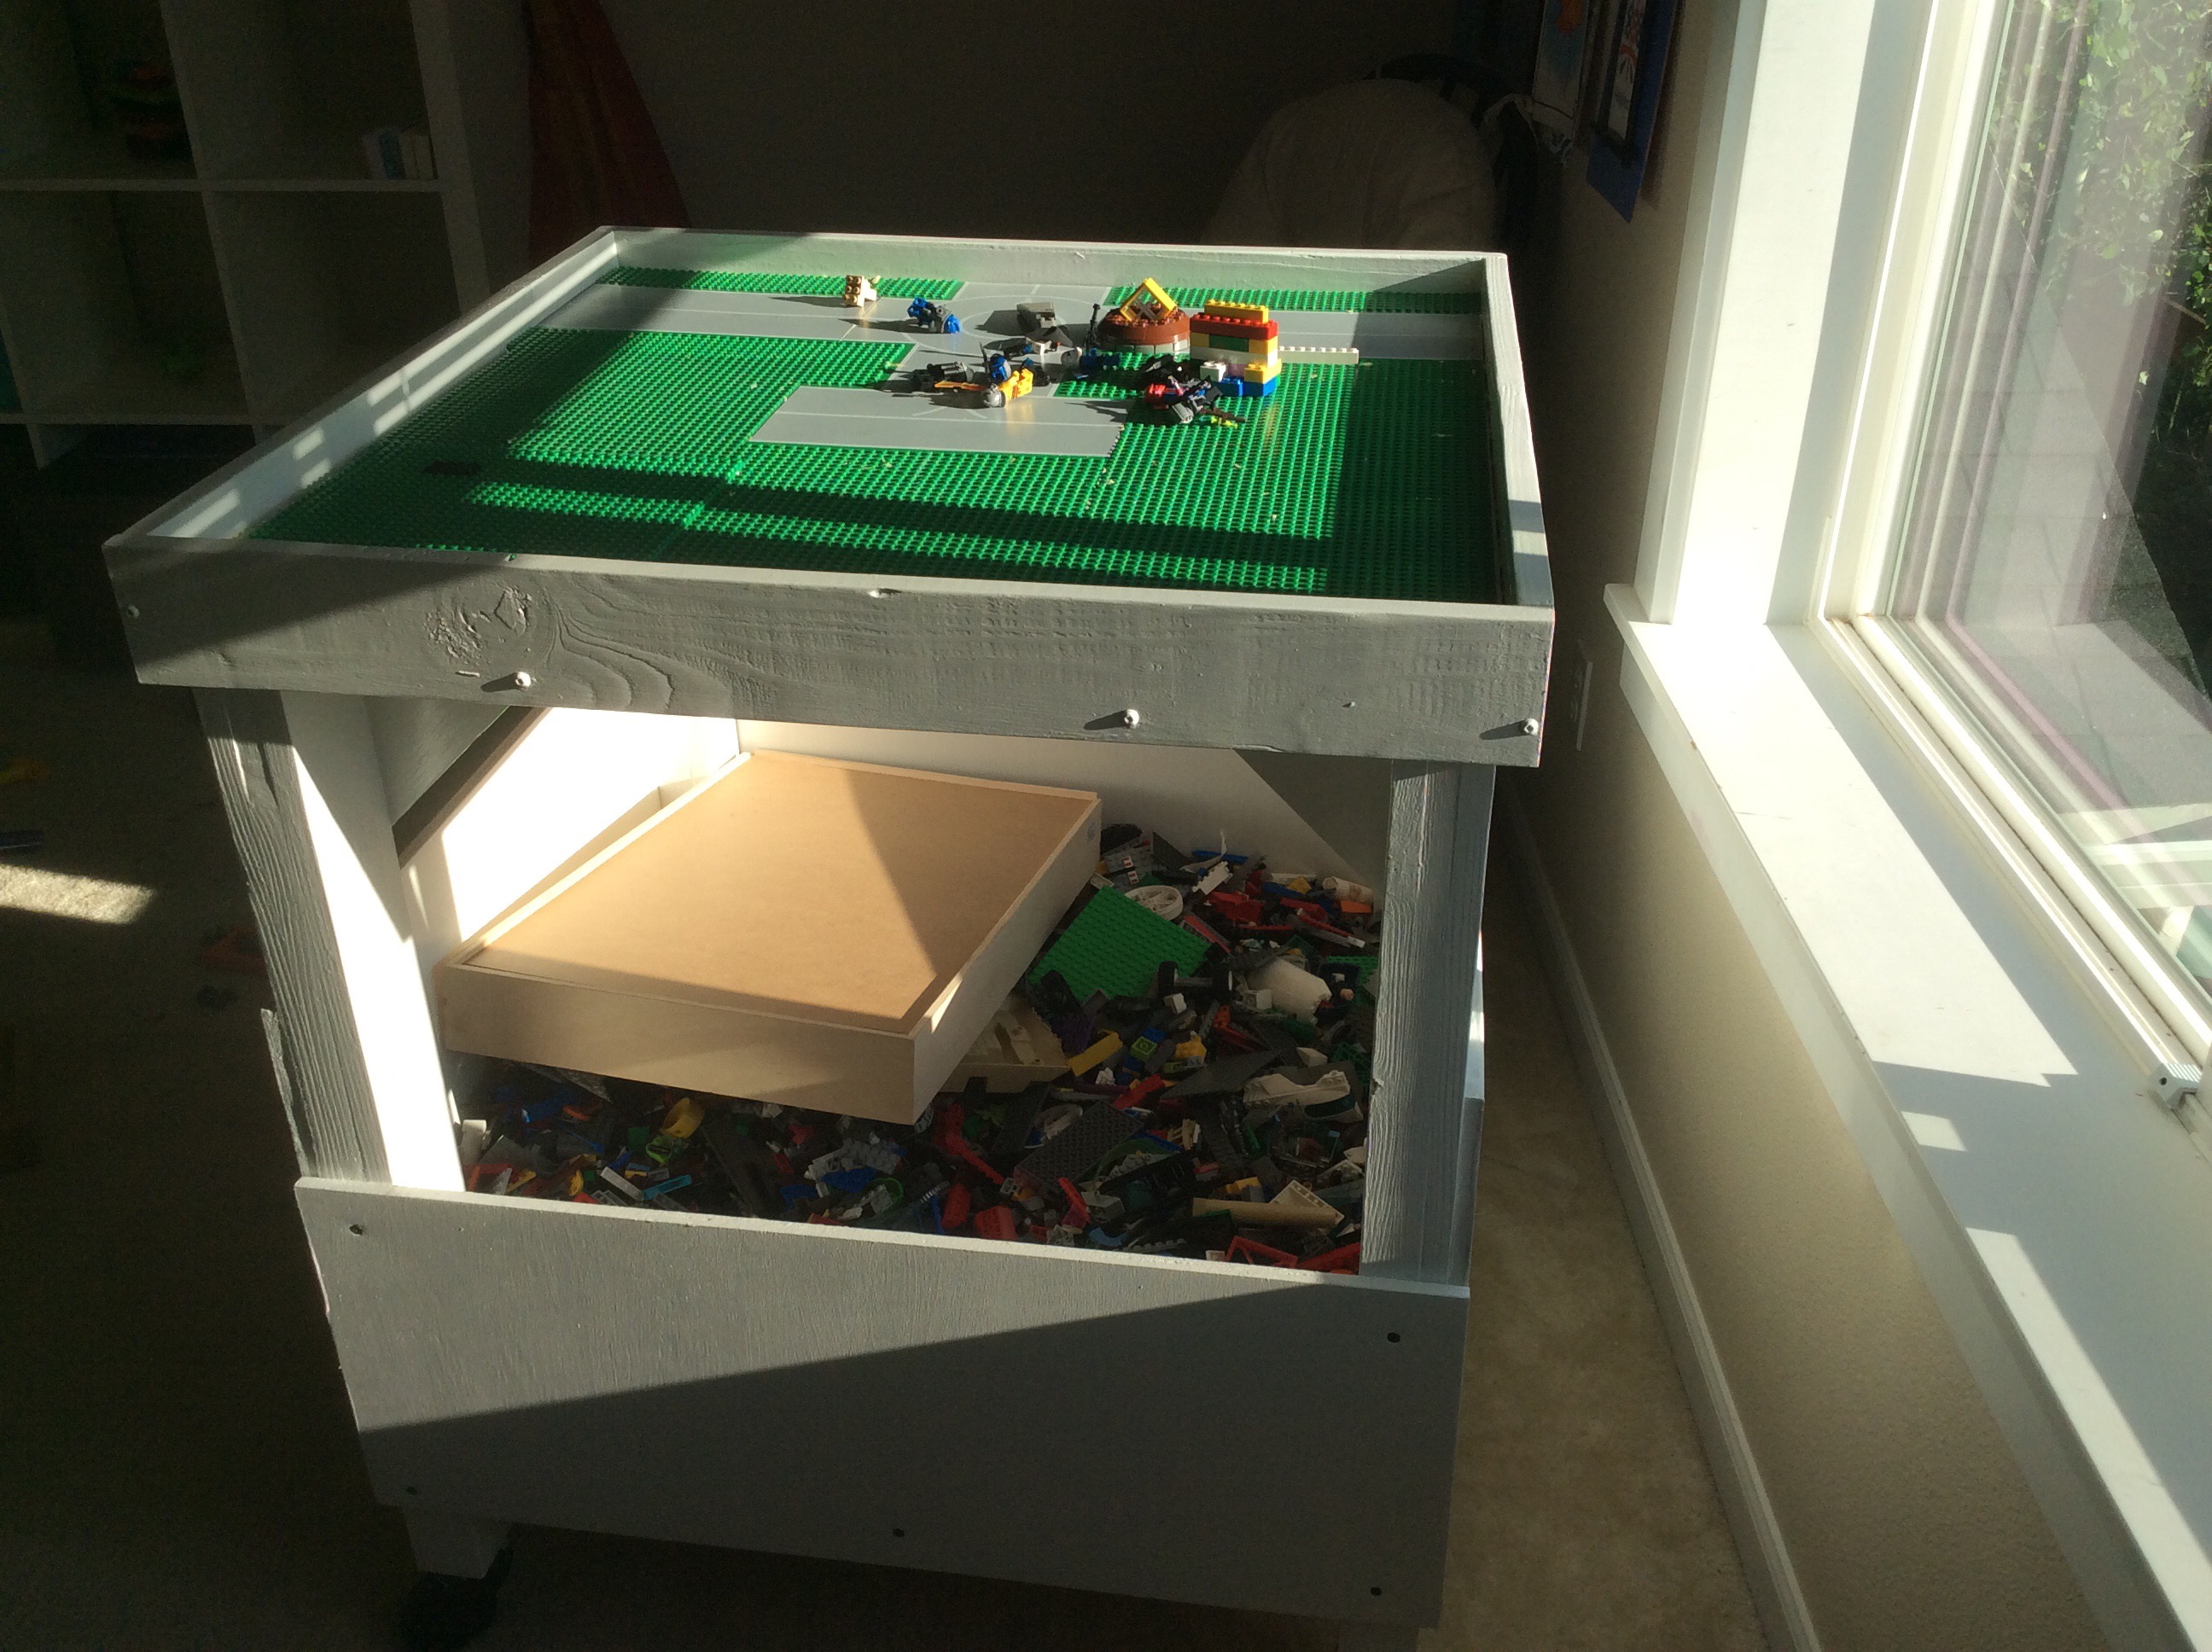
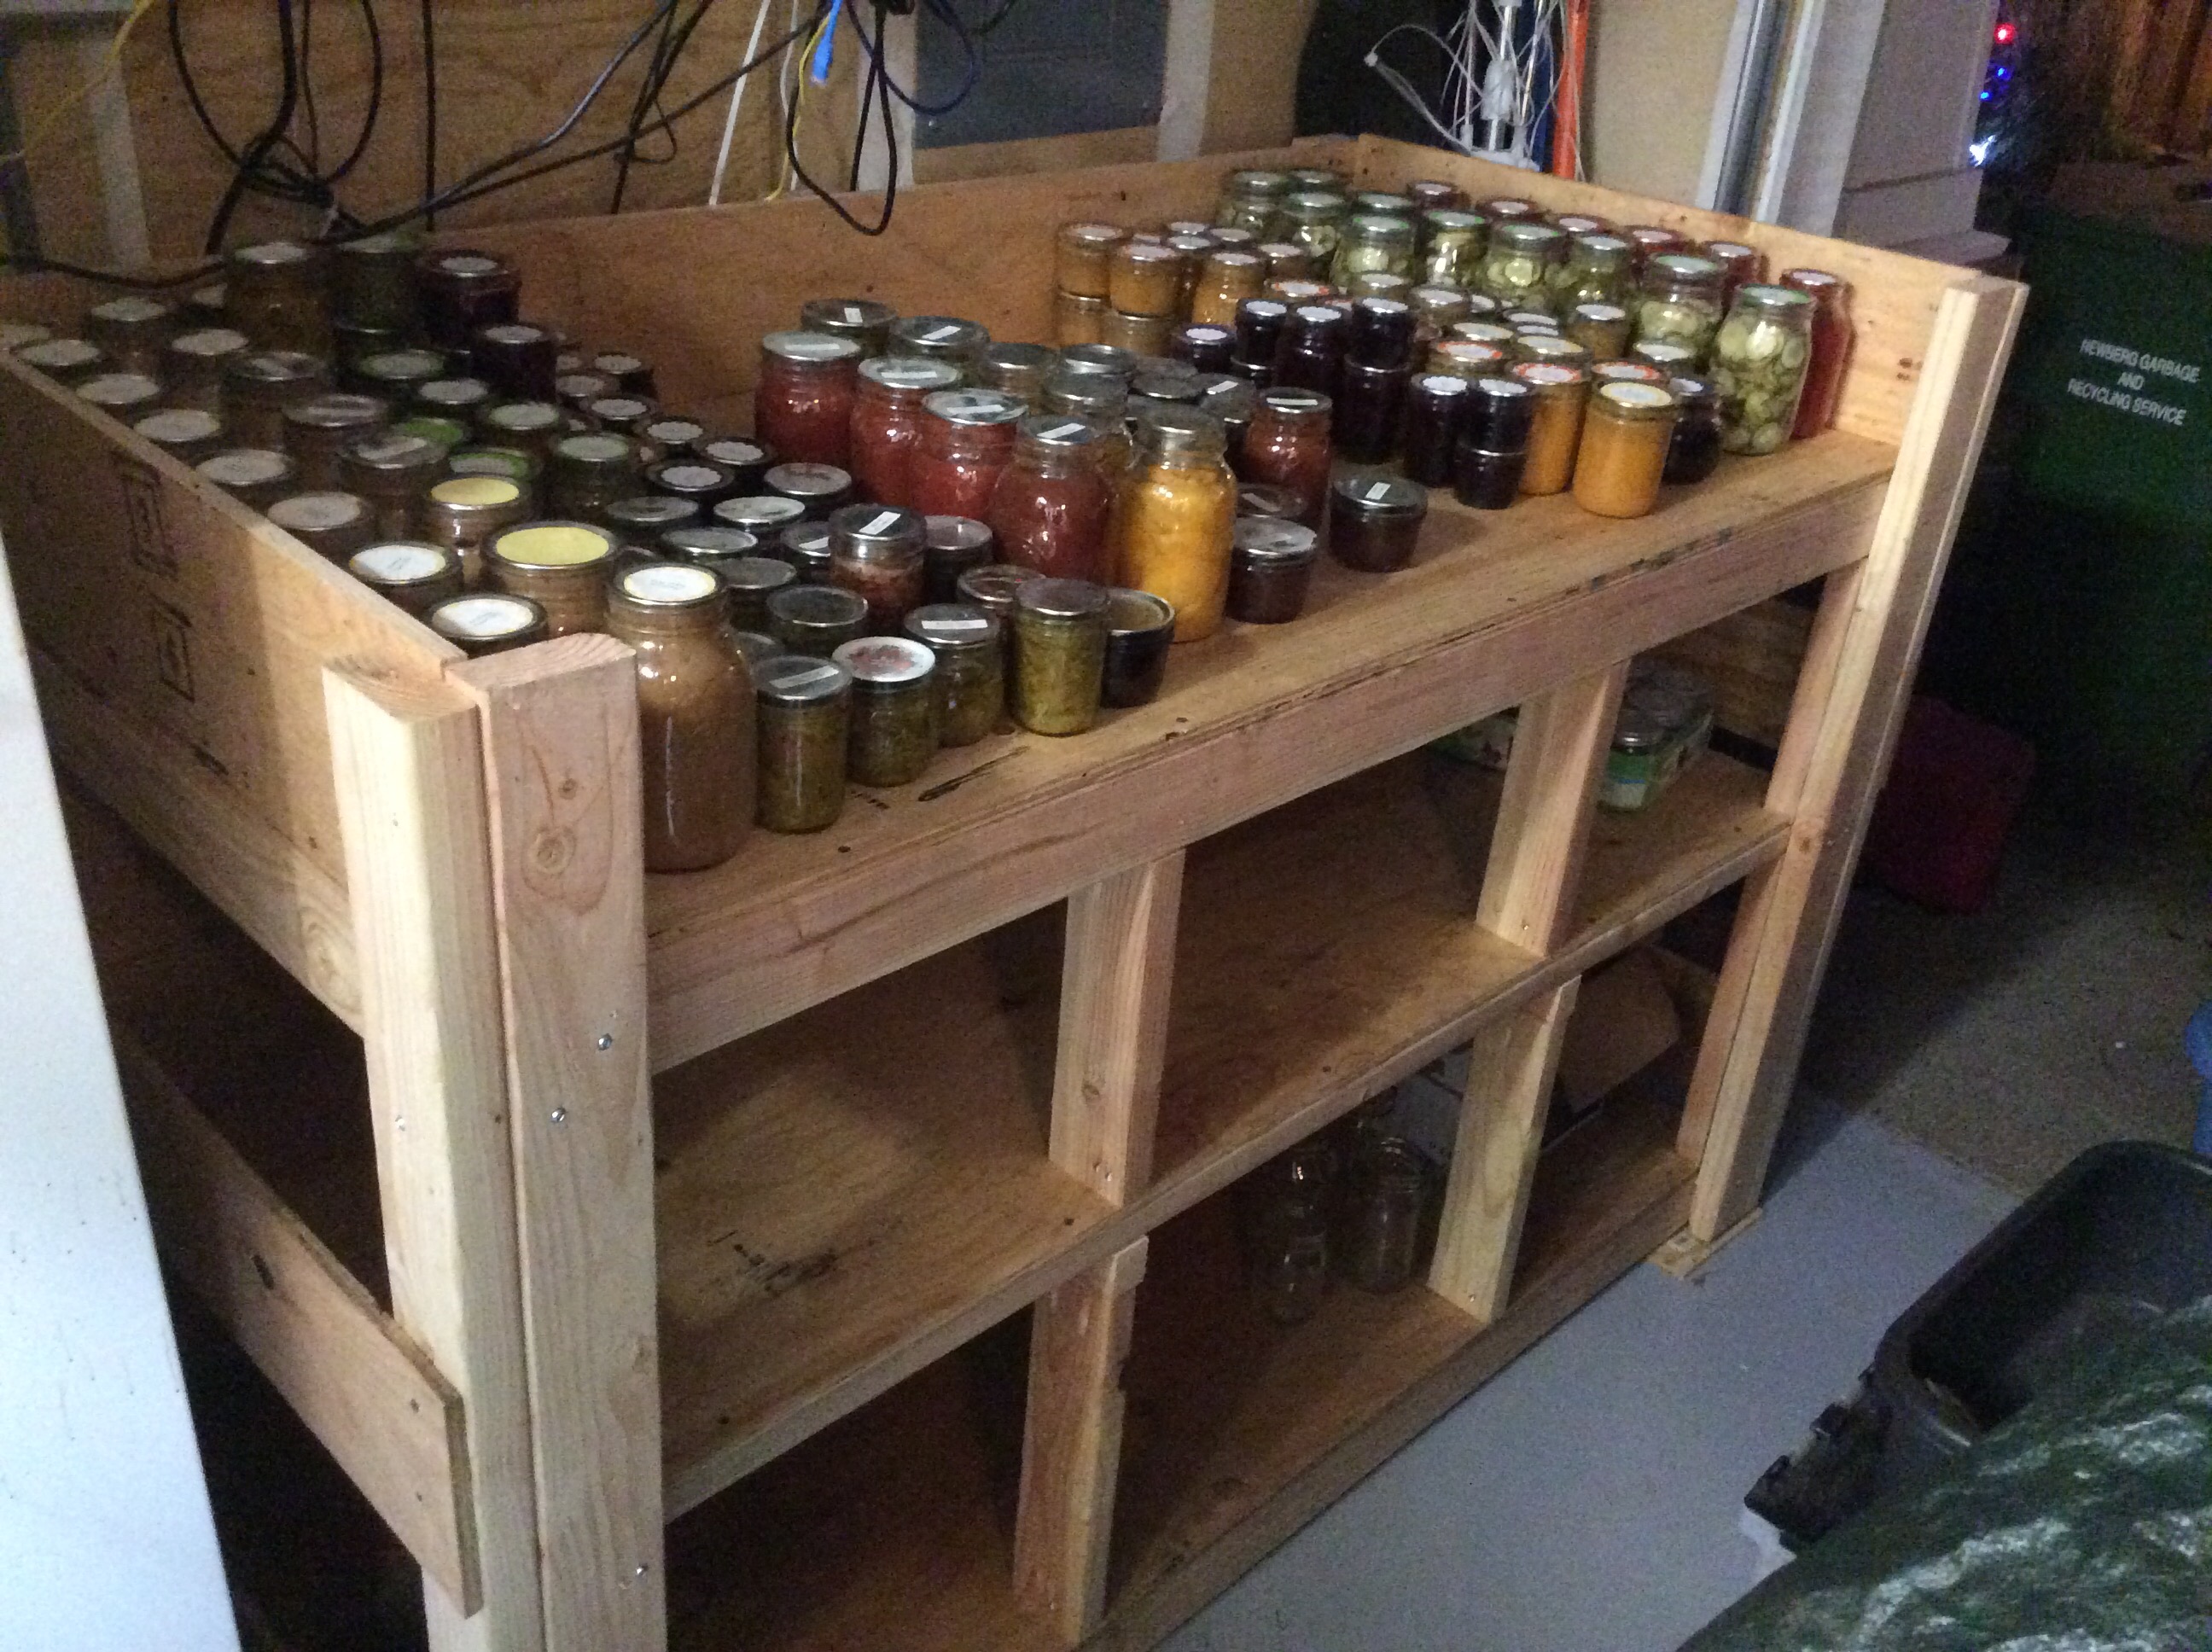
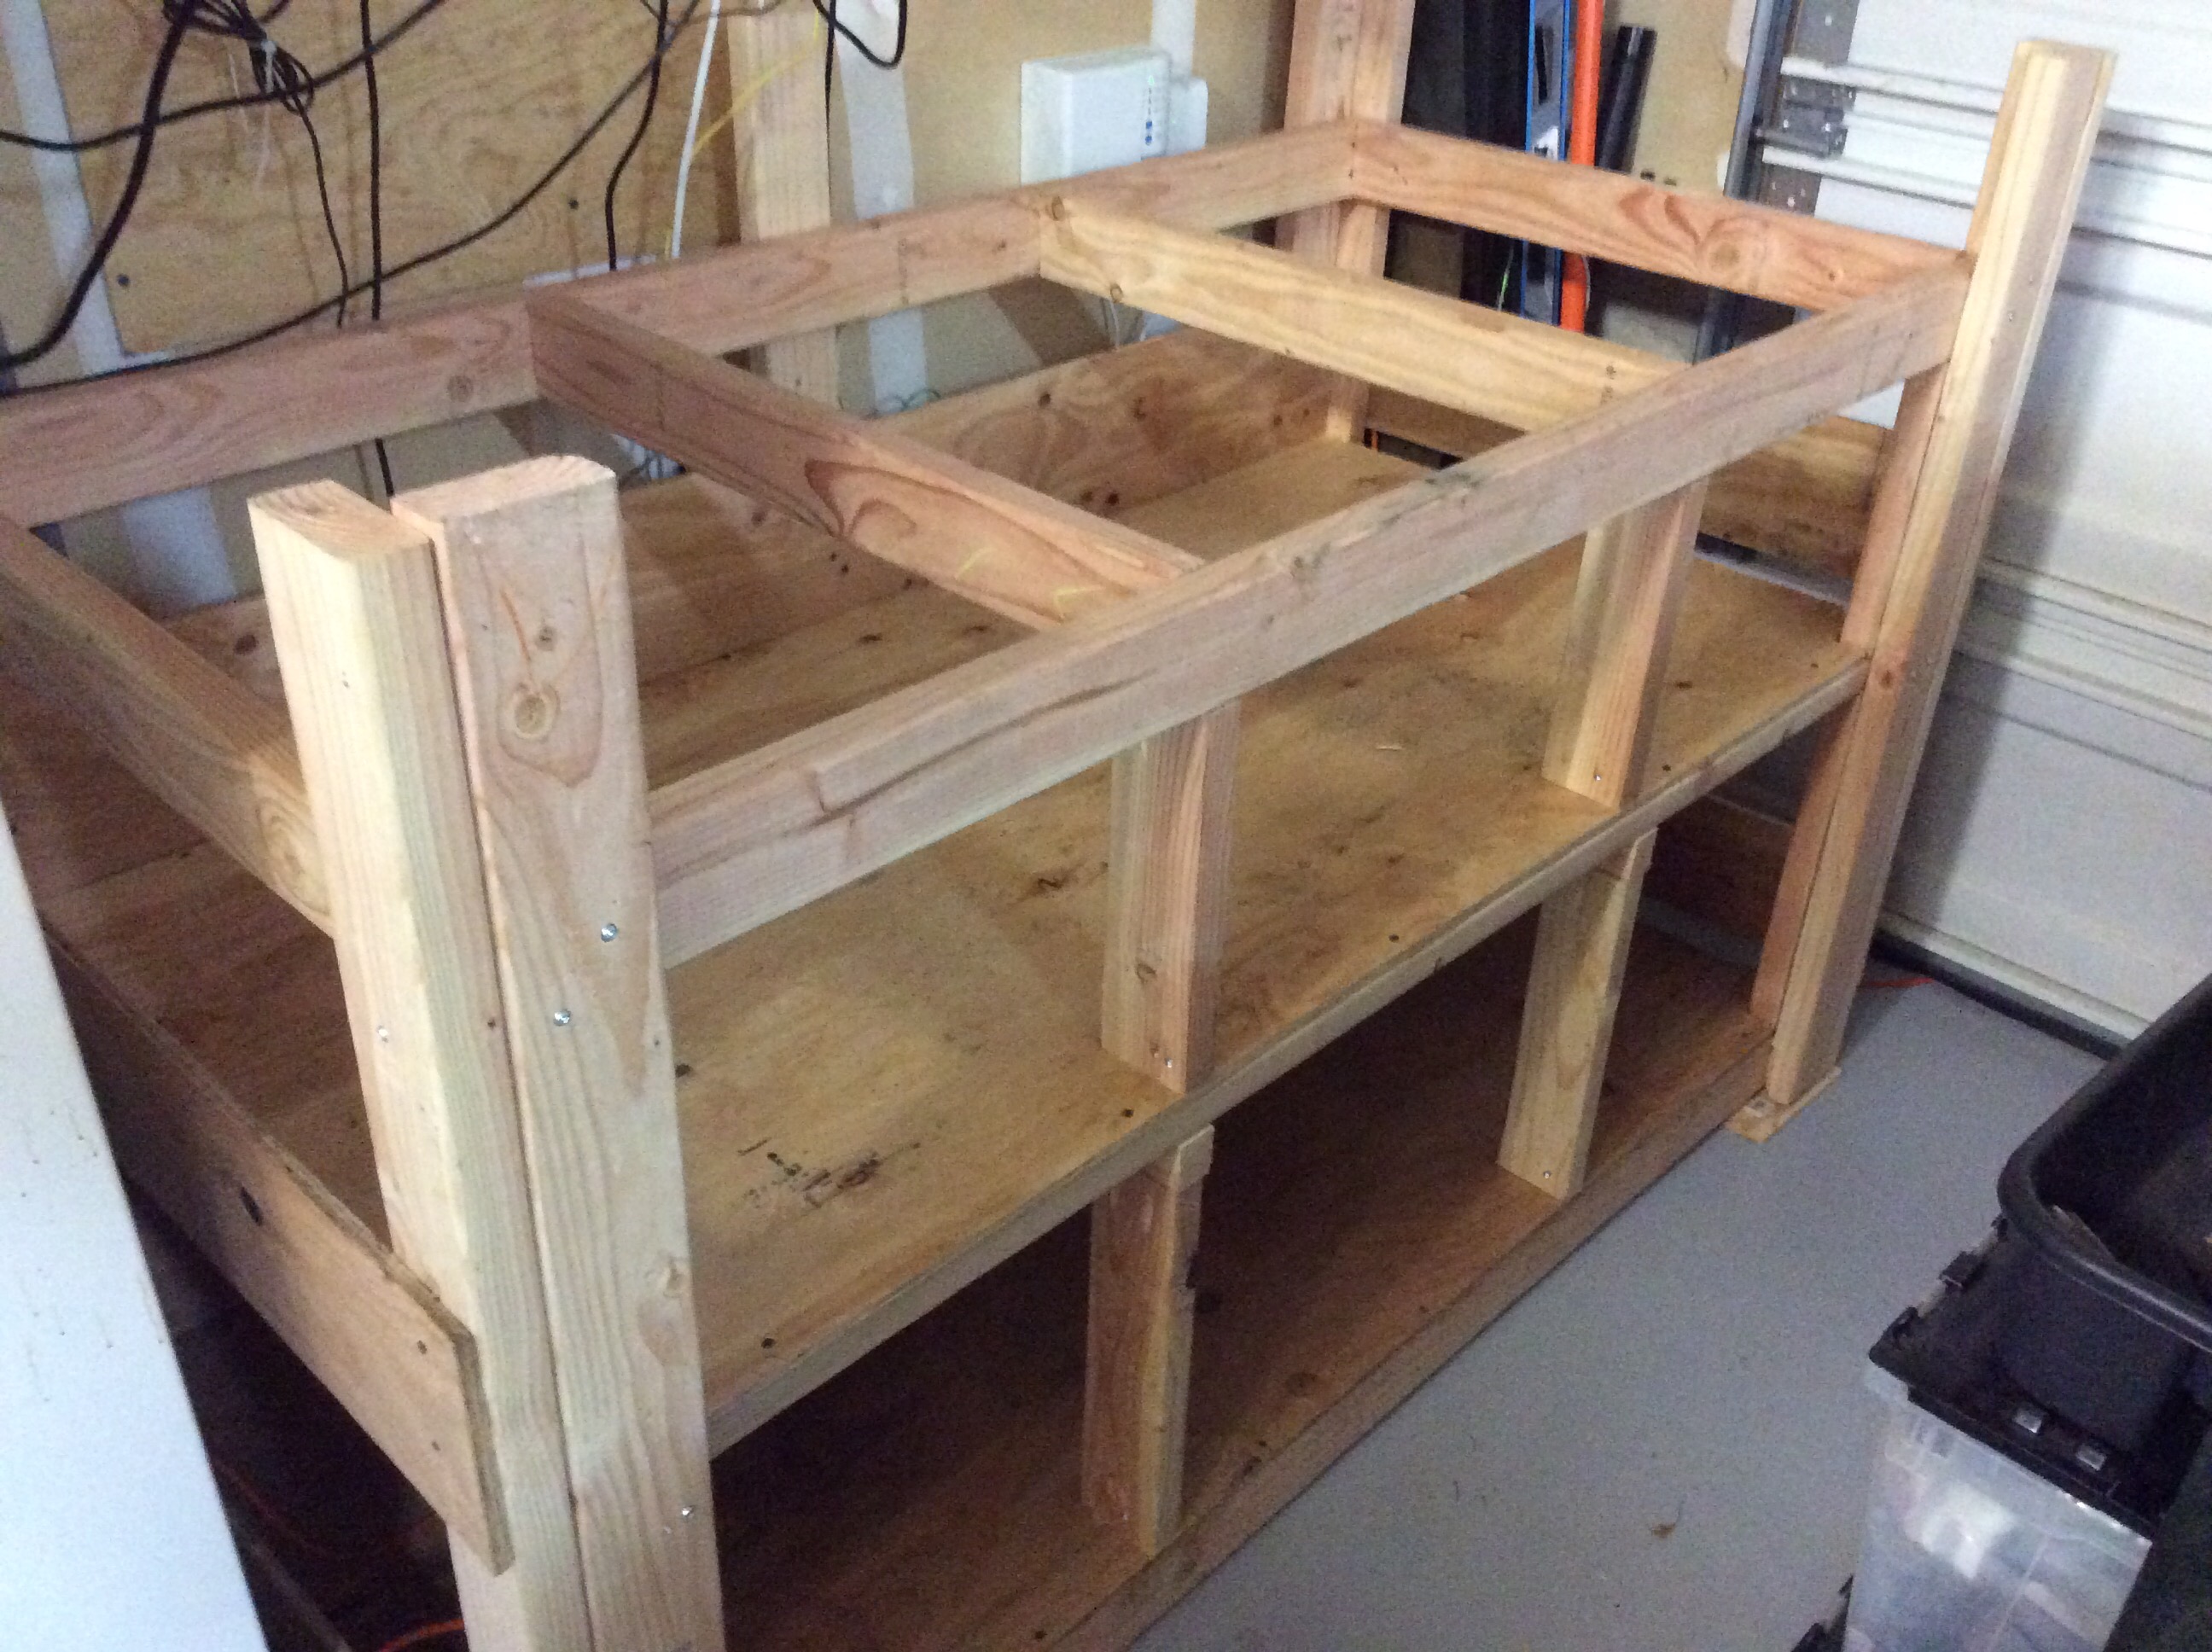
I built this LEGO play table over the weekend. It holds nine 10″ base plates on the top and has a bin below to store all the LEGO’s.

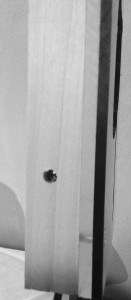
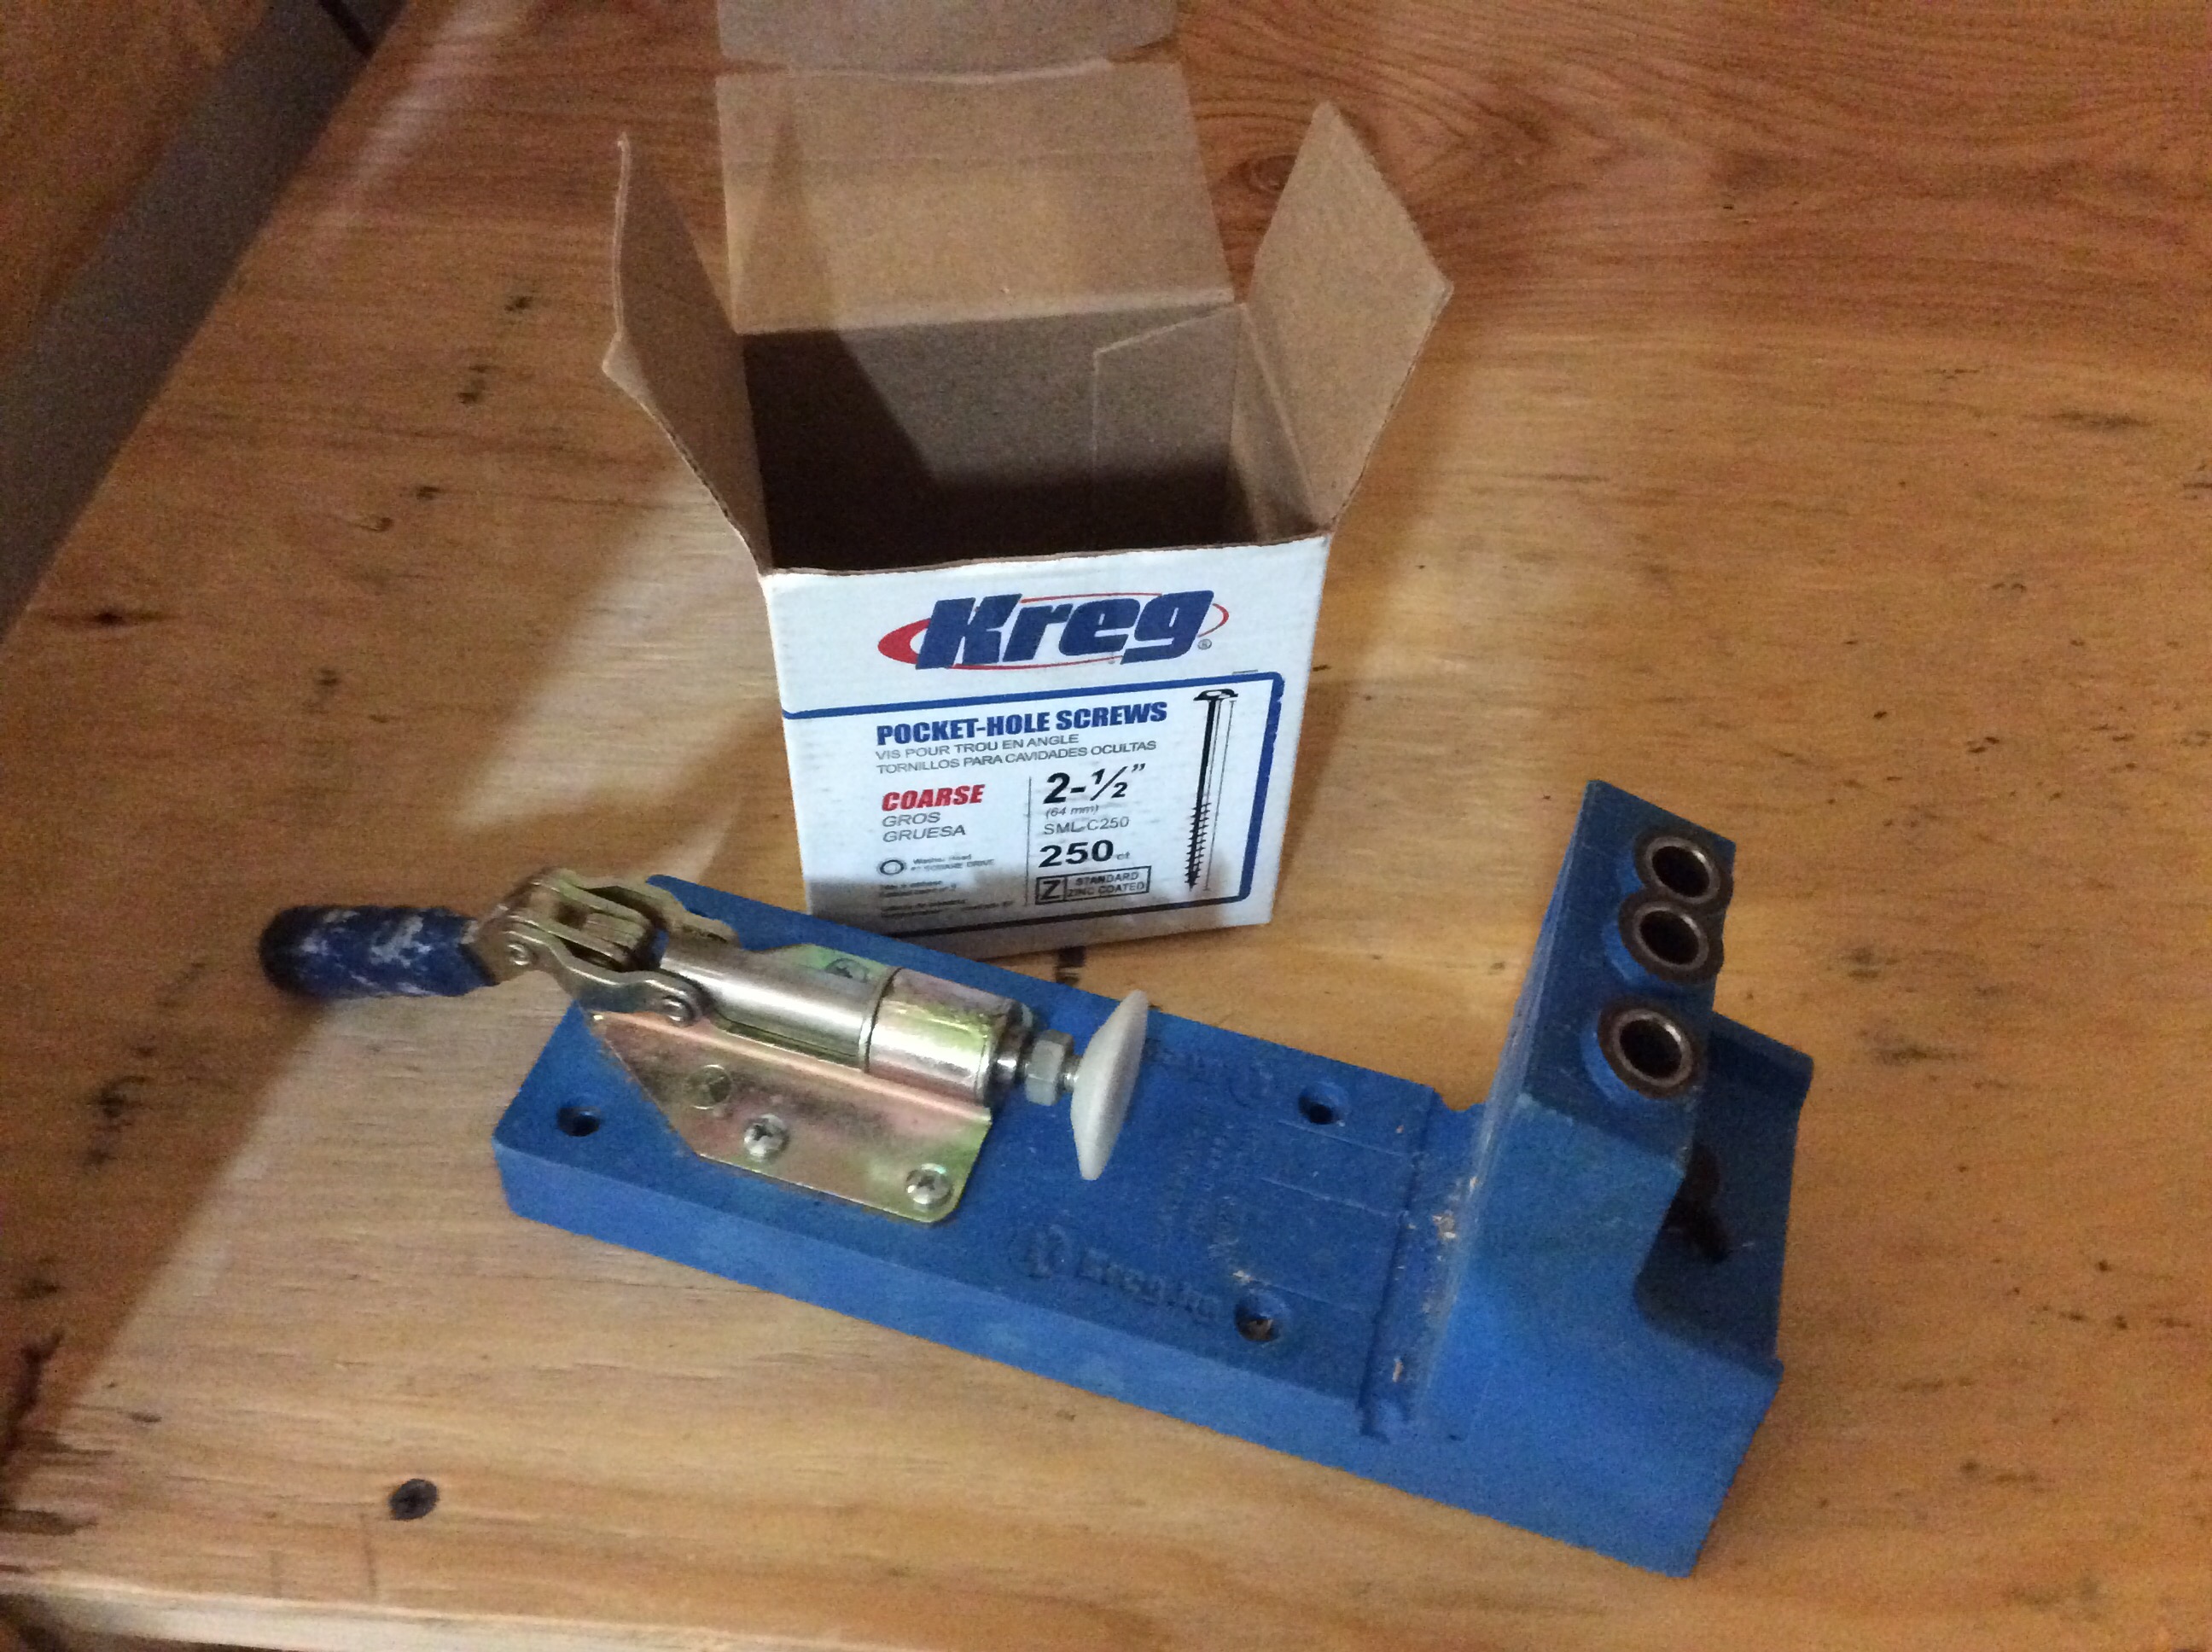
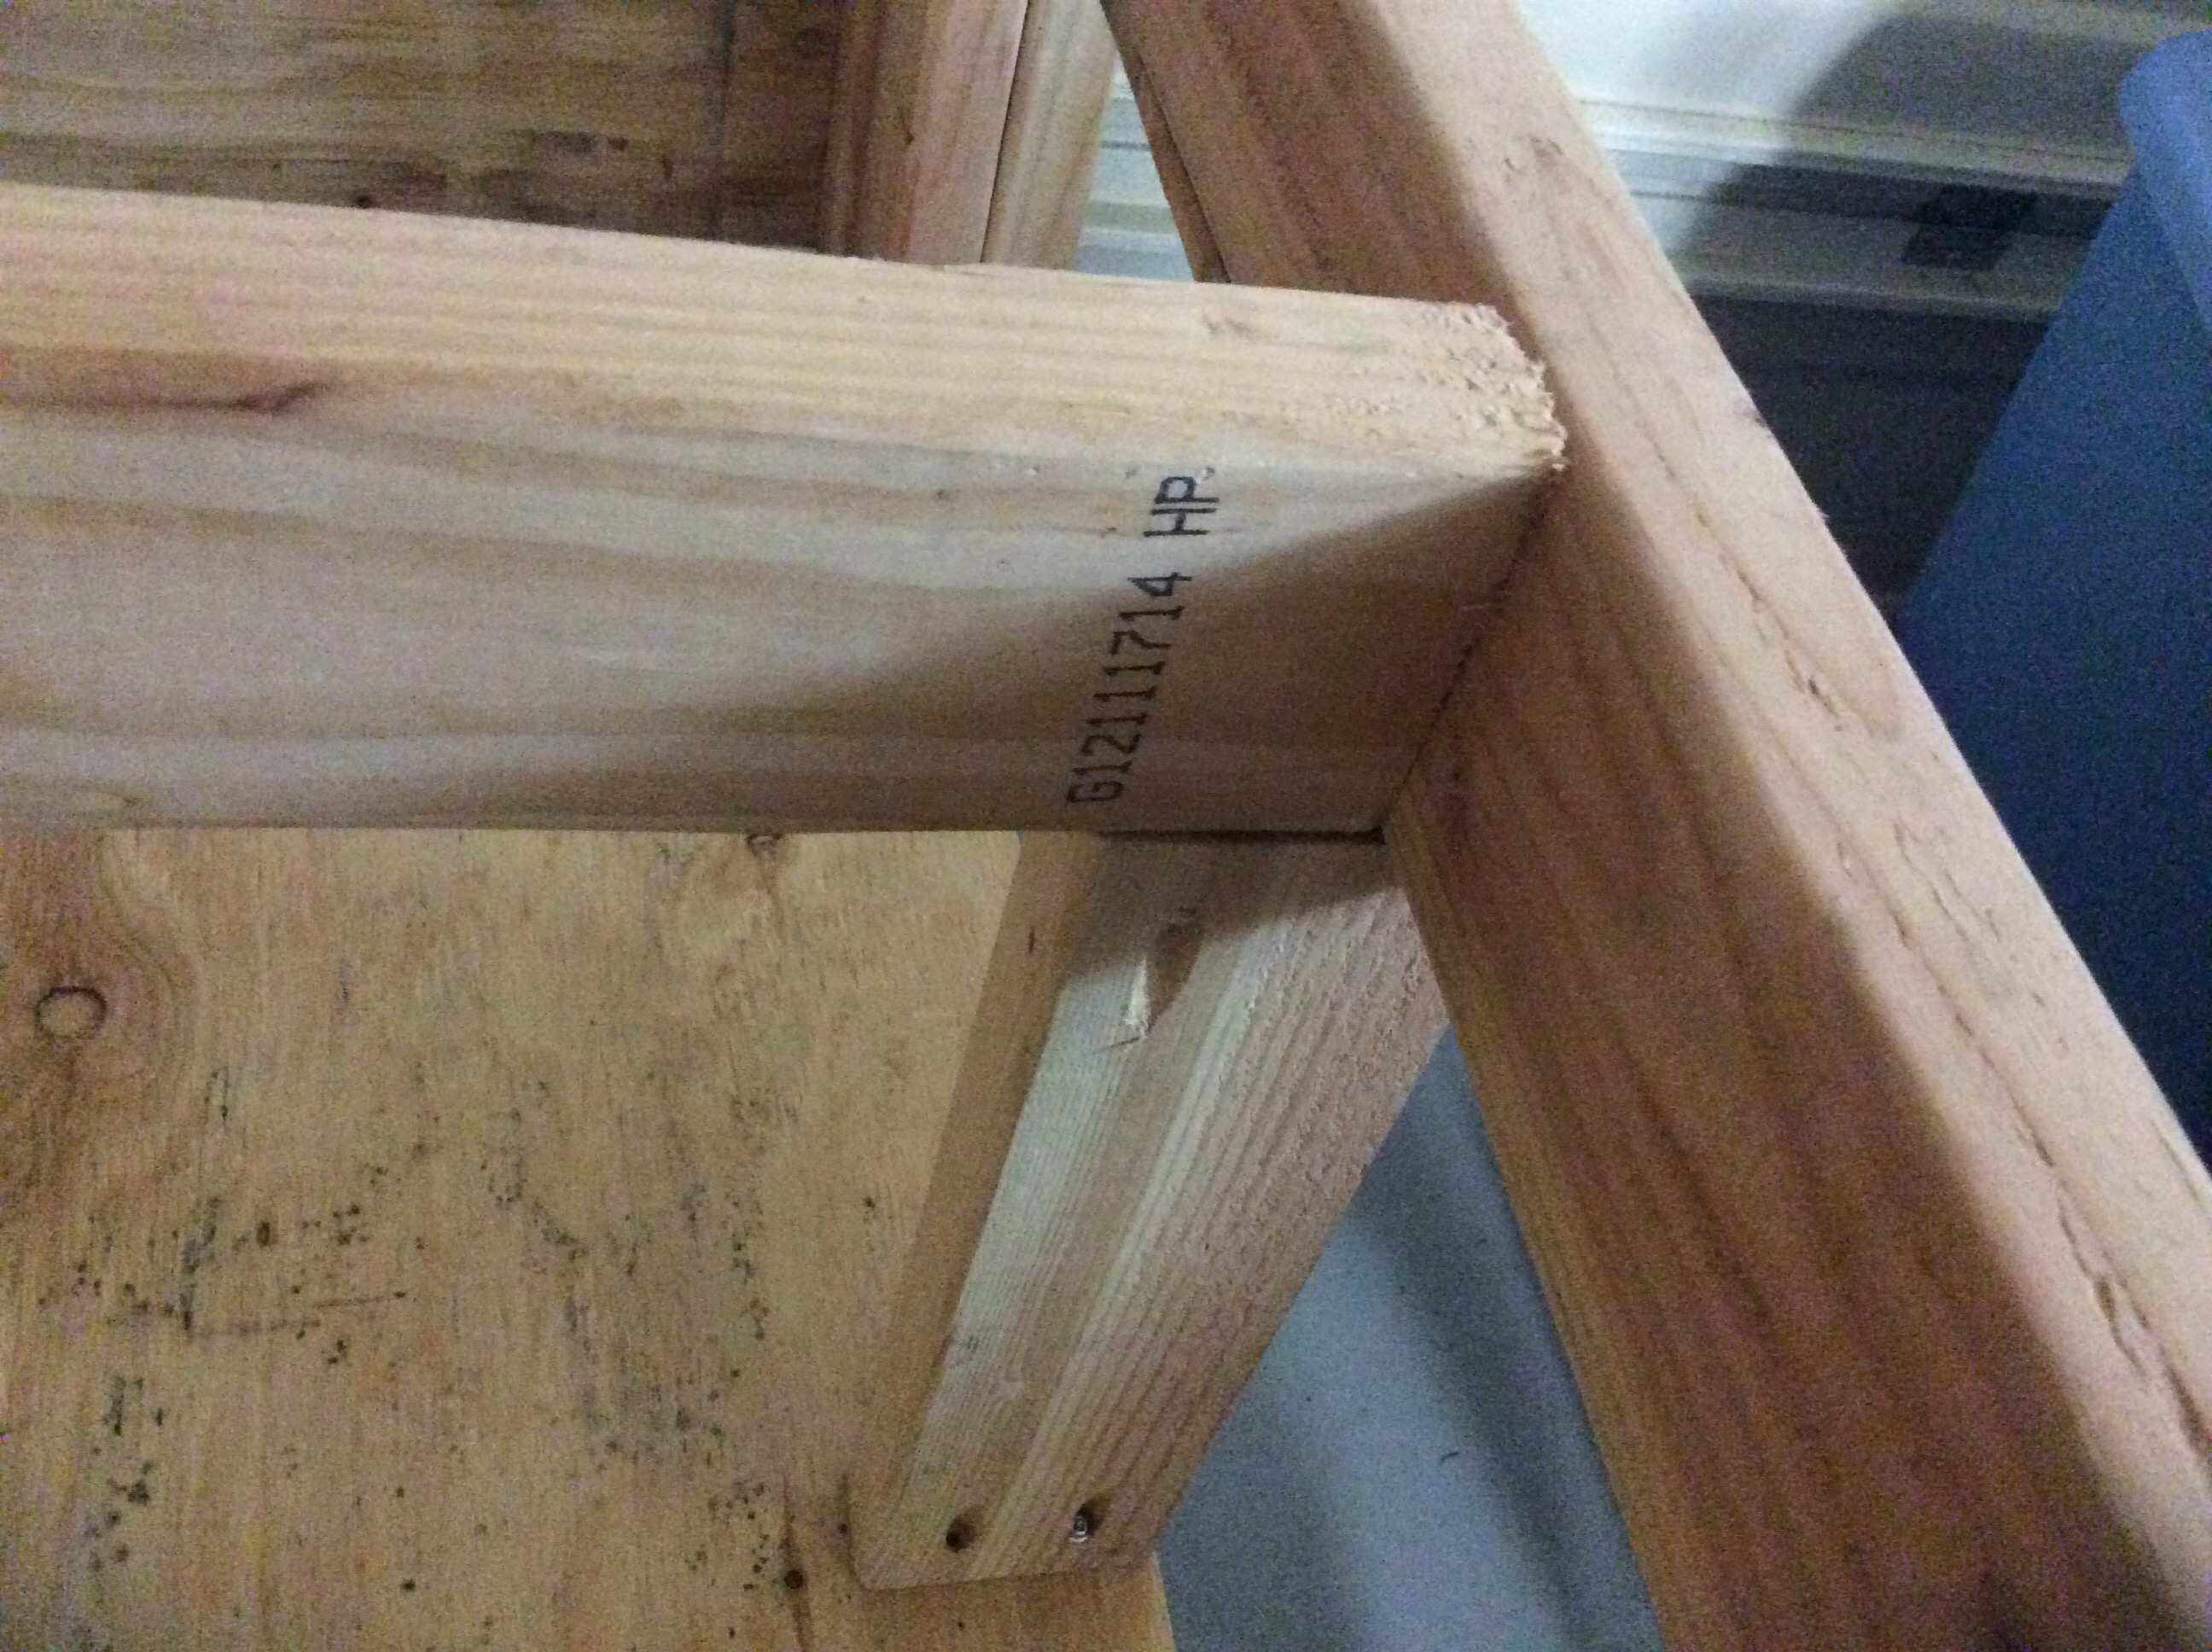
I read about screw and gluing three 1×4’s together (laminating?) to cut down lumber cost and increase the strength of the wood. I tried this approach with the vertical leg pieces. I used 2 inch Kreg screws to hold the pieces together after gluing and clamping them. After the legs dried, I ran a belt sander over it to make it smooth. I drilled holes in the bottom of the legs for some salvaged rolling casters. I was skeptical the holes would be strong enough given this pine is really soft. So far so the holes have not degraded.

I did end up having to trim off a few millimeters on the LEGO base plates. It turns out you can run them through a table saw. I used a 140 TPI blade, and had no problems shaving just a bit off. (the kids have not noticed yet.)


IMG_0621.JPG


IMG_0622.JPG


Starting the Epiphyte 2 Build

I’ve been thinking of buying a KD1JV 75m “Survivor” ssb radio kit. I came across the precursor to the Survivor, the Epiphyte. Derry Spittle VE7QK, now a SK originally designed the Epiphyte in the early 1990’s. The Epiphyte uses several now obsolete parts to reduce total parts count. Most notably a CA3020A and a Murata M455J1 ssb bandwidth filter. I’ve sourced the CA3020A cheaply from China. The M455J1 is harder to find. Occasionally, you see some on ebay for about USD$60. I purchased a PCB from Far Electronics for USD$10.

I’ve got the VFO section working. I substituted a VHF inductor that I rewound with 20 turns of 26AWG to get about 1.7uH. The MVAM108 can still be purchased easily from any store that sells NTE replacements. Look for NTE618. I found mine at Fry’s.


Smart night light turned into wall art

Luci, my middle daughter wanted a new nightlight because her store-special fairy one broke. We came up with the idea of a ballet night light.

I took some scrap acrylic from Tap Plastic’s remnants bin, cut them square on the table saw, then traced the silhouette of a ballerina on the opaque sheet. The opaque sheet sits on top of the transparent sheet. The acrylic is screwed on a small poplar frame. I put a white sheet of vellum on the inside of the acrylic to diffuse the light from the LED’s.

Several LED’s a soldered on a [very] crudely fashioned bus made of copper PCB. An Arduino Mini drives the LED’s on the PWM digital ports, and reads the ambient light. The night light only comes on when it is dark. Each LED is on a separate digital output. I wrote a simple flashy sequence into the unit when the unit comes on. Turns out Luci does not like the flashy lights. She just wants it to turn on at night and off during the day.


IMG_0536.JPG


IMG_0537.JPG


IMG_0538.JPG


HF Radio Prototype Platform

Now that I have some vacation time, I’ve been working on my radio prototype platform. The long-term purpose is to provide a place to work on the software filtering algorithms. I added an audio stage to prototype using a MAX2726 5th order filter. Using a 68pf external capacitor, I get nice roll off about 1.2khz.

block diagram

IMG_0462.JPG

Acrylic under table shelf

Built a very simple acrylic shelf under my GeekDesk to put the USB hub and NUC on. This keeps the wiring on my desk to a minimum. I used the nicer Kreg 1″ pan head screens. If time was not always an issue, I would paint the oak spacers black to match the rest of the desk.

IMG_0456.JPG

IMG_0457.JPG

Canning shelves finished

Finished the canning shelves this weekend before the bad weather and the vacation distractions start. I realized that once this thing is loaded up, it’s not movable. I put the top guards on the inside, so the fios power supply can be accessed by removing the the plywood edge guard.

IMG_0453.JPG

Canning shelves

This weekend’s project was to create specialized shelving that my wonderful wife can store her full and empty canning jars. The shelves would be in the garage, so they do not have to look pretty, but they do have to be very durable. I used 2×4’s, 1/2 CDX plywood, and my Kreg pocket hole jig. The 2.5″ Kreg zinc coated screws are the right length for use with 2×4’s. They make a nice clean joint and are very strong. I didn’t not glue these, but you can use Gorilla glue for even more strength.

These shelves are set off the floor, so the bottom row of jars will not freeze. There are three shelves total. The top is not yet finished. All the shelves have/will have a guard fence to keep the jars from falling off. I plan to use webbing or some kind of stretchy net on the front of the shelves.

IMG_0450.JPG

IMG_0451.JPG

IMG_0452.JPG

Direct conversion receiver using DDS

I’m working on a test bed transceiver. I’ve wanted something that is modular enough, that I can swap in and out sections to test new designs (and just have fun). This is a Teensy 3.1 with a cheap Chinese DDS board that contains an AD8550. I am using one of my LM380 audio boards, a Sparkfun Serial two line LCD, and a few rotary encoders for tuning.

IMG_0345

IMG_0346

Two timezone network (NTP) clock

I’ve been looking for a two time zone clock that display my time zone (pacific) and GMT. A lot of Amateur Radio operators use GMT for logging. I built this network aware clock using an Arduino Pro mini, two Sparkfun 7-segment displays, a I2C RTC, and an ENC28J60 cheap Ethernet PCB.

There is an Arduino library Ethercard for the ENC28J60 with built-in API’s for DHCP, DNS, and NTP. The clock goes fetches the current time from an NIST NTP server, and updates the RTC every hour (perhaps too frequent). The display time is always derived from the RTC. With a backup battery in the RTC, this thing can go for days or weeks without a NTP update.

The ENC28J60 draws about 180ma. In total, the units draws about 200ma current.

The Sparkfun 7-Segment displays are based on ATMEGA328’s. This design could be simplified using one of those instead of the Arduino Pro Mini.

NTP Clock - New Page

2tz clock