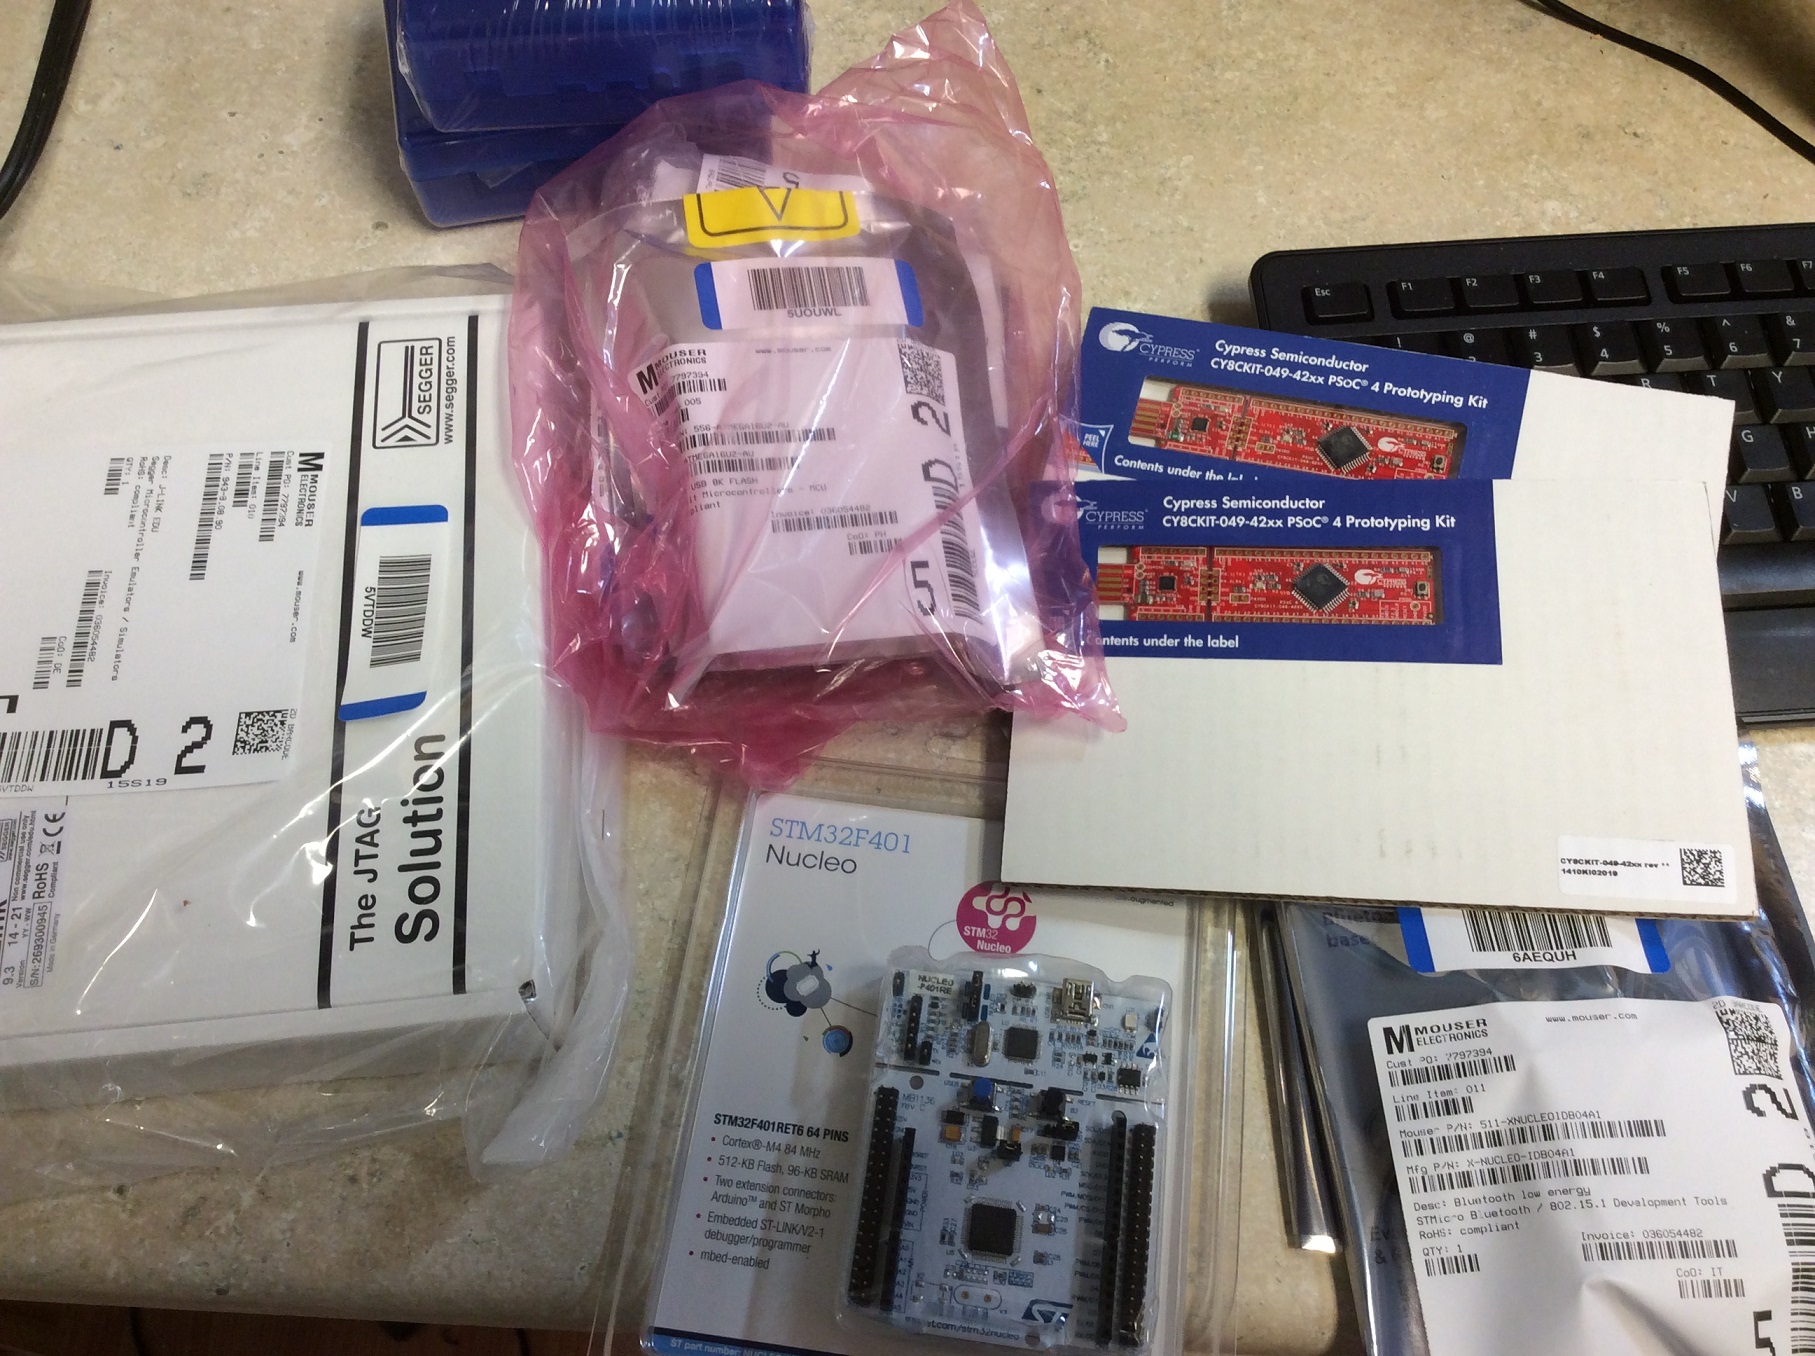
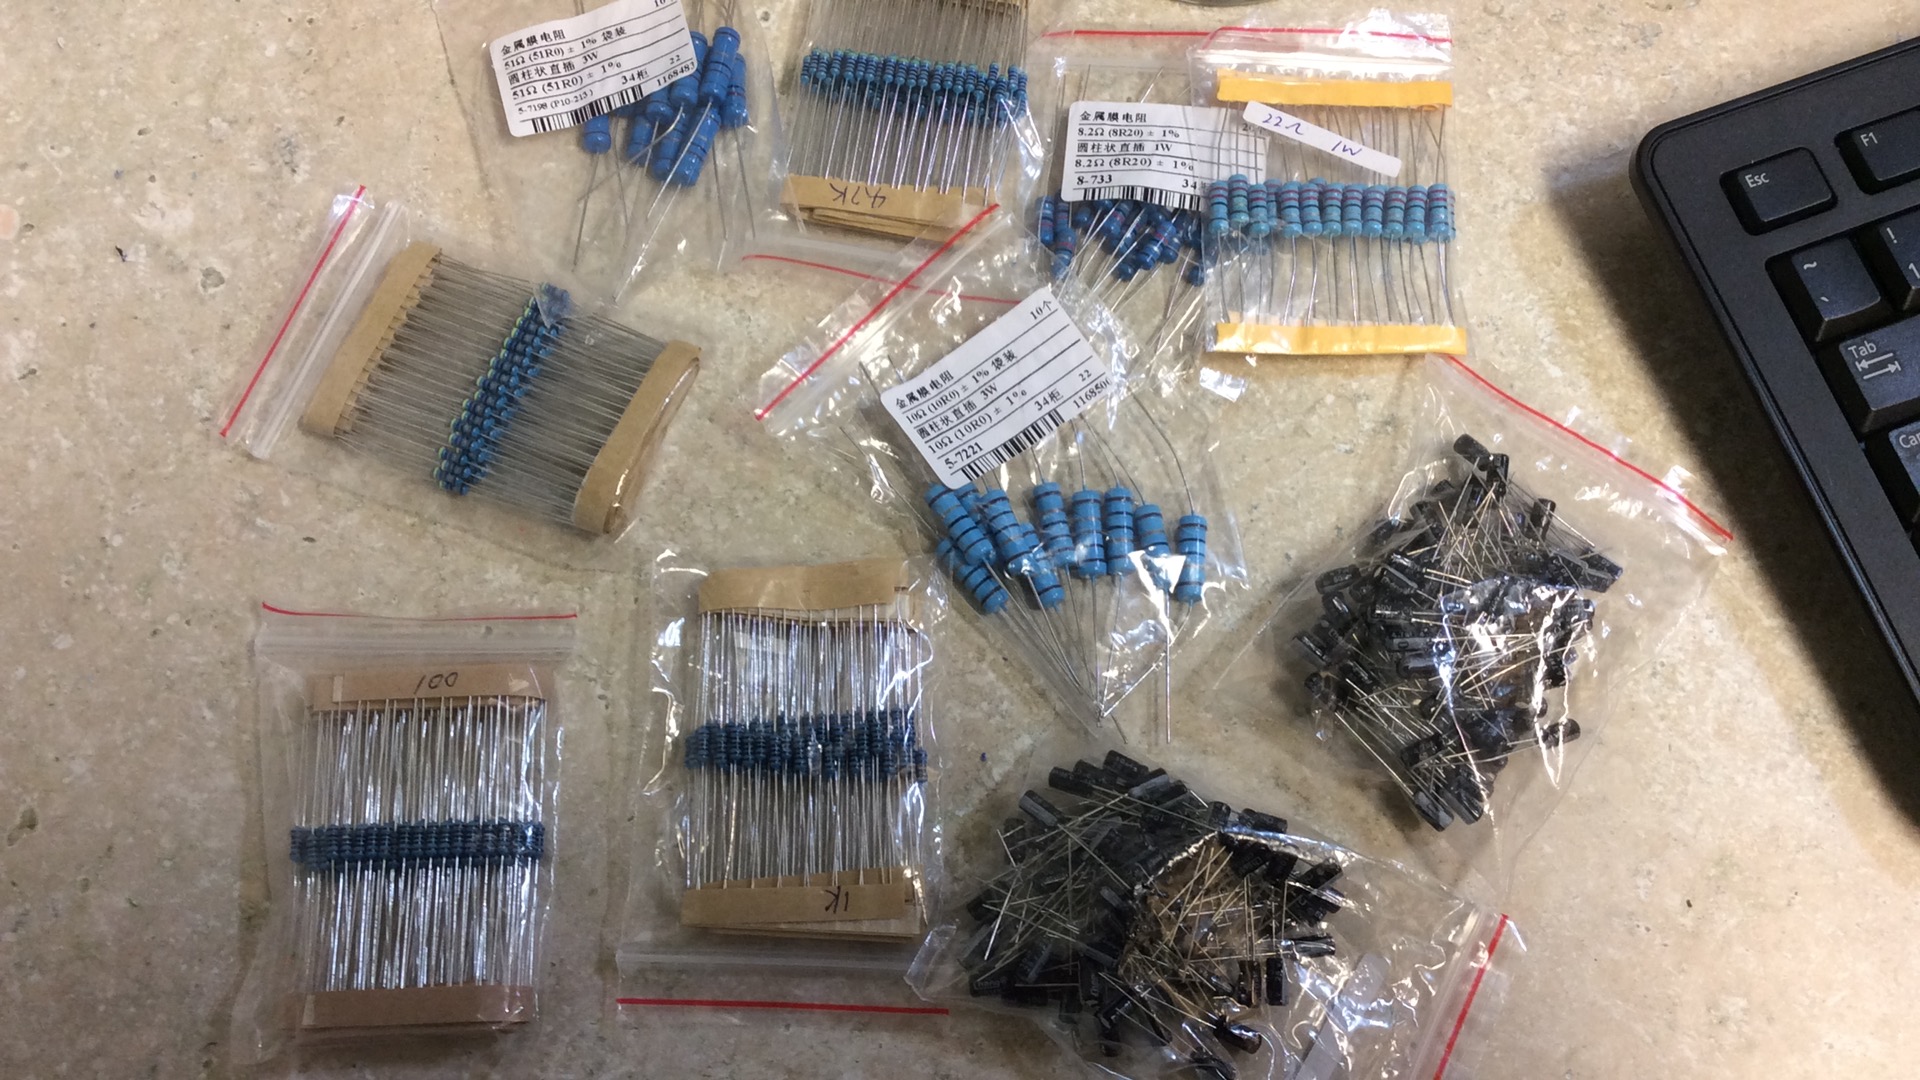
I don’t place orders from Mouser very often, but when I do, it is usually for a lot of discrete components. In this case they are now carrying PSoC boards and cases for the Intel Galileo. I also decided it was time to get a JTAG.

software creative
I don’t place orders from Mouser very often, but when I do, it is usually for a lot of discrete components. In this case they are now carrying PSoC boards and cases for the Intel Galileo. I also decided it was time to get a JTAG.
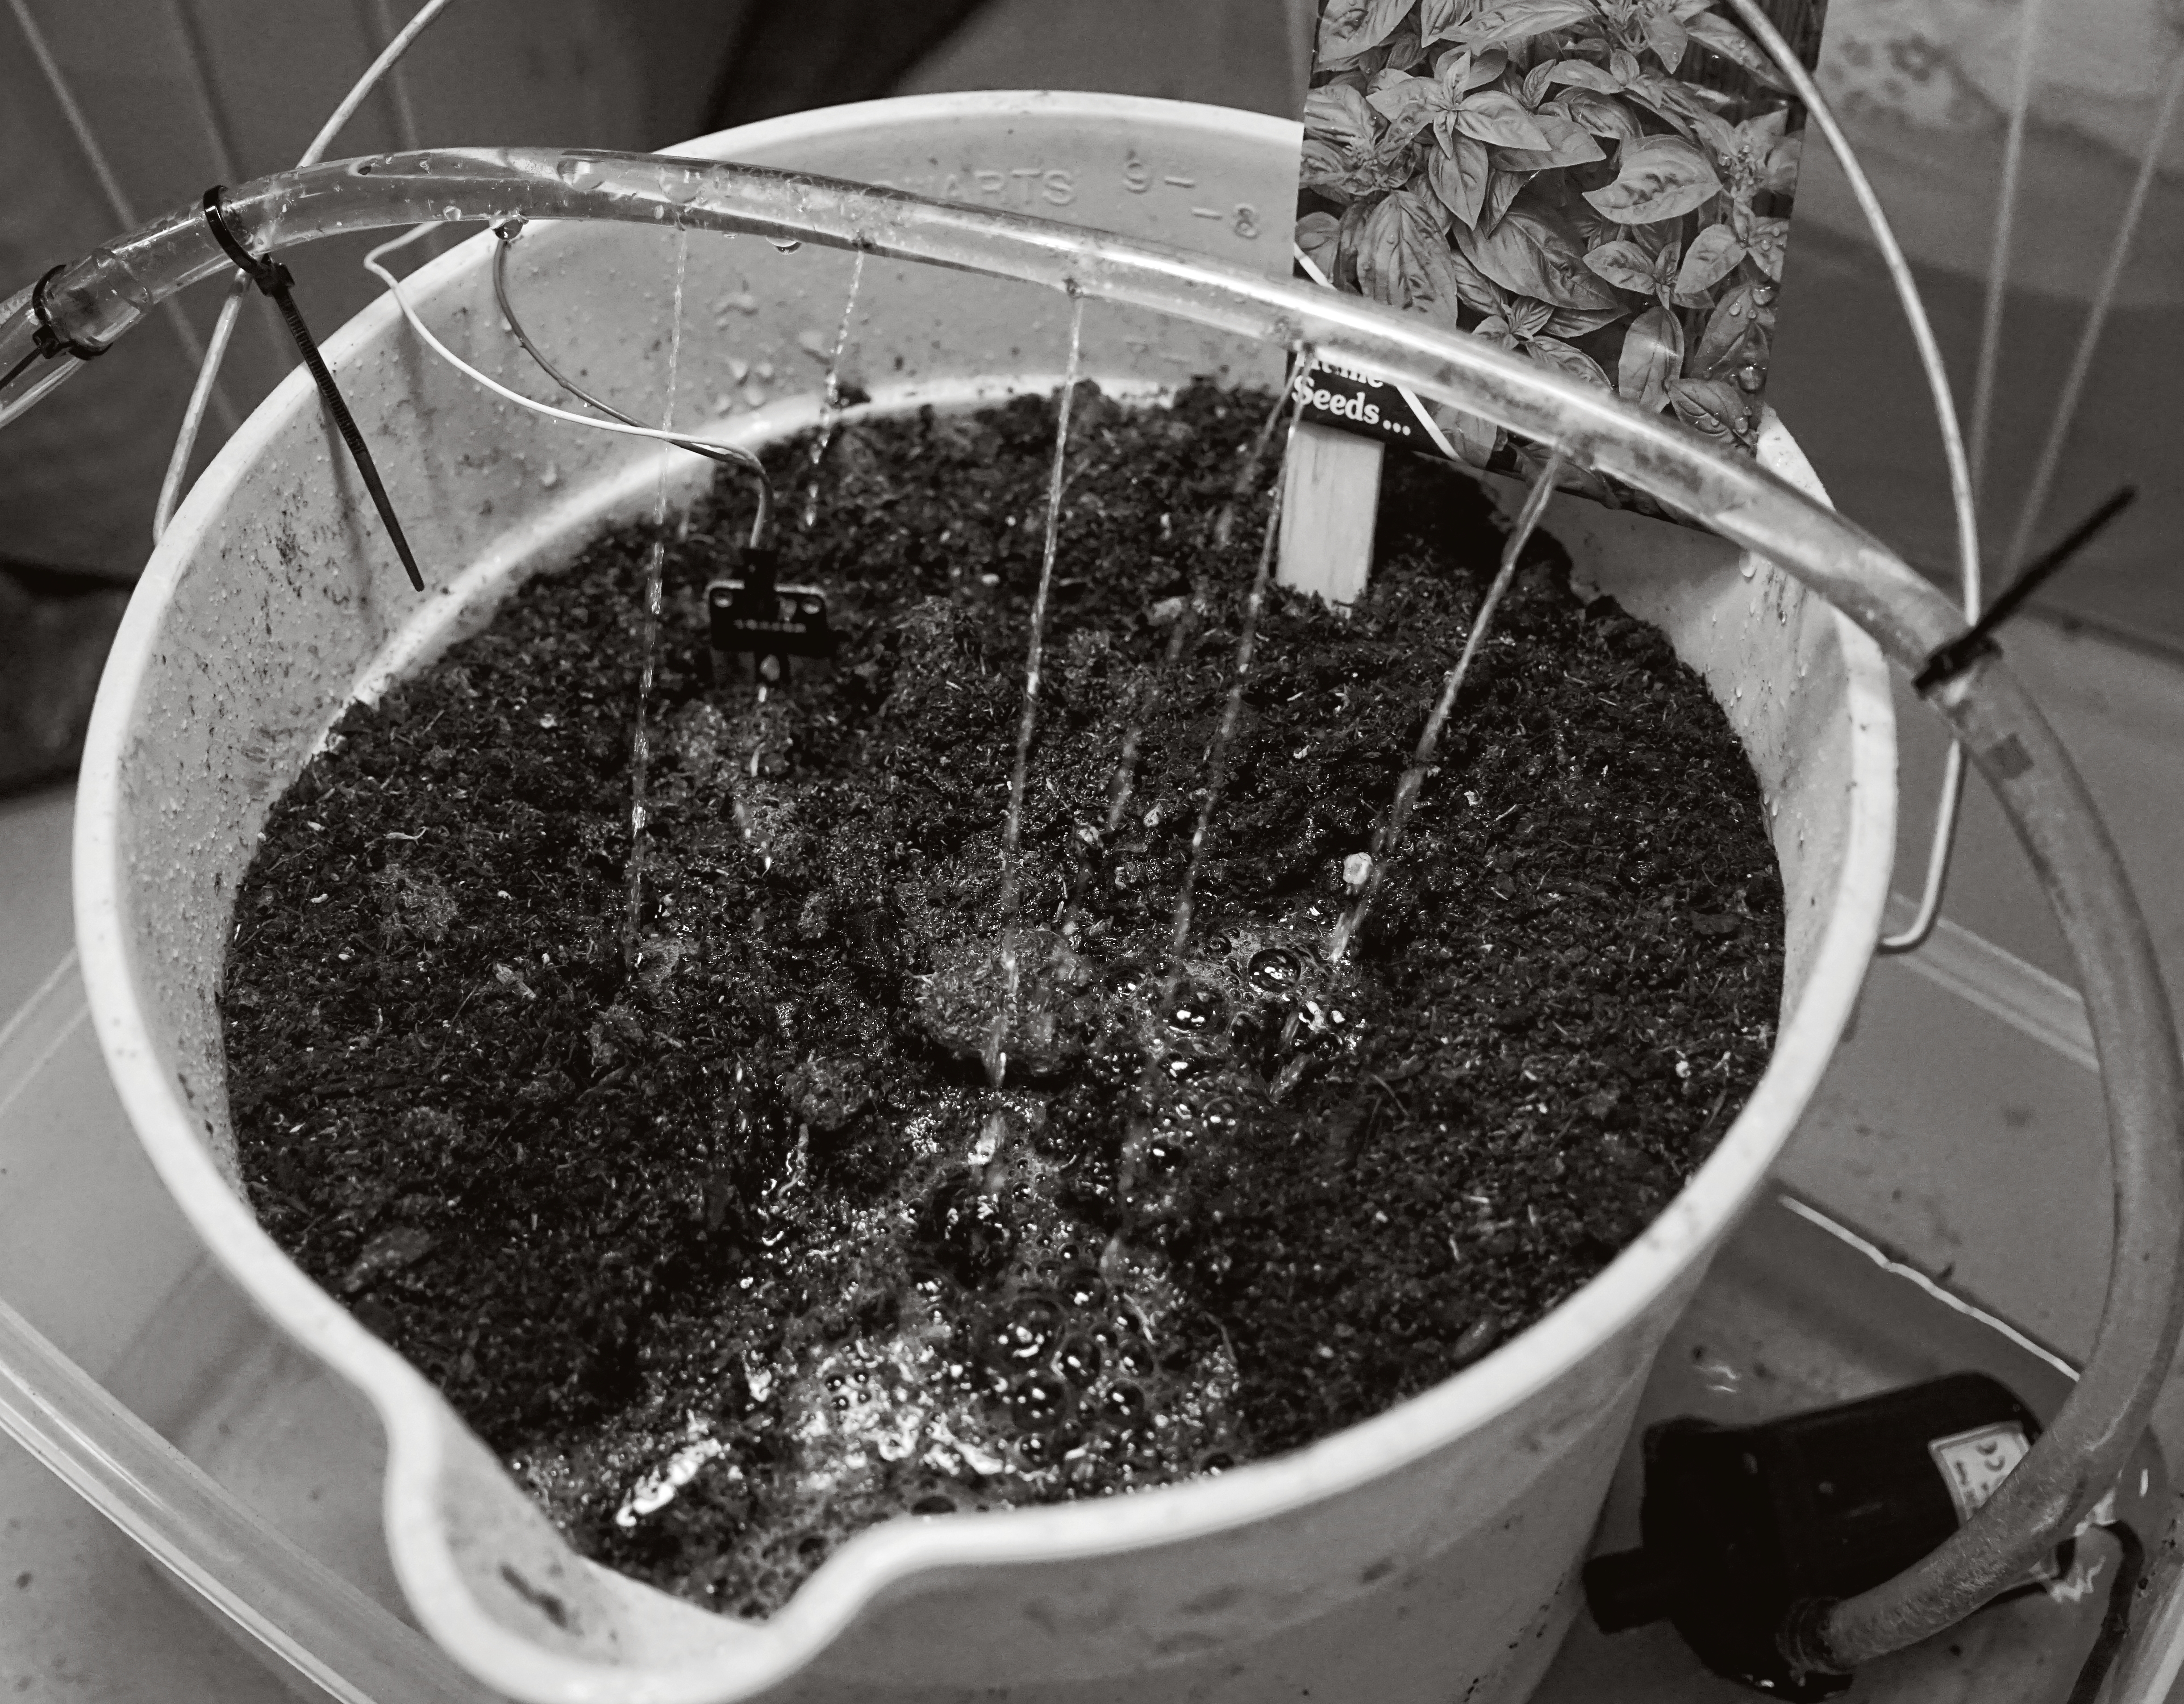
I’m finally putting that Chinese moisture detector to work. More to come…
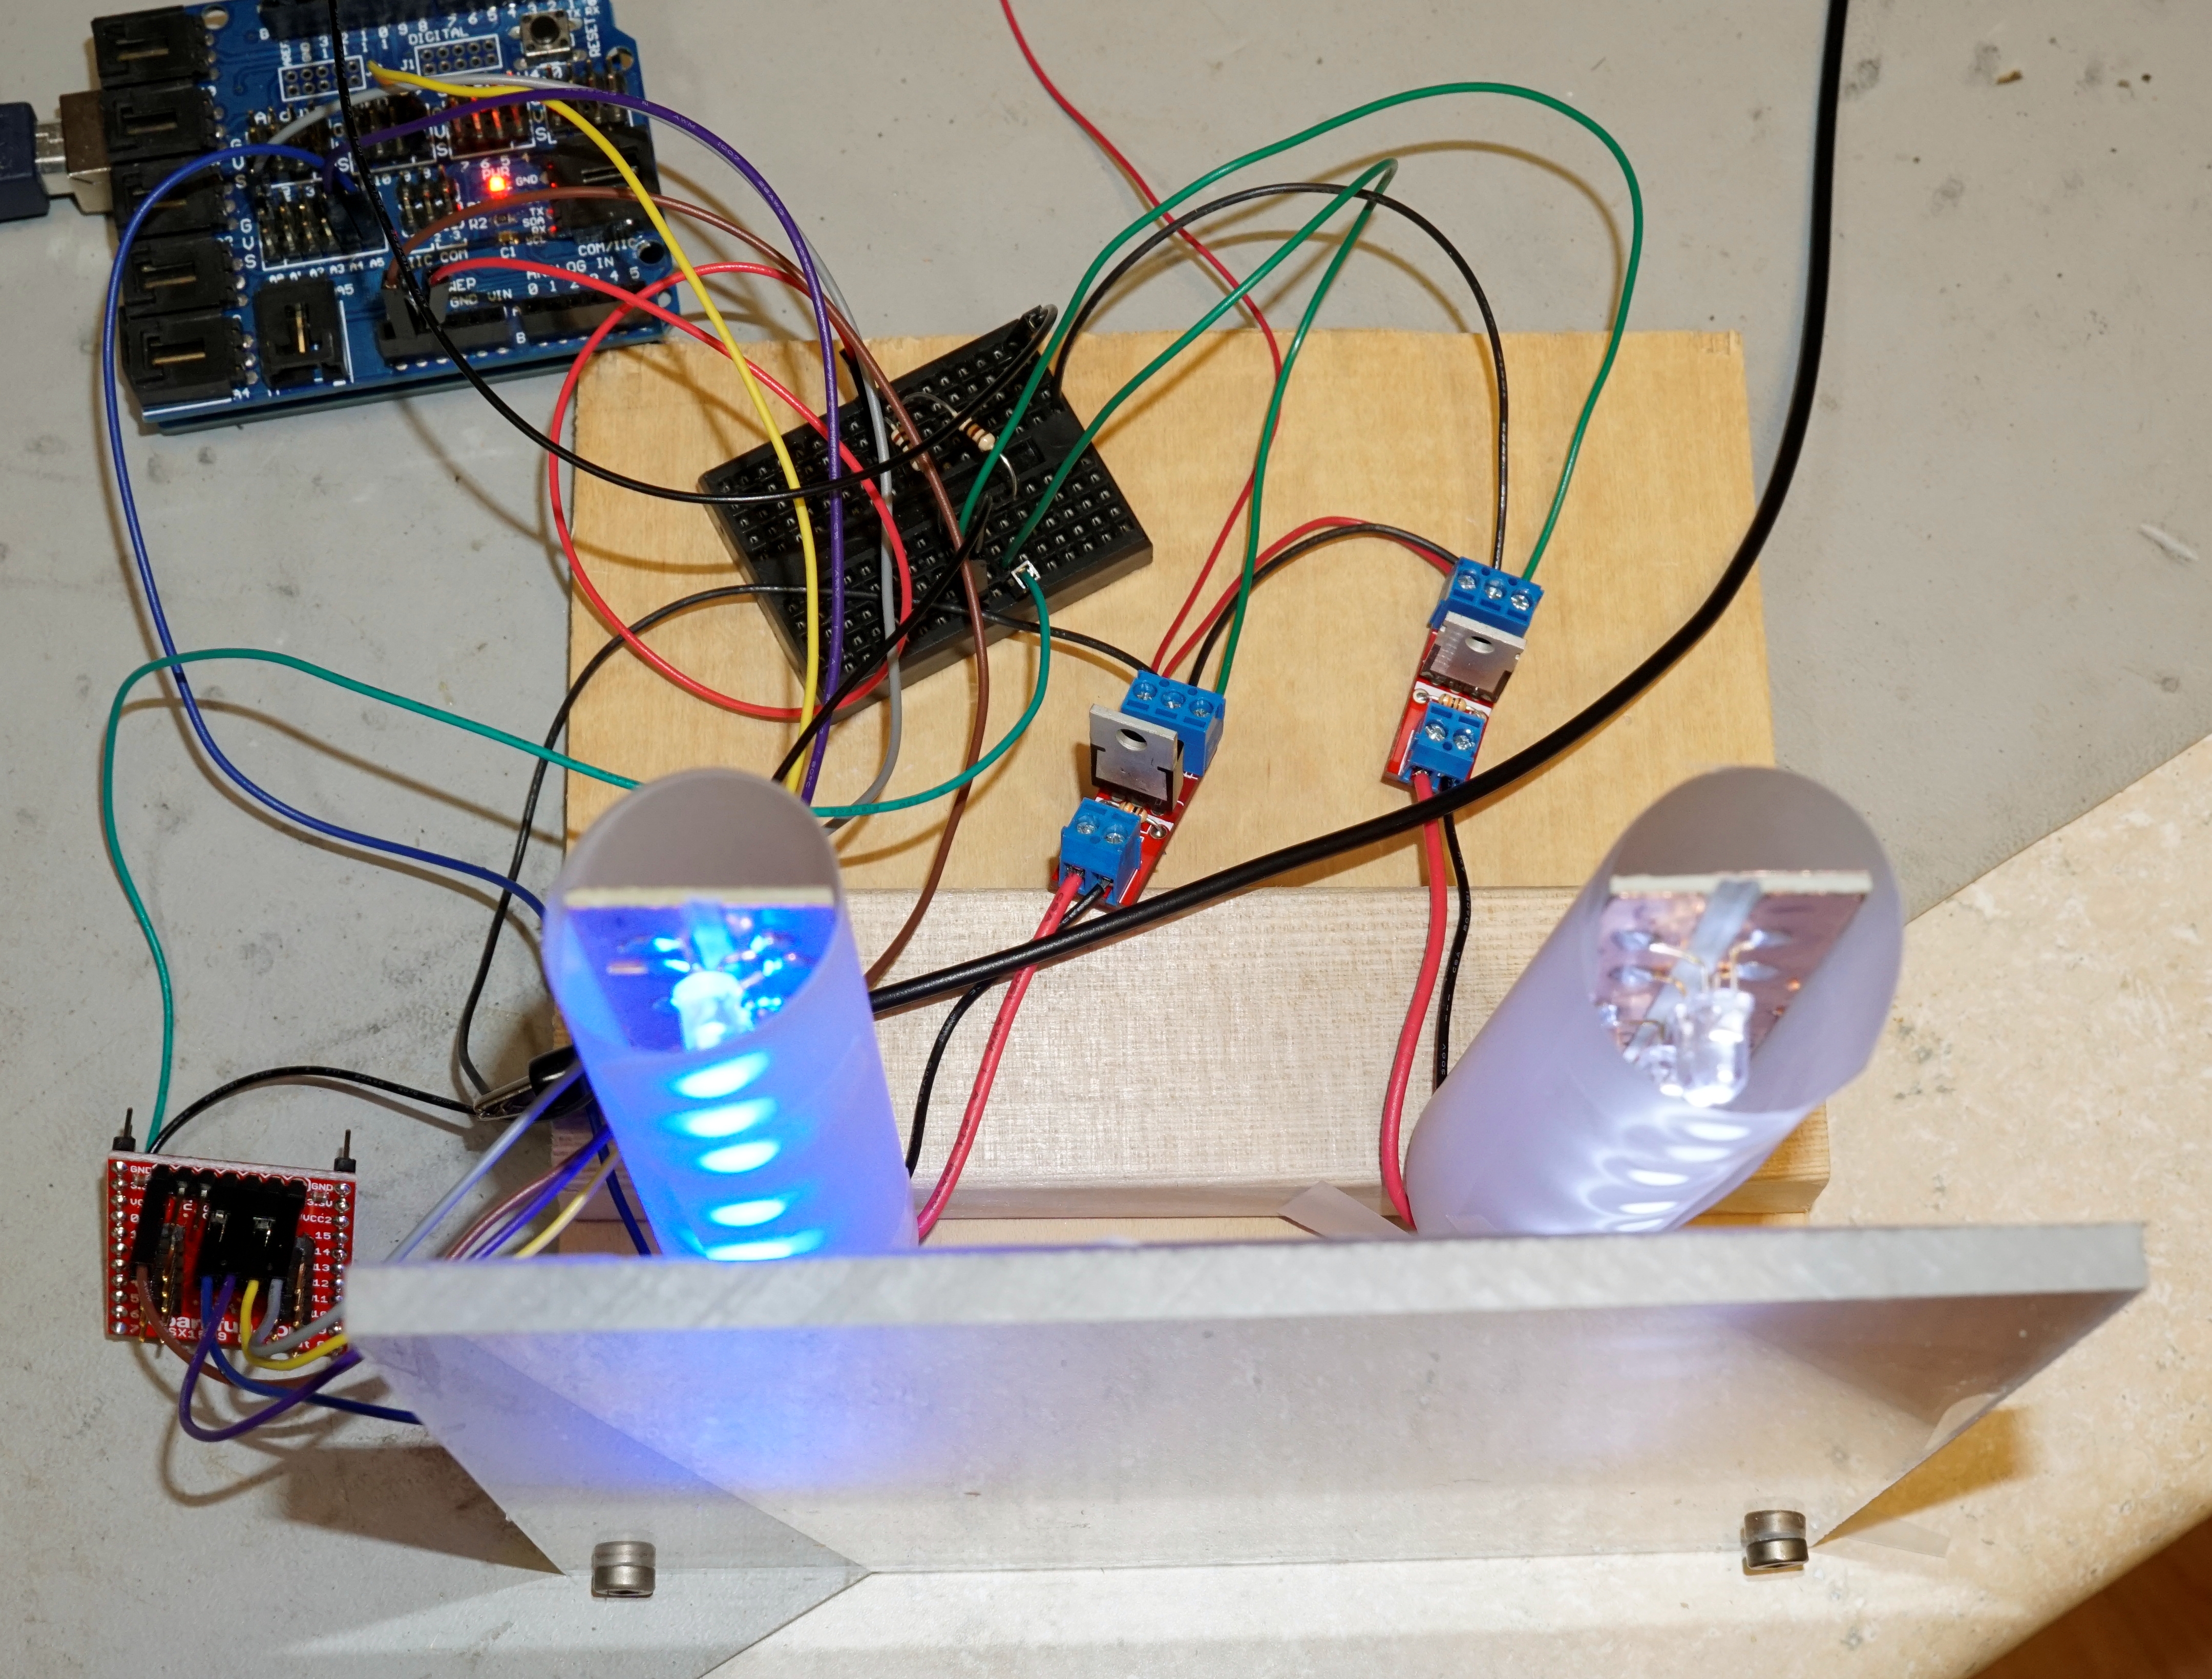
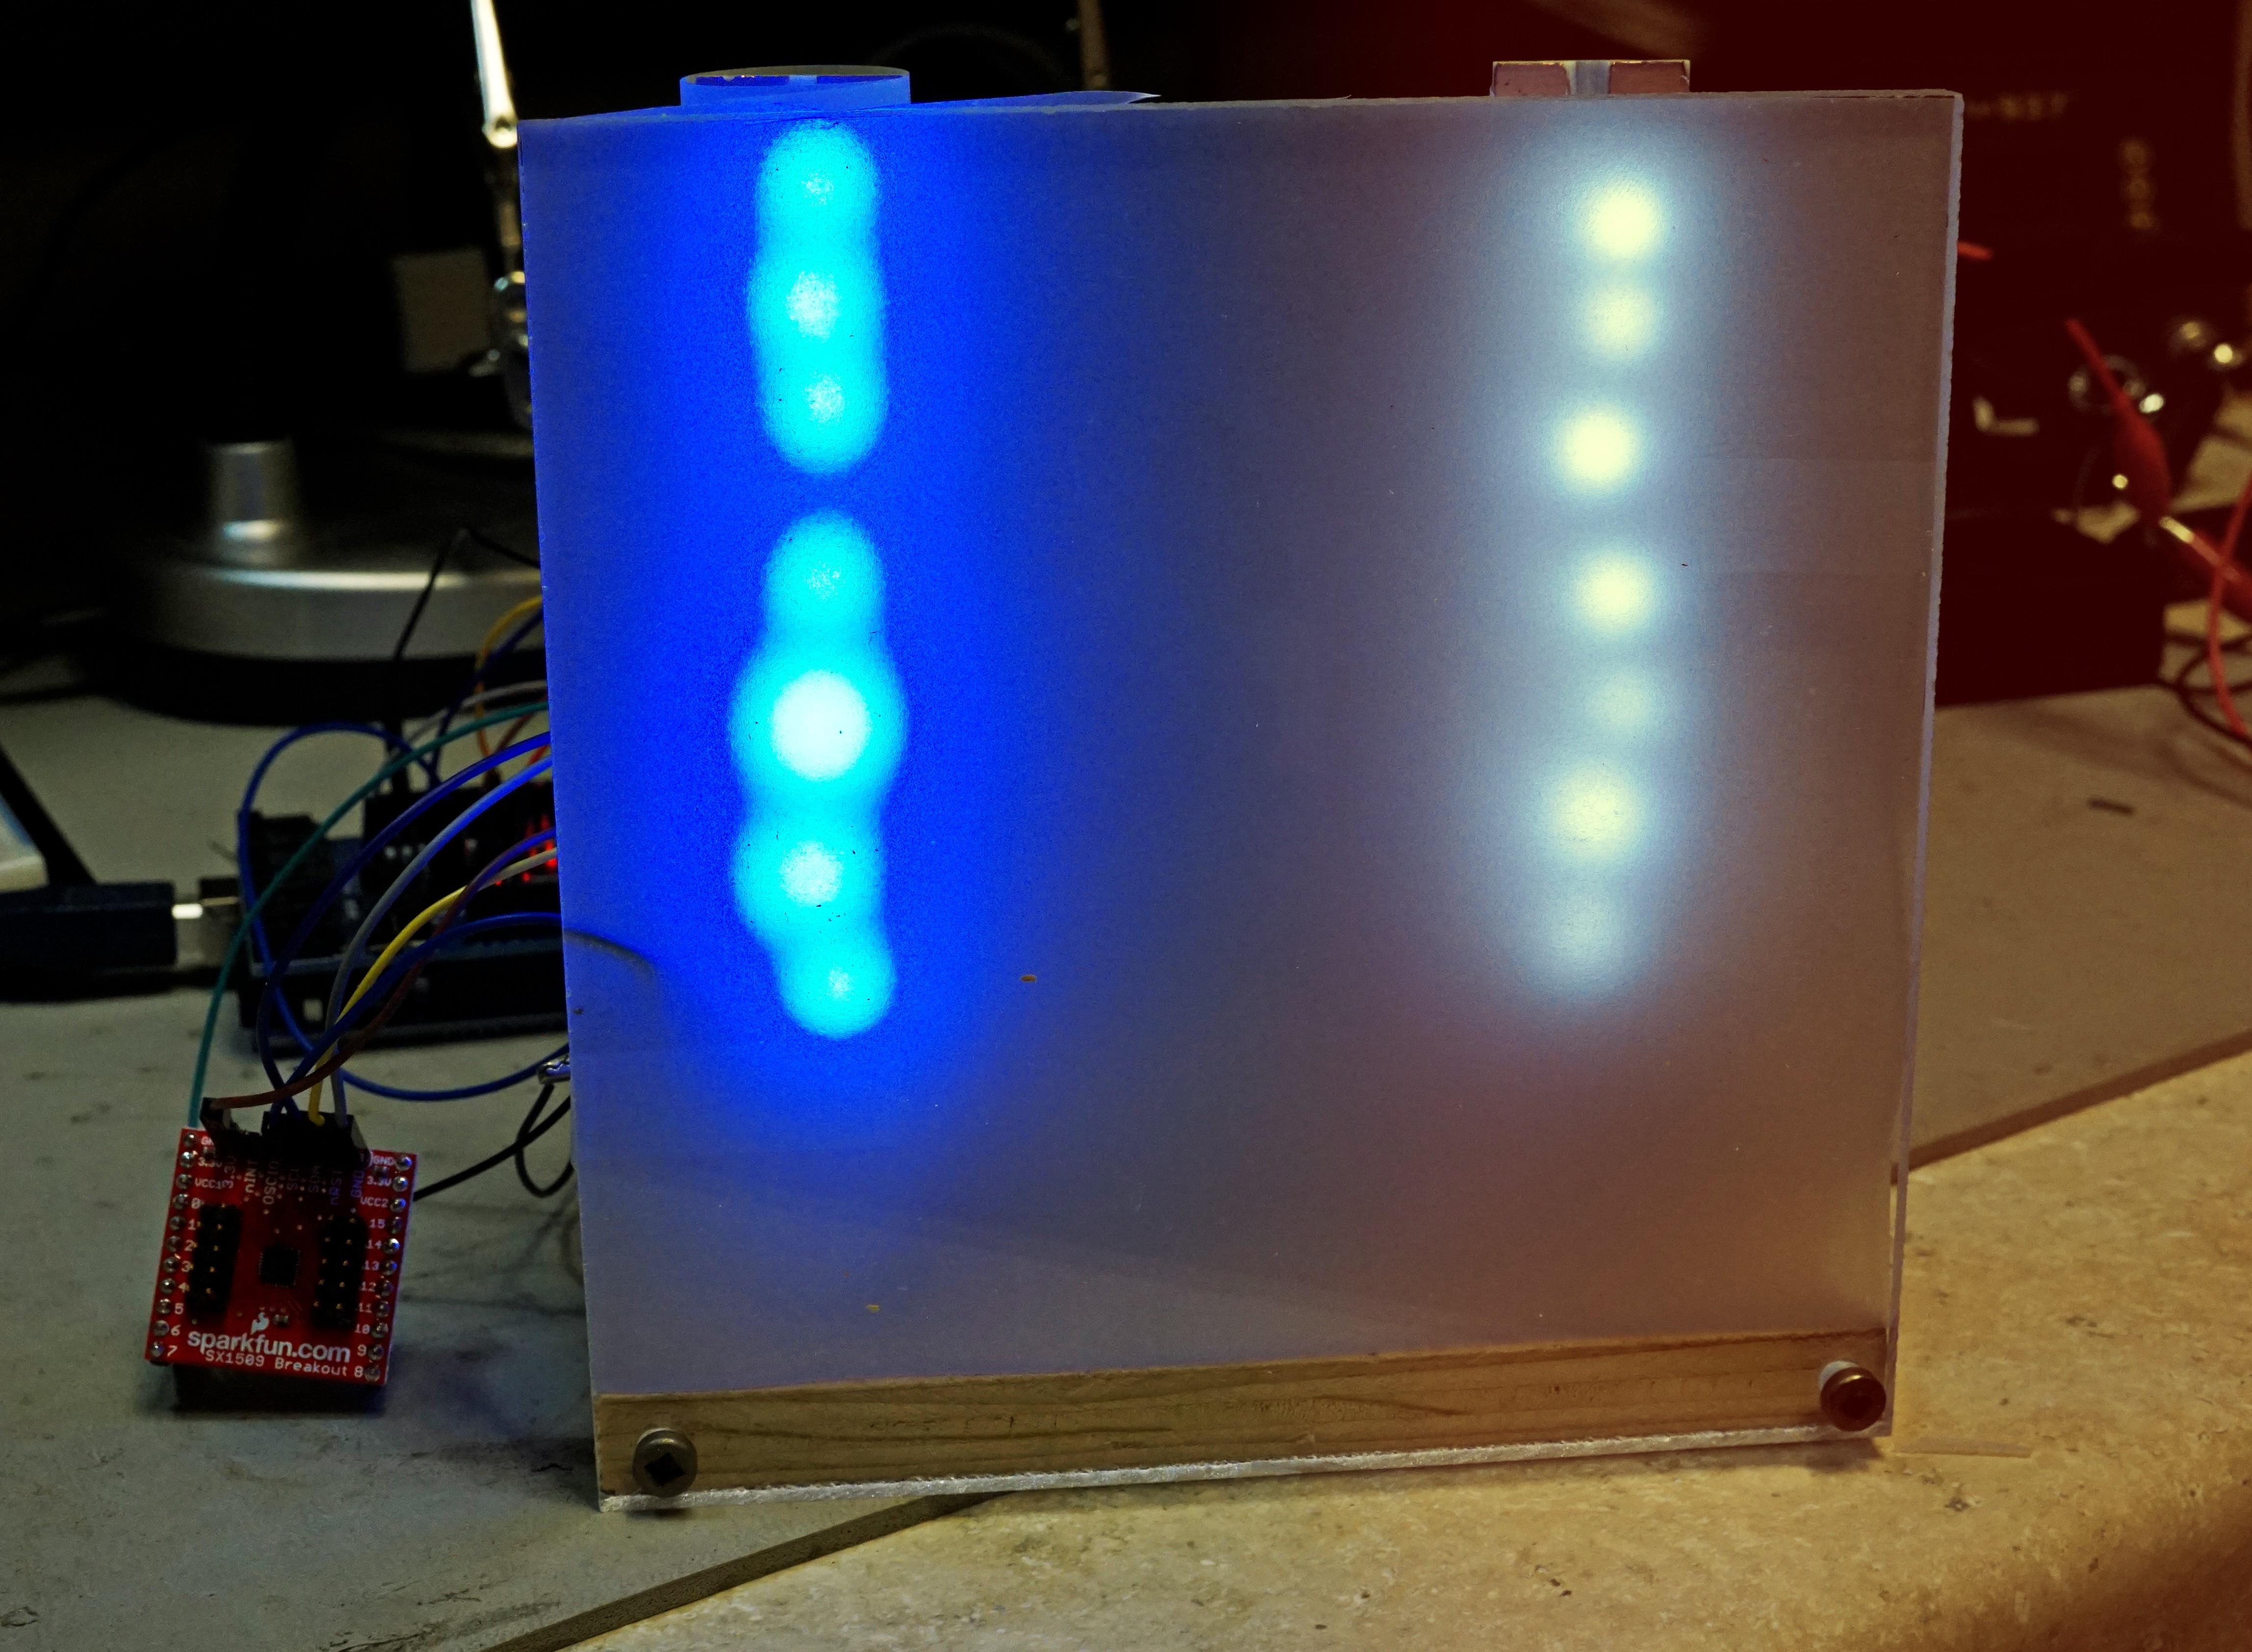
Prototype sunrise alarm clock. Fades in blue lighting, then white lighting. I built this for the Sparkfun Faire challenge. Uses a SX1509 so it can be hooked up to a Raspberry pi. The SX1509 communicates to an Arduino or Rpi via I2C and has built-in PWM, so you don’t need a DAC. The SX1509 feeds two FET controllers (again on Sparkfun breakout boards) to control higher current strips of LED’s. The strips are manhattan style LED’s on copper clad board. I ran the boards across a table saw to produce a nice 1/8 inch that effectively makes two buses.

Ever since I learned that Atmel bundles a ROM bootloader that allows a FLASH program to be loaded via serial without any JTAG hardware, I’ve hankered to program and run an ARM chip from bare metal. Just for experience.
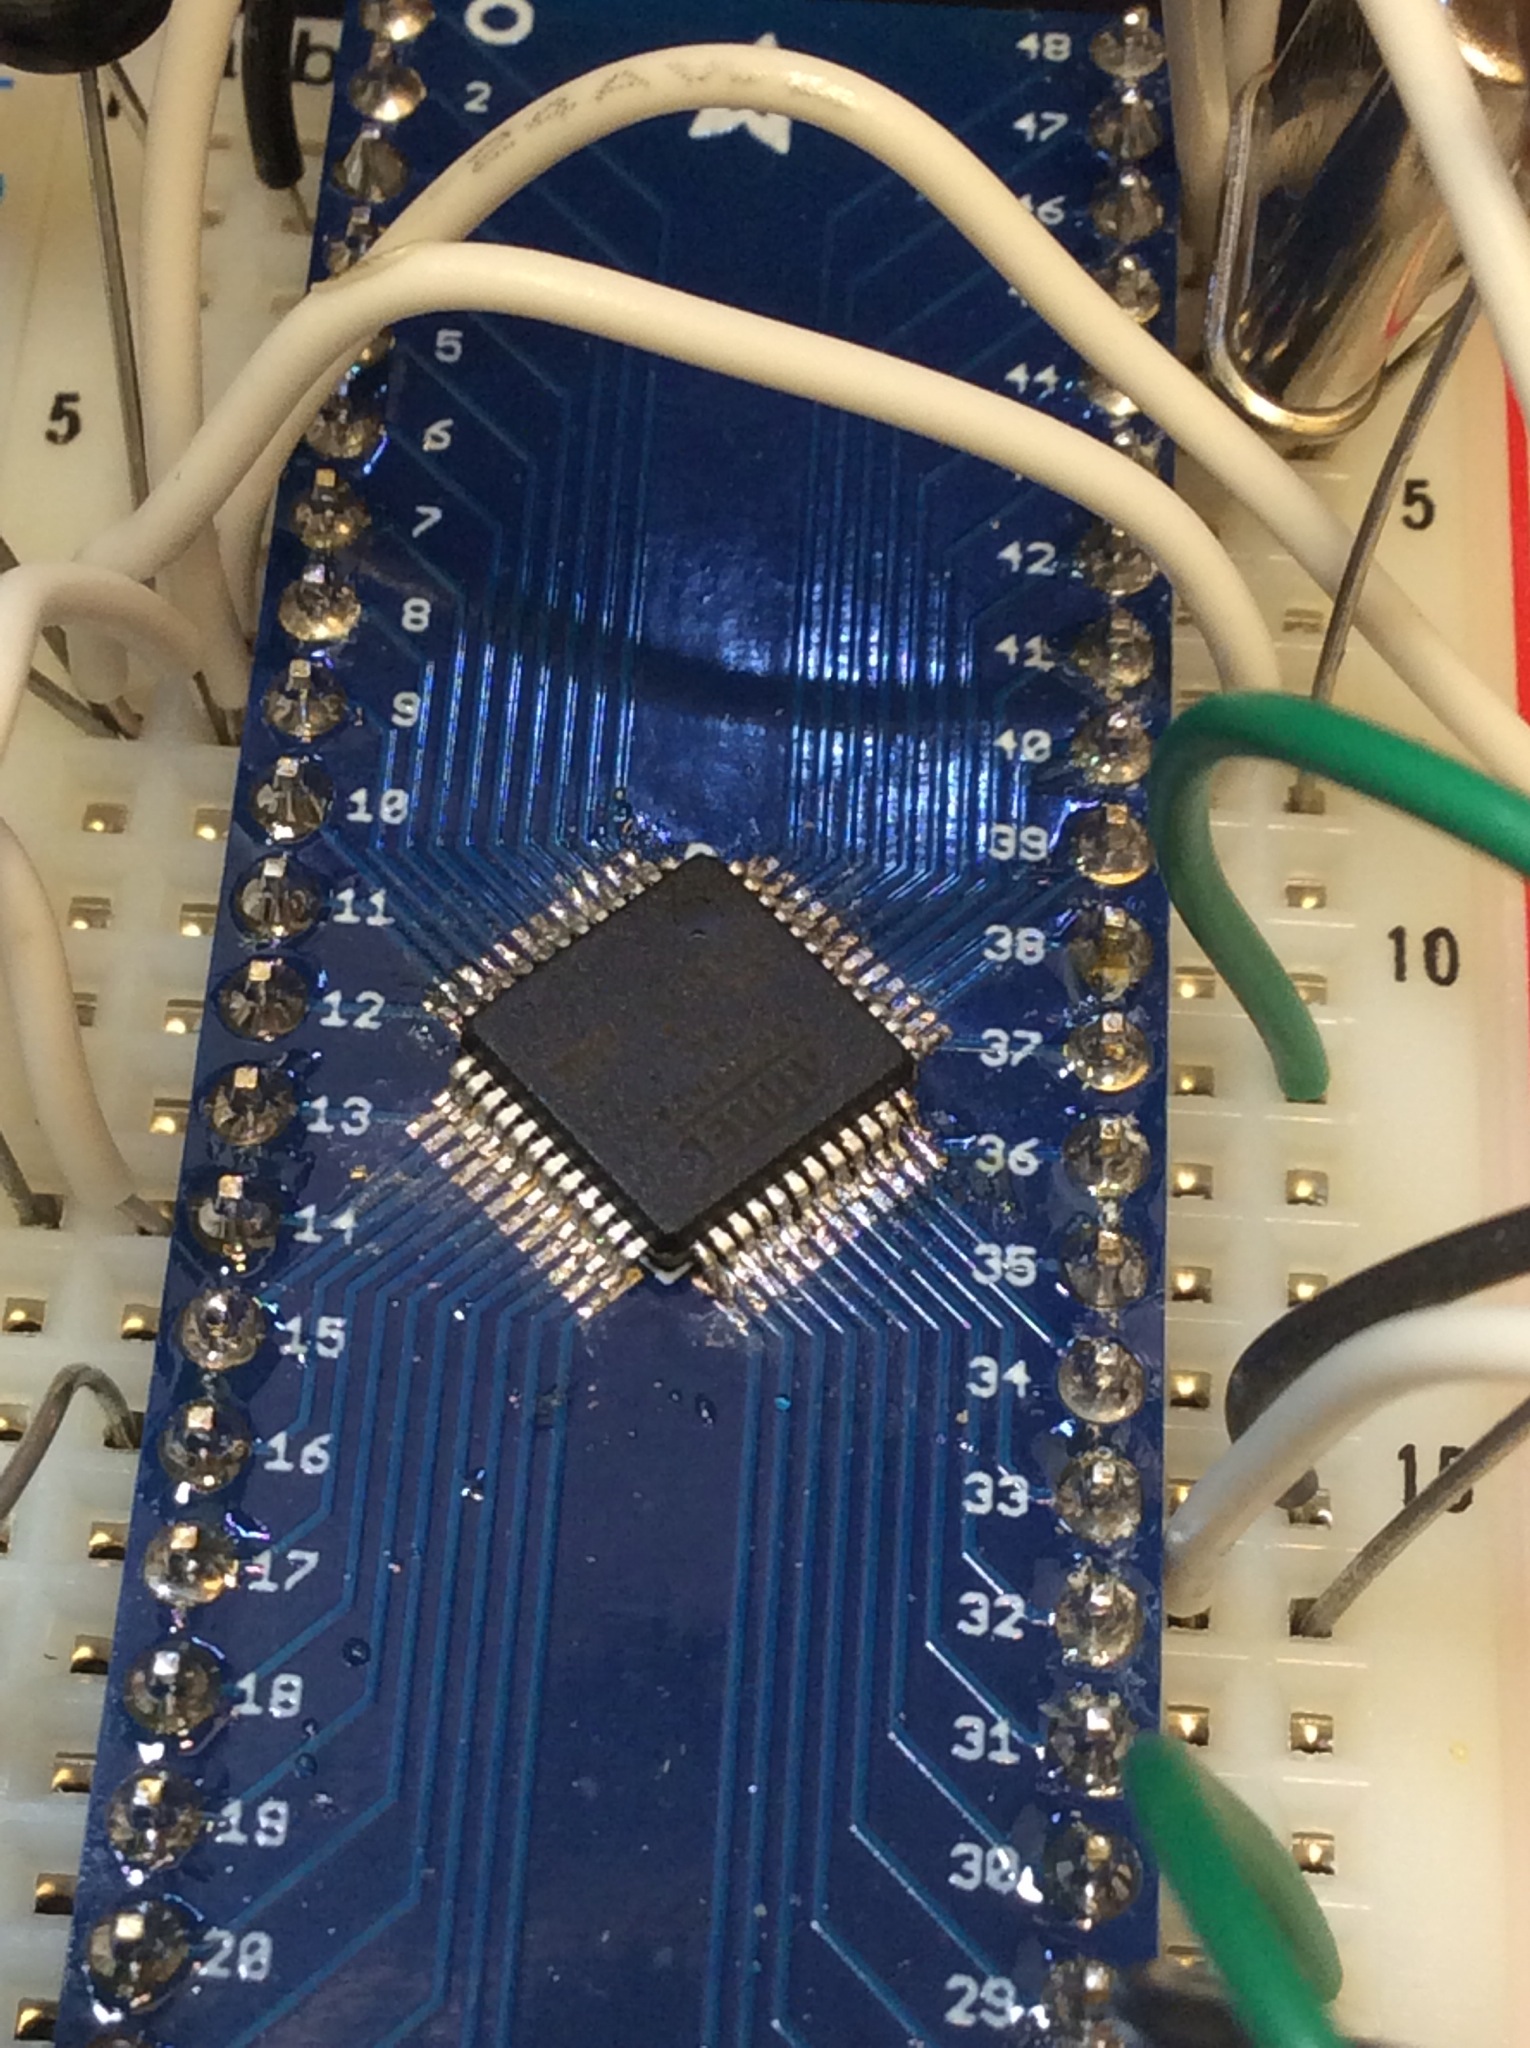
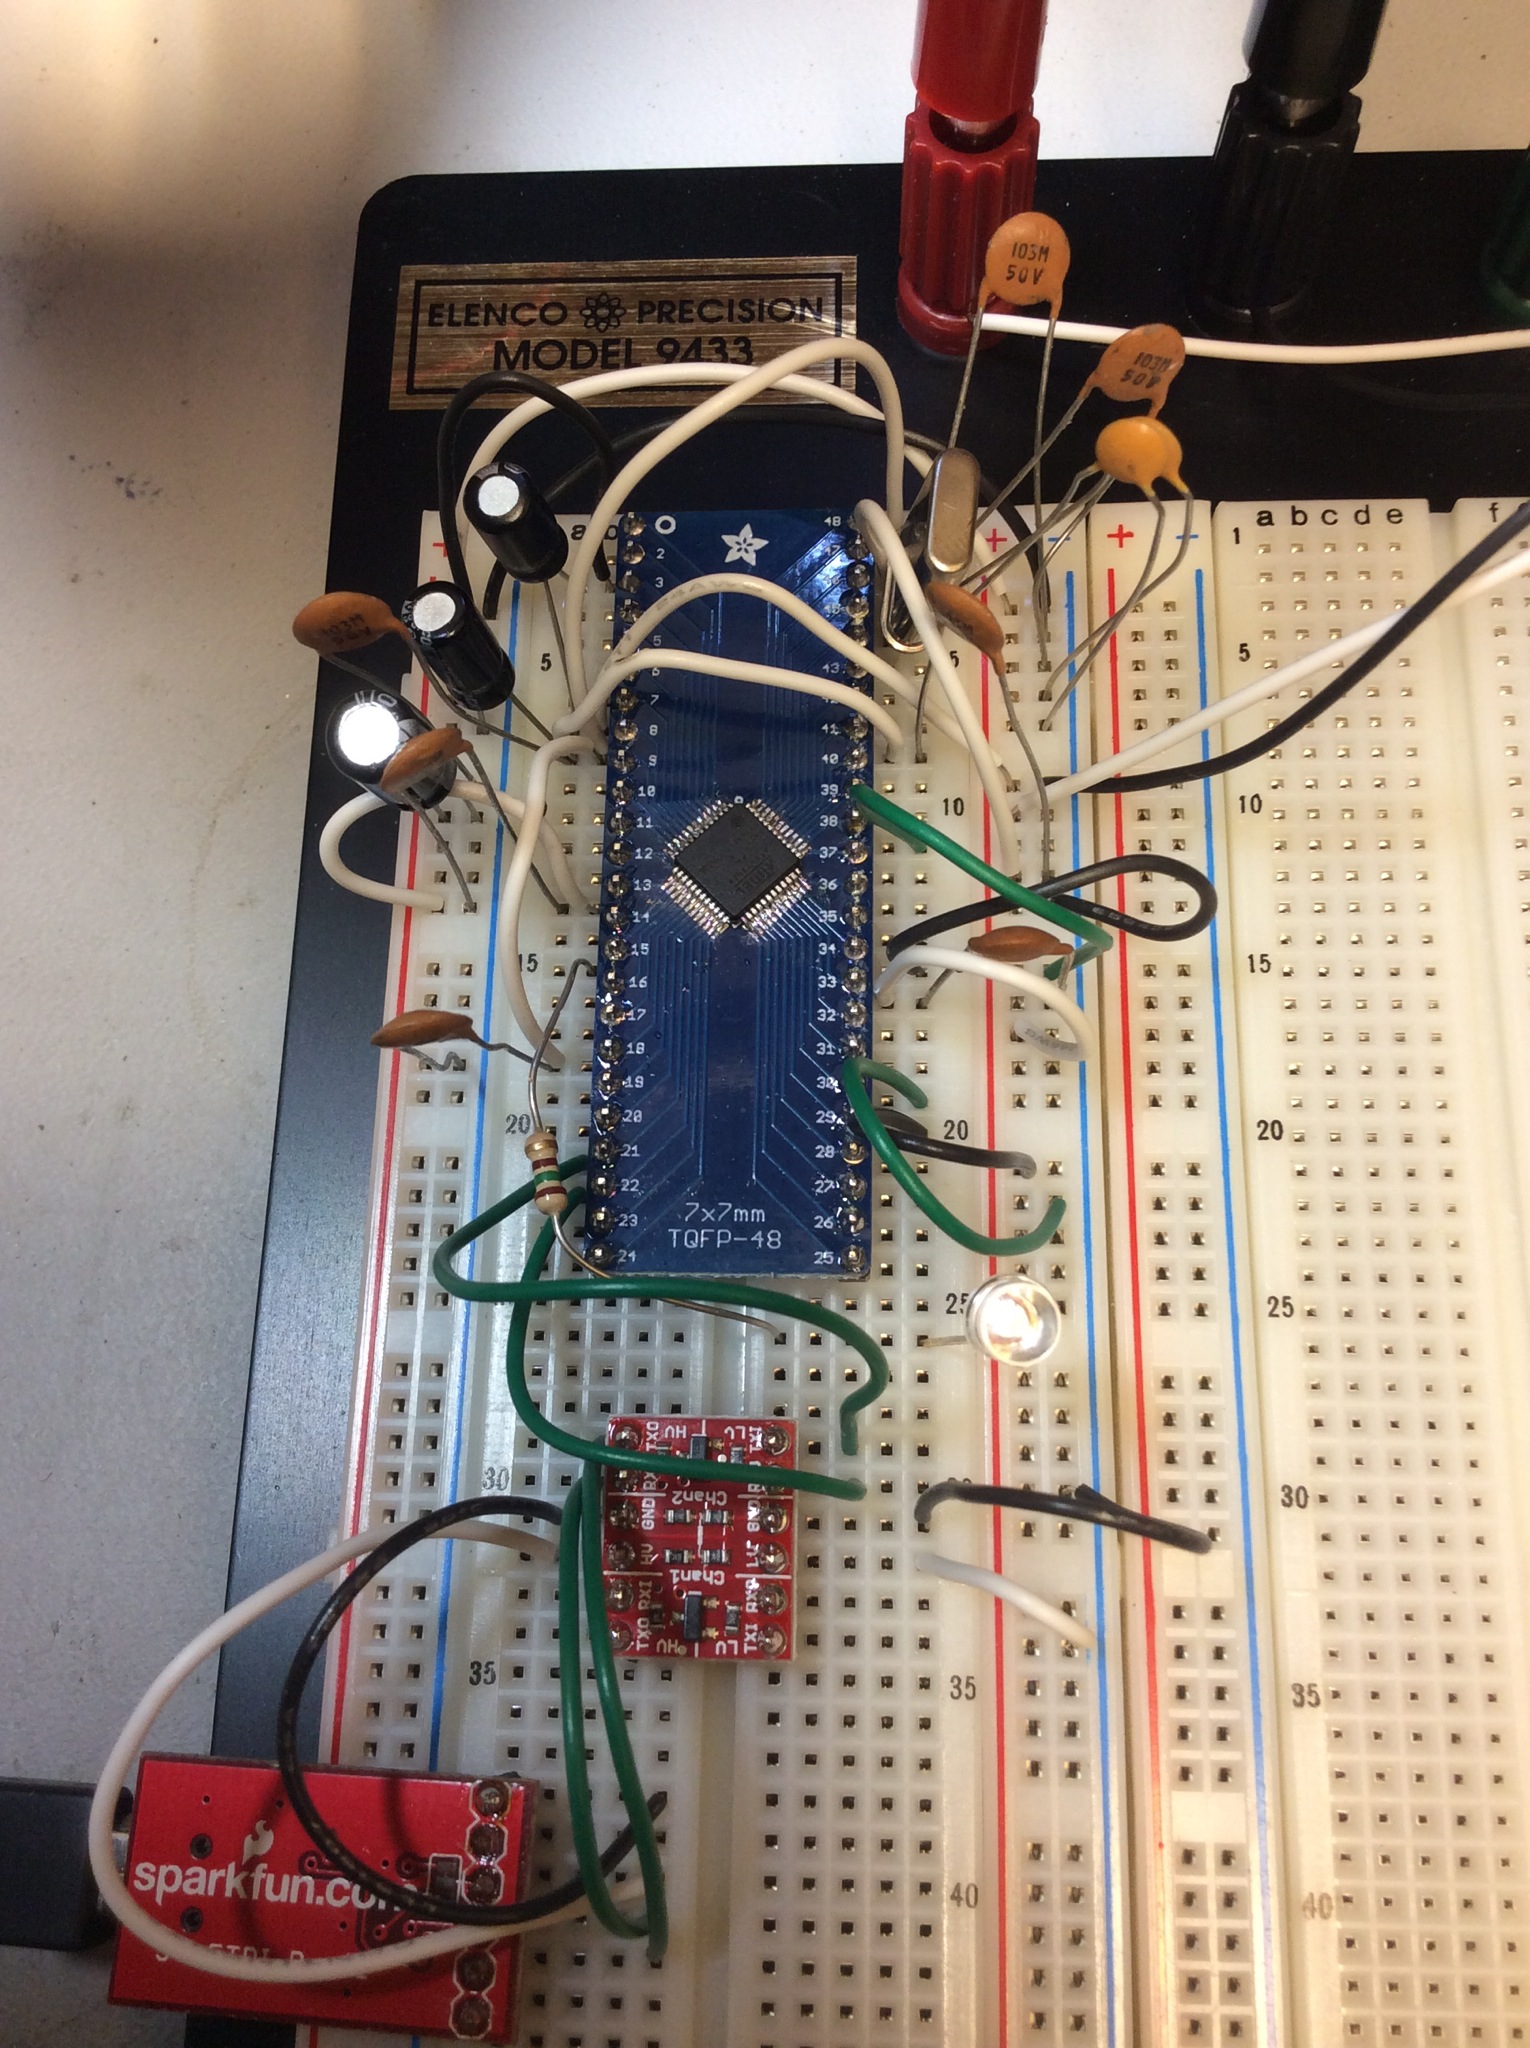
I choose a “cost effective” SAM3n2 variety in a LQFP-48 footprint. These cost $3 to $4 in single unit quantities from Mouser. I stock every variety of Adafruit SMT adapters. So it was only natural that I solder the SAM3n2 to the Adafruit adapter, then build up the circuit on a breadboard.
Several hours later one trip to Fry’s for a 0.007″ soldering tip, some cursing, a lot of solder wick I finally got the the SAM3n on my very own breakout board without any bridges. I’ve done enough surface mount soldering to know what I was getting into, but it did not decrease the amount of labor and frustration that can go into a chip with a lot of pins.
Atmel distributes the SAM-BA “SAM Boot Assistant” program that can talk to the ROM bootloader. It’s very unfortunate that SAM-BA becomes SAMBA. This makes it hard to search for help. Hey Atmel, how about using an unused acronym? SAM-BA talks to the SAM3n2 via UART0. These ARM chips are not 5V tolerant. I used a Sparkfun level shifter and a FTDI interface to connect up SAM-BA. The SAM3n2 starts off using an internal RC oscillator. You do not need to connect an external crystal. Add some bypass capacitors and everything is ready to go.
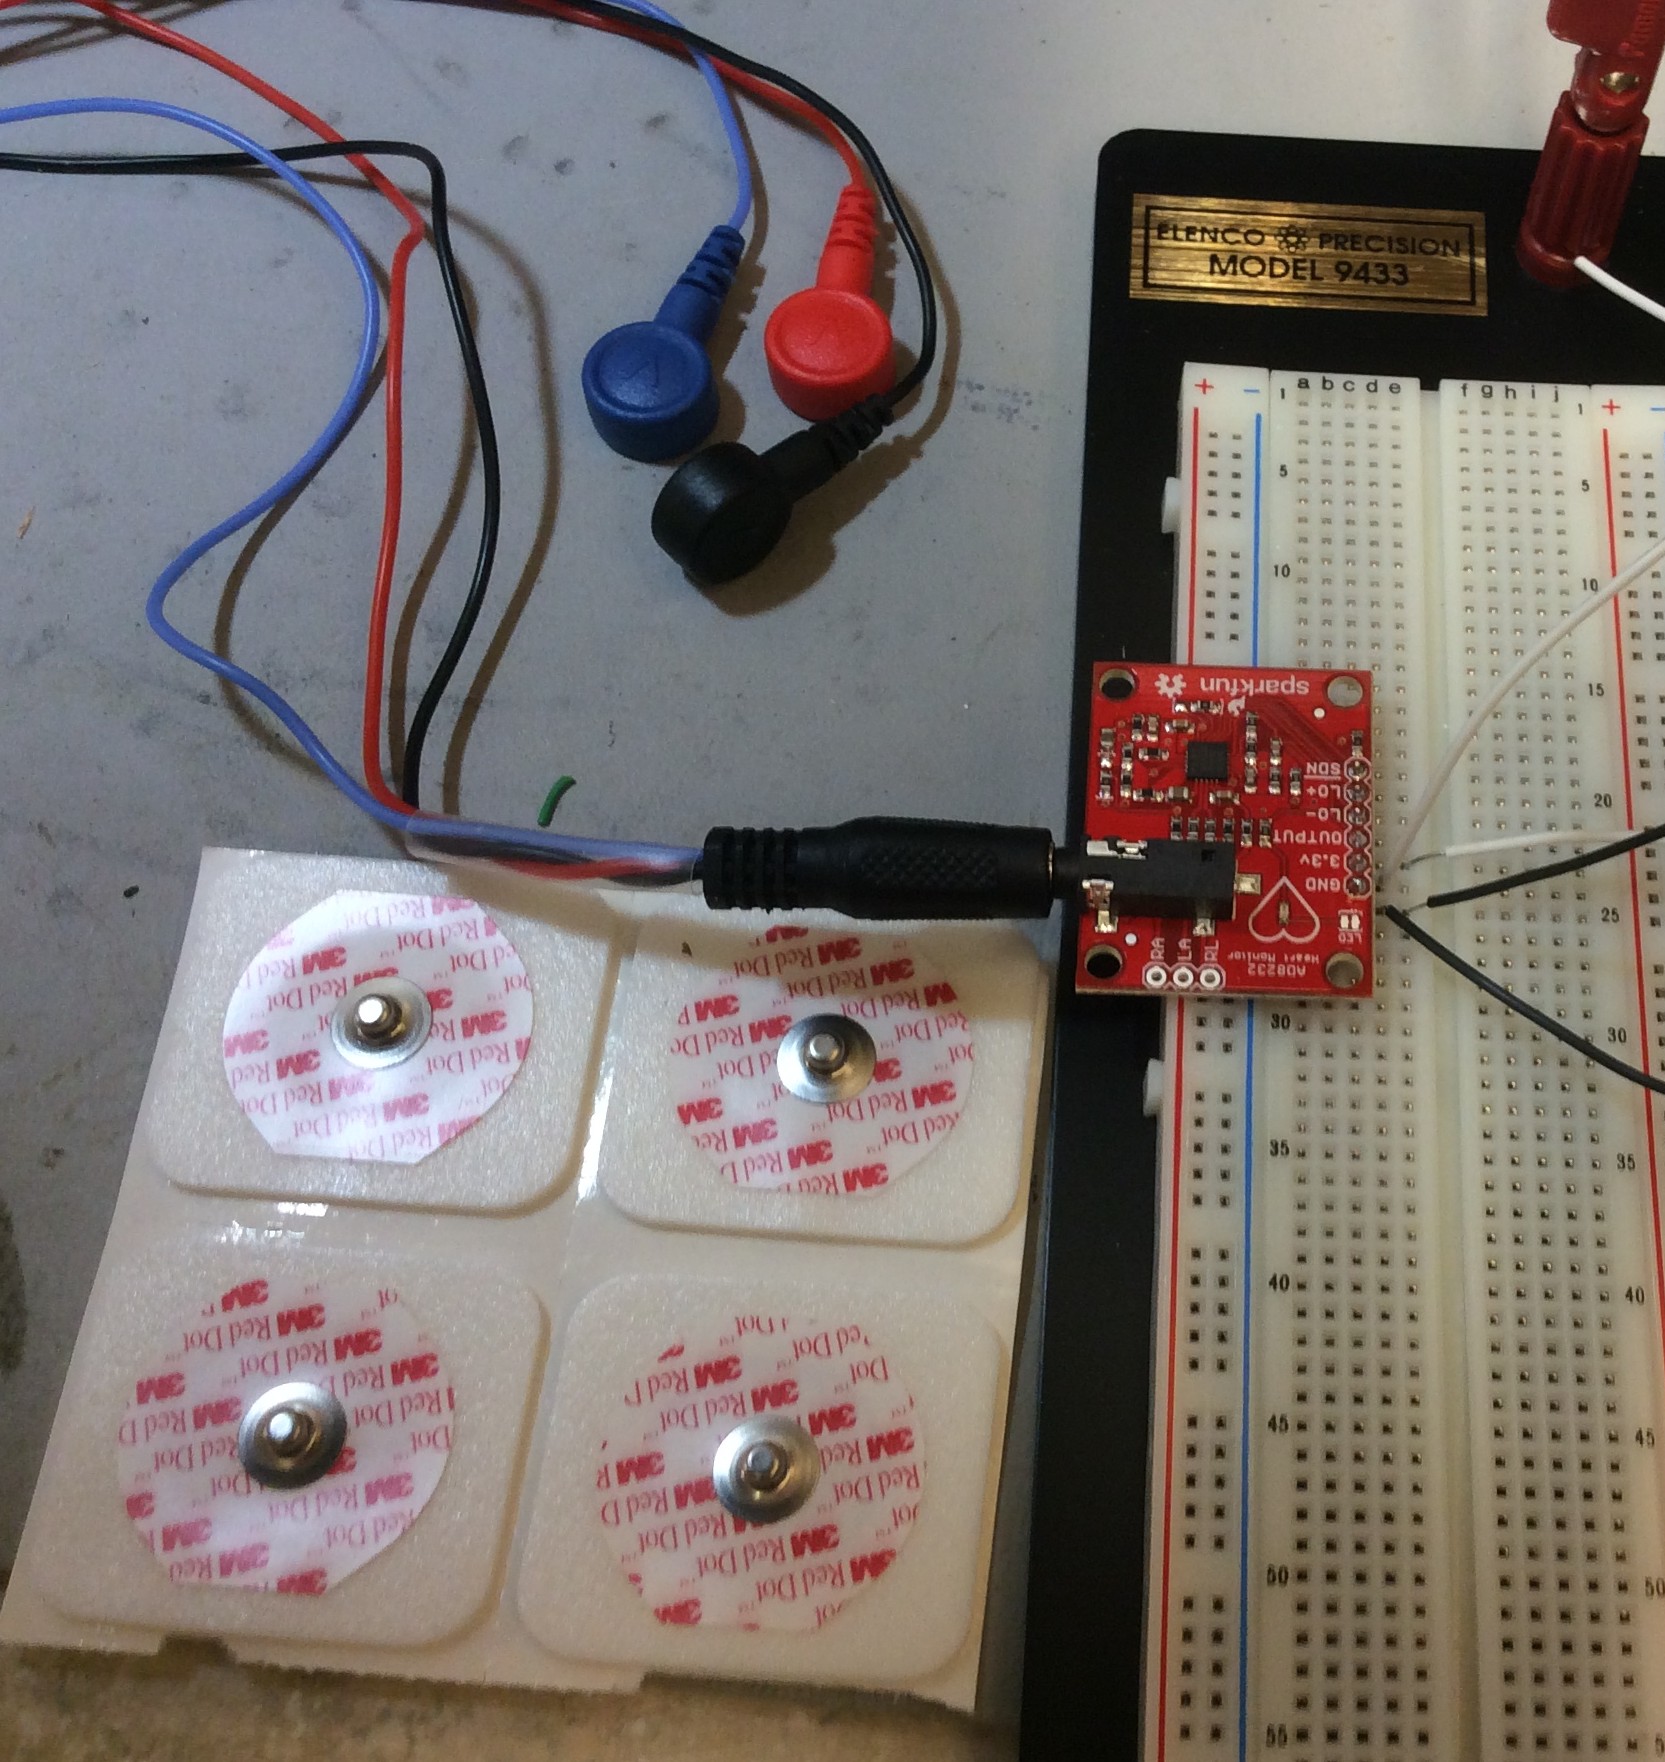
Pulled Sparkfun’s breakout for the AD8232 single lead heart rate processor from the box and started playing with it. Spent the evening in the hobby room (as the 9yo calls it) with the 9 year old. He wanted it hooked up to himself. What can a father do but say yes, let’s hookup bio-medical devices to you!
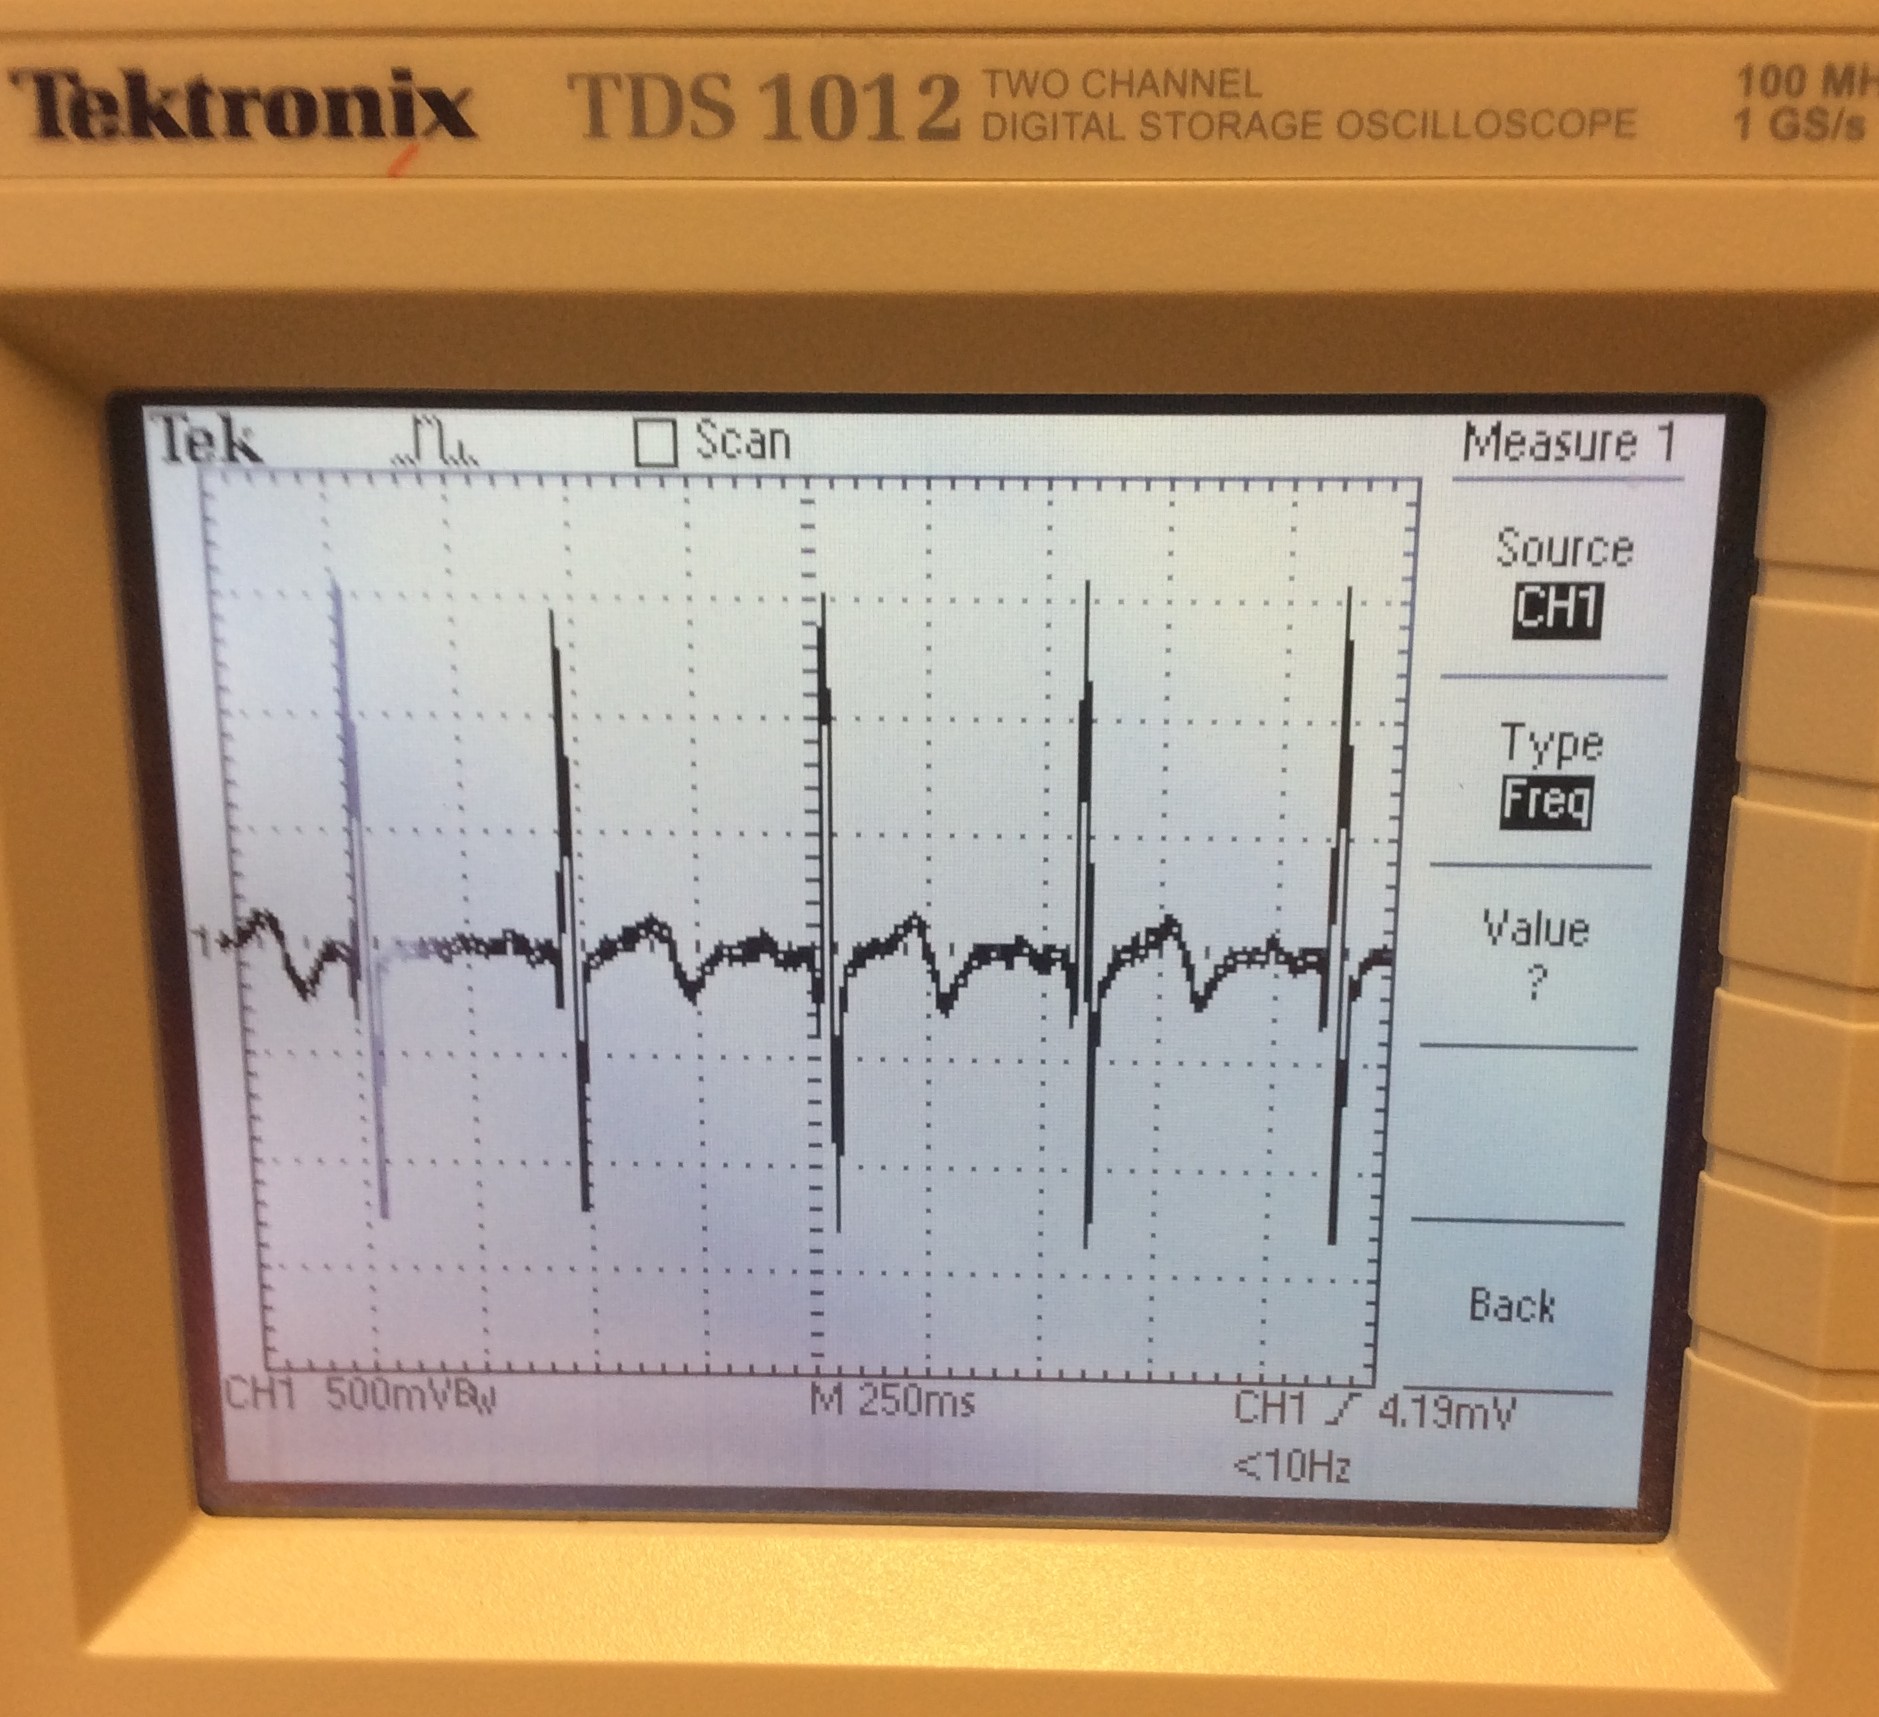
You can use the foam electrode pads up really quickly. You can find them much cheaper on Amazon. I bought a bag of 50 for $13 of the 3m red dot foam electrodes To make the exercise short, I put headers on the breakout boards and hooked it up to the oscilloscope. Set the oscilloscope to 250ms per division. The AD8232 generates output signals that have a peak of almost two volts.
One of the problems we encountered early on is where to put the electrodes. Not being from the medical establishment a quick google search yield that the ground (black) electrode goes on the right side about the last rib. The plus (red) goes on the right of the torso just below the collar bone, and the negative electrode goes just below the breast area on the left side. Freescale has a heart rate monitor project that contains great explanations and diagrams. Find the PDF here: Freescale: How to Create a Heart Rate Monitor and One-Lead EKG
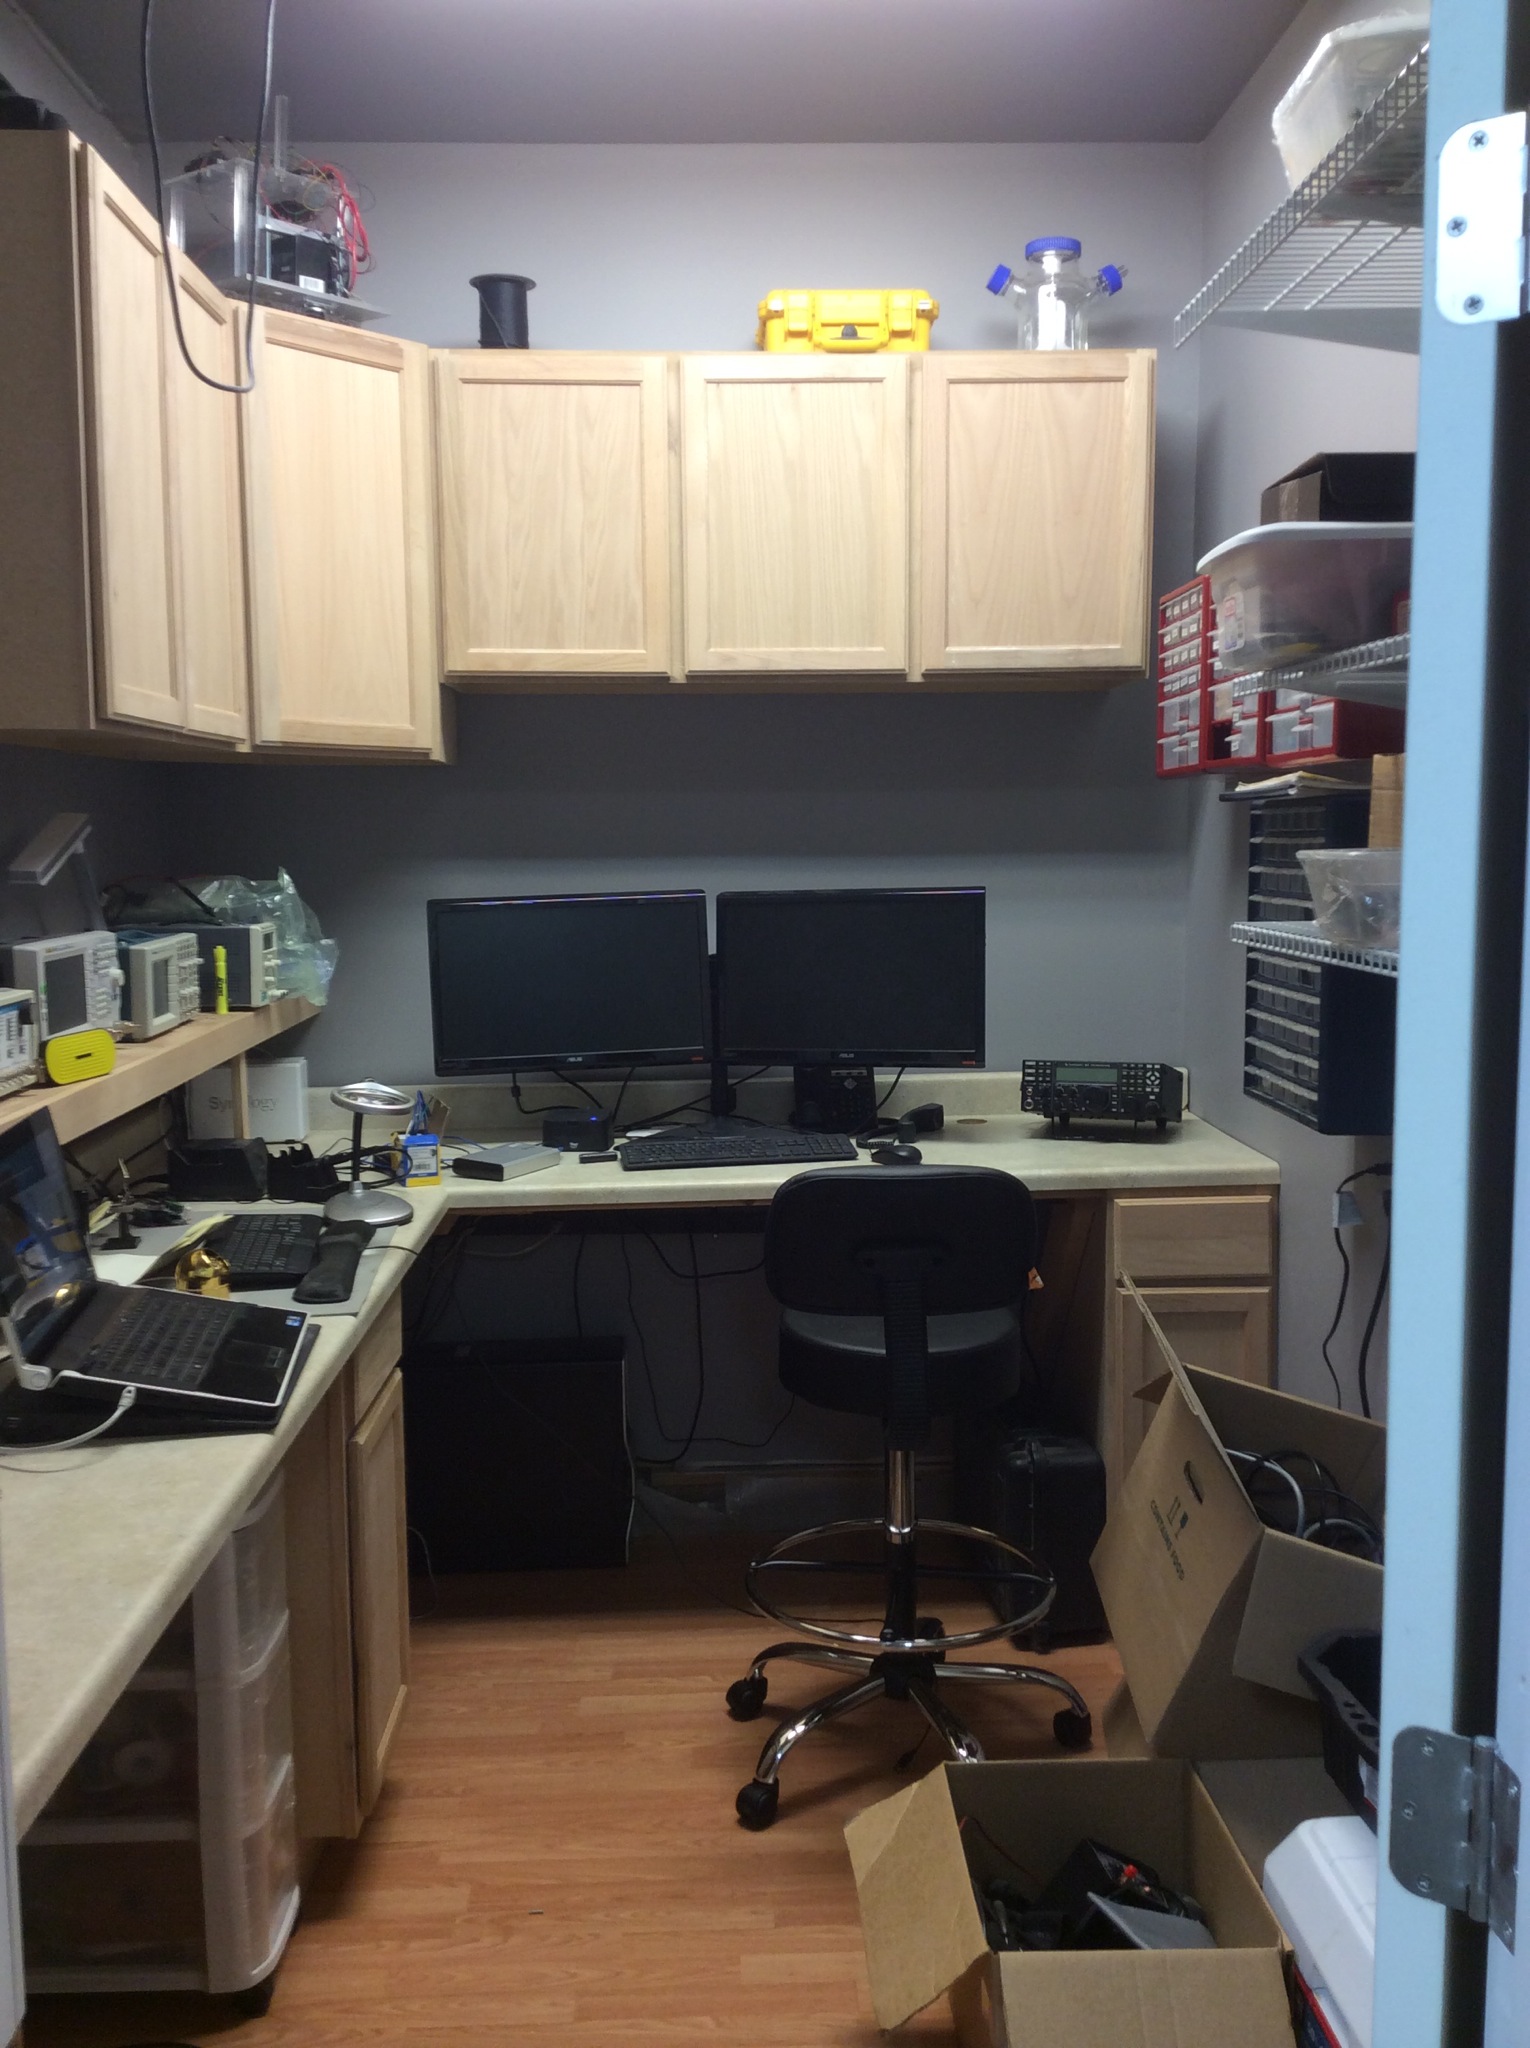
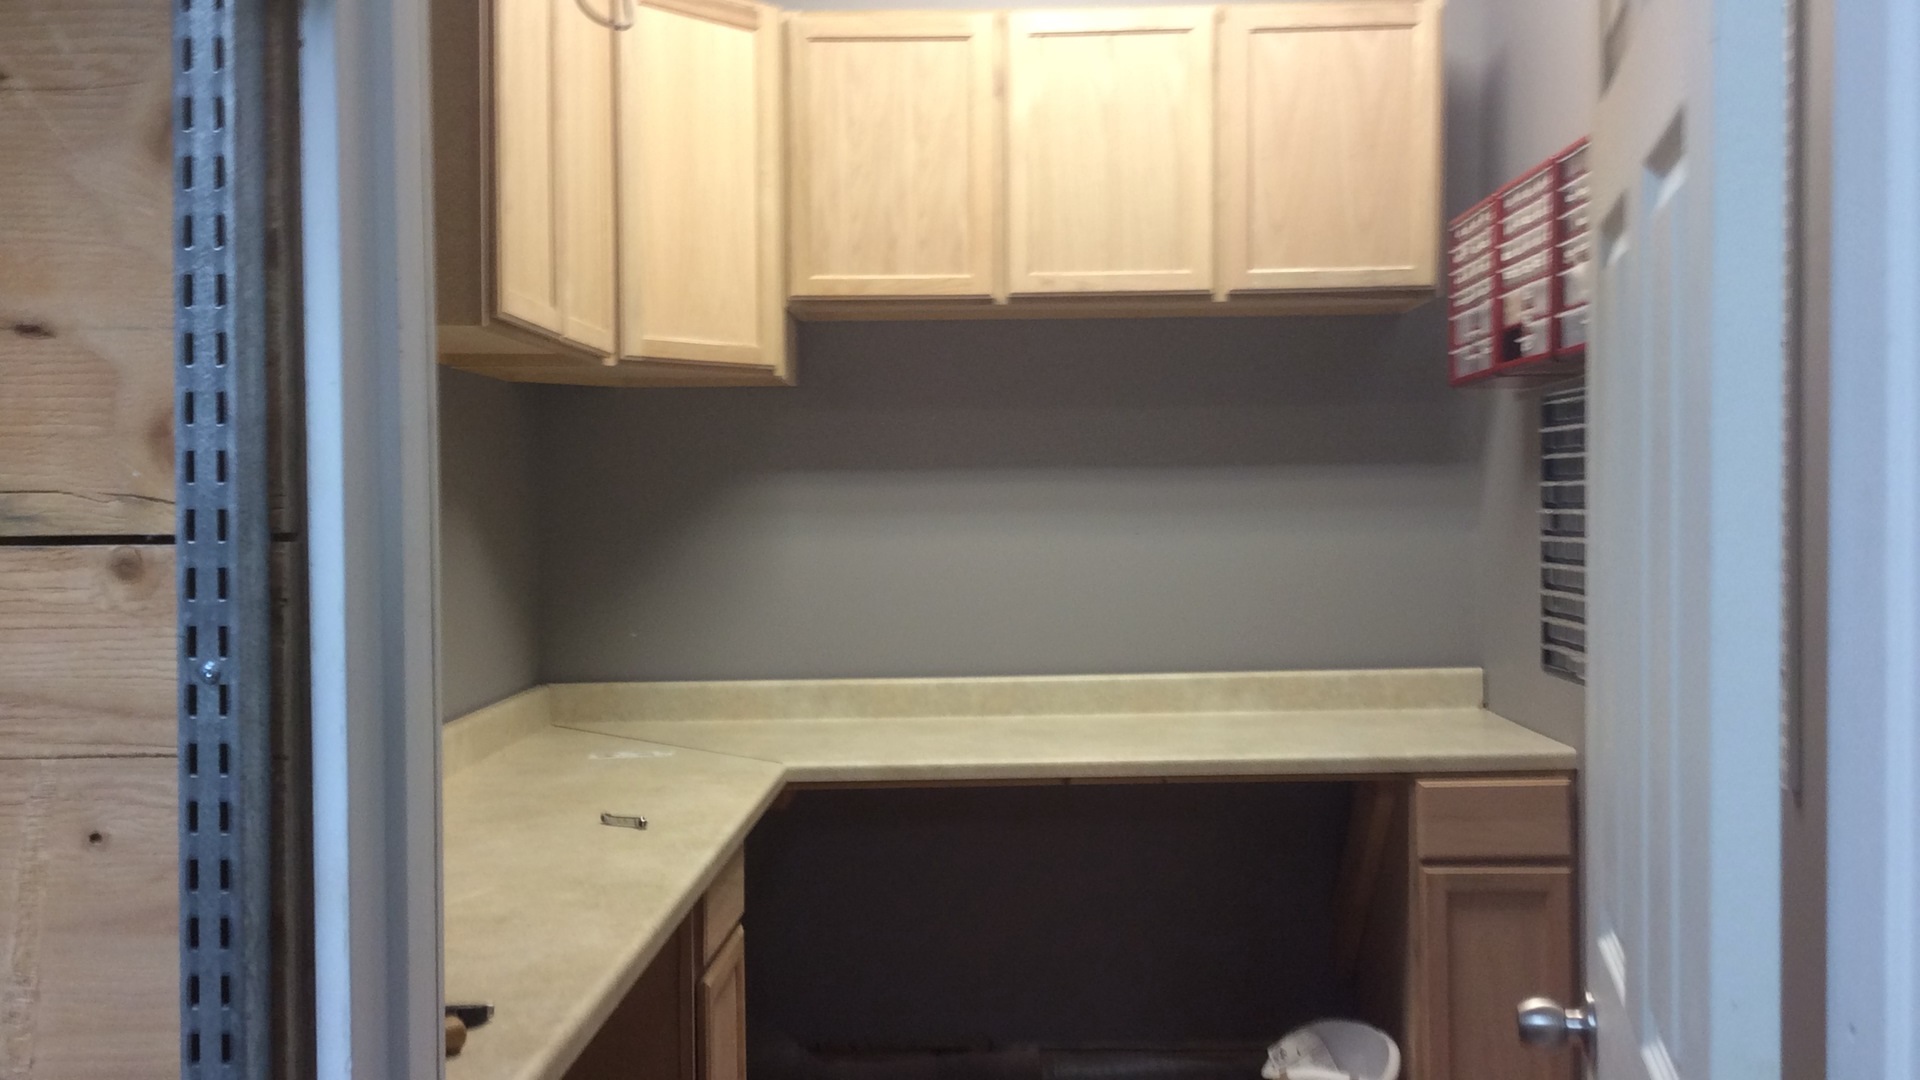
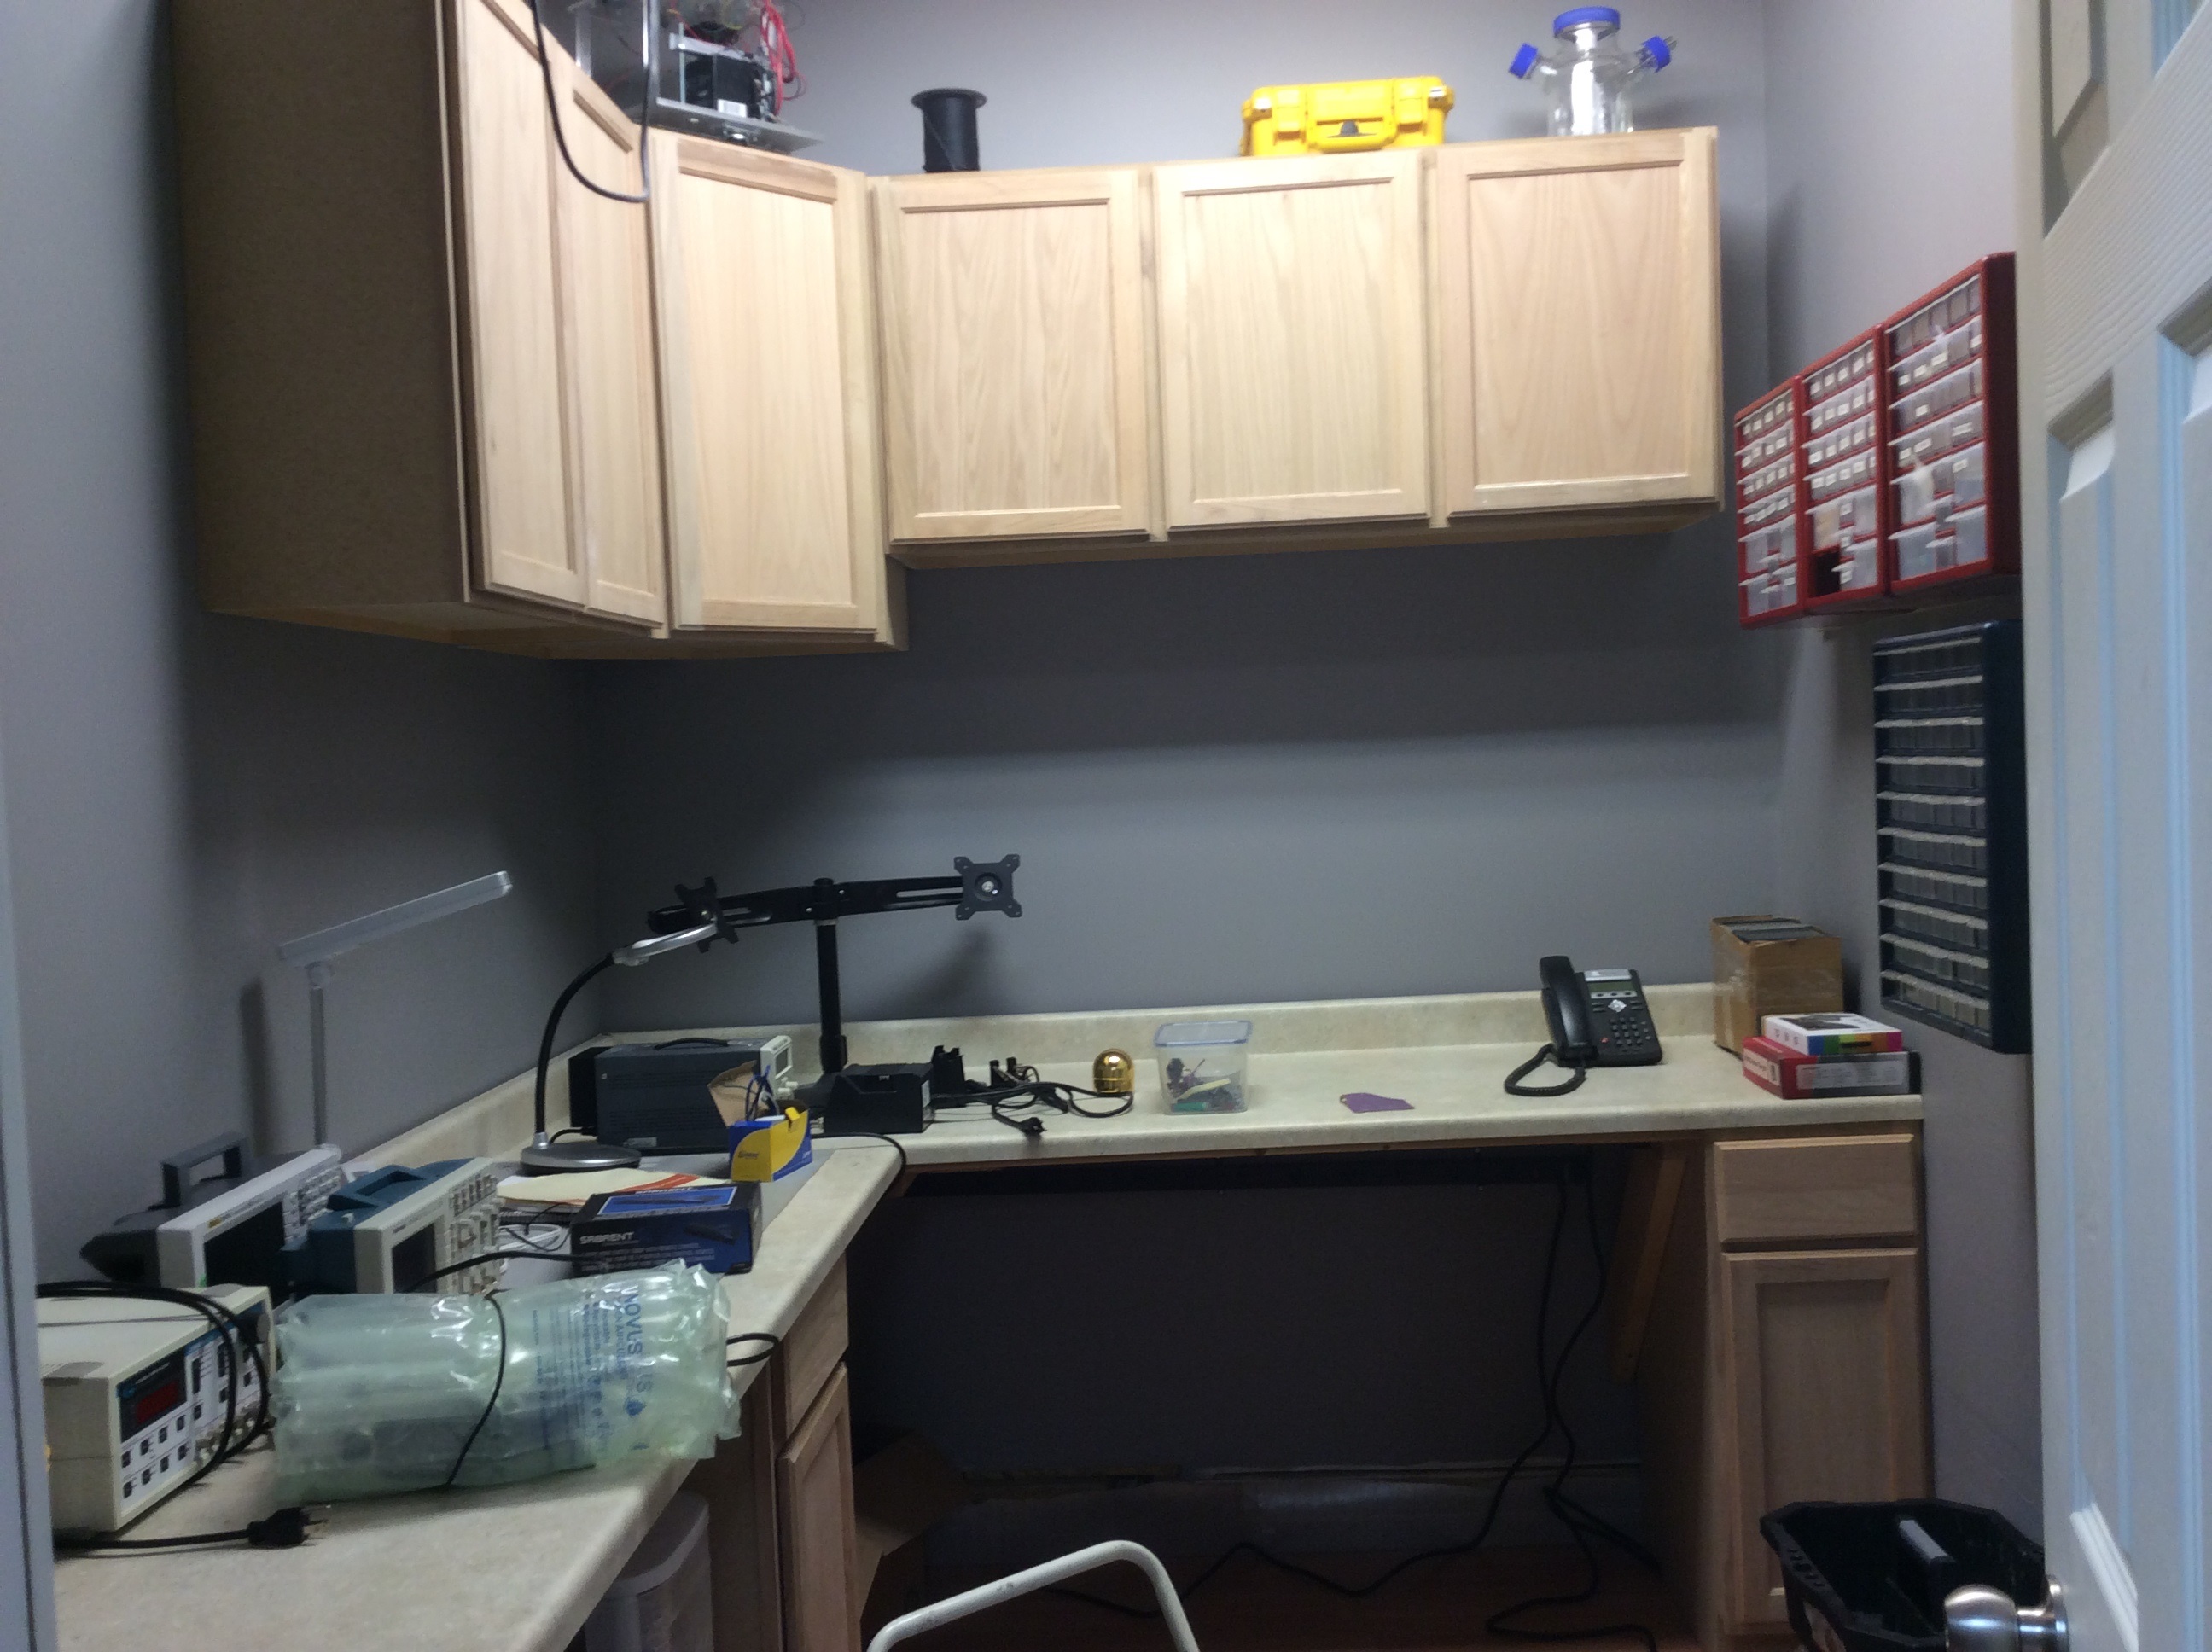
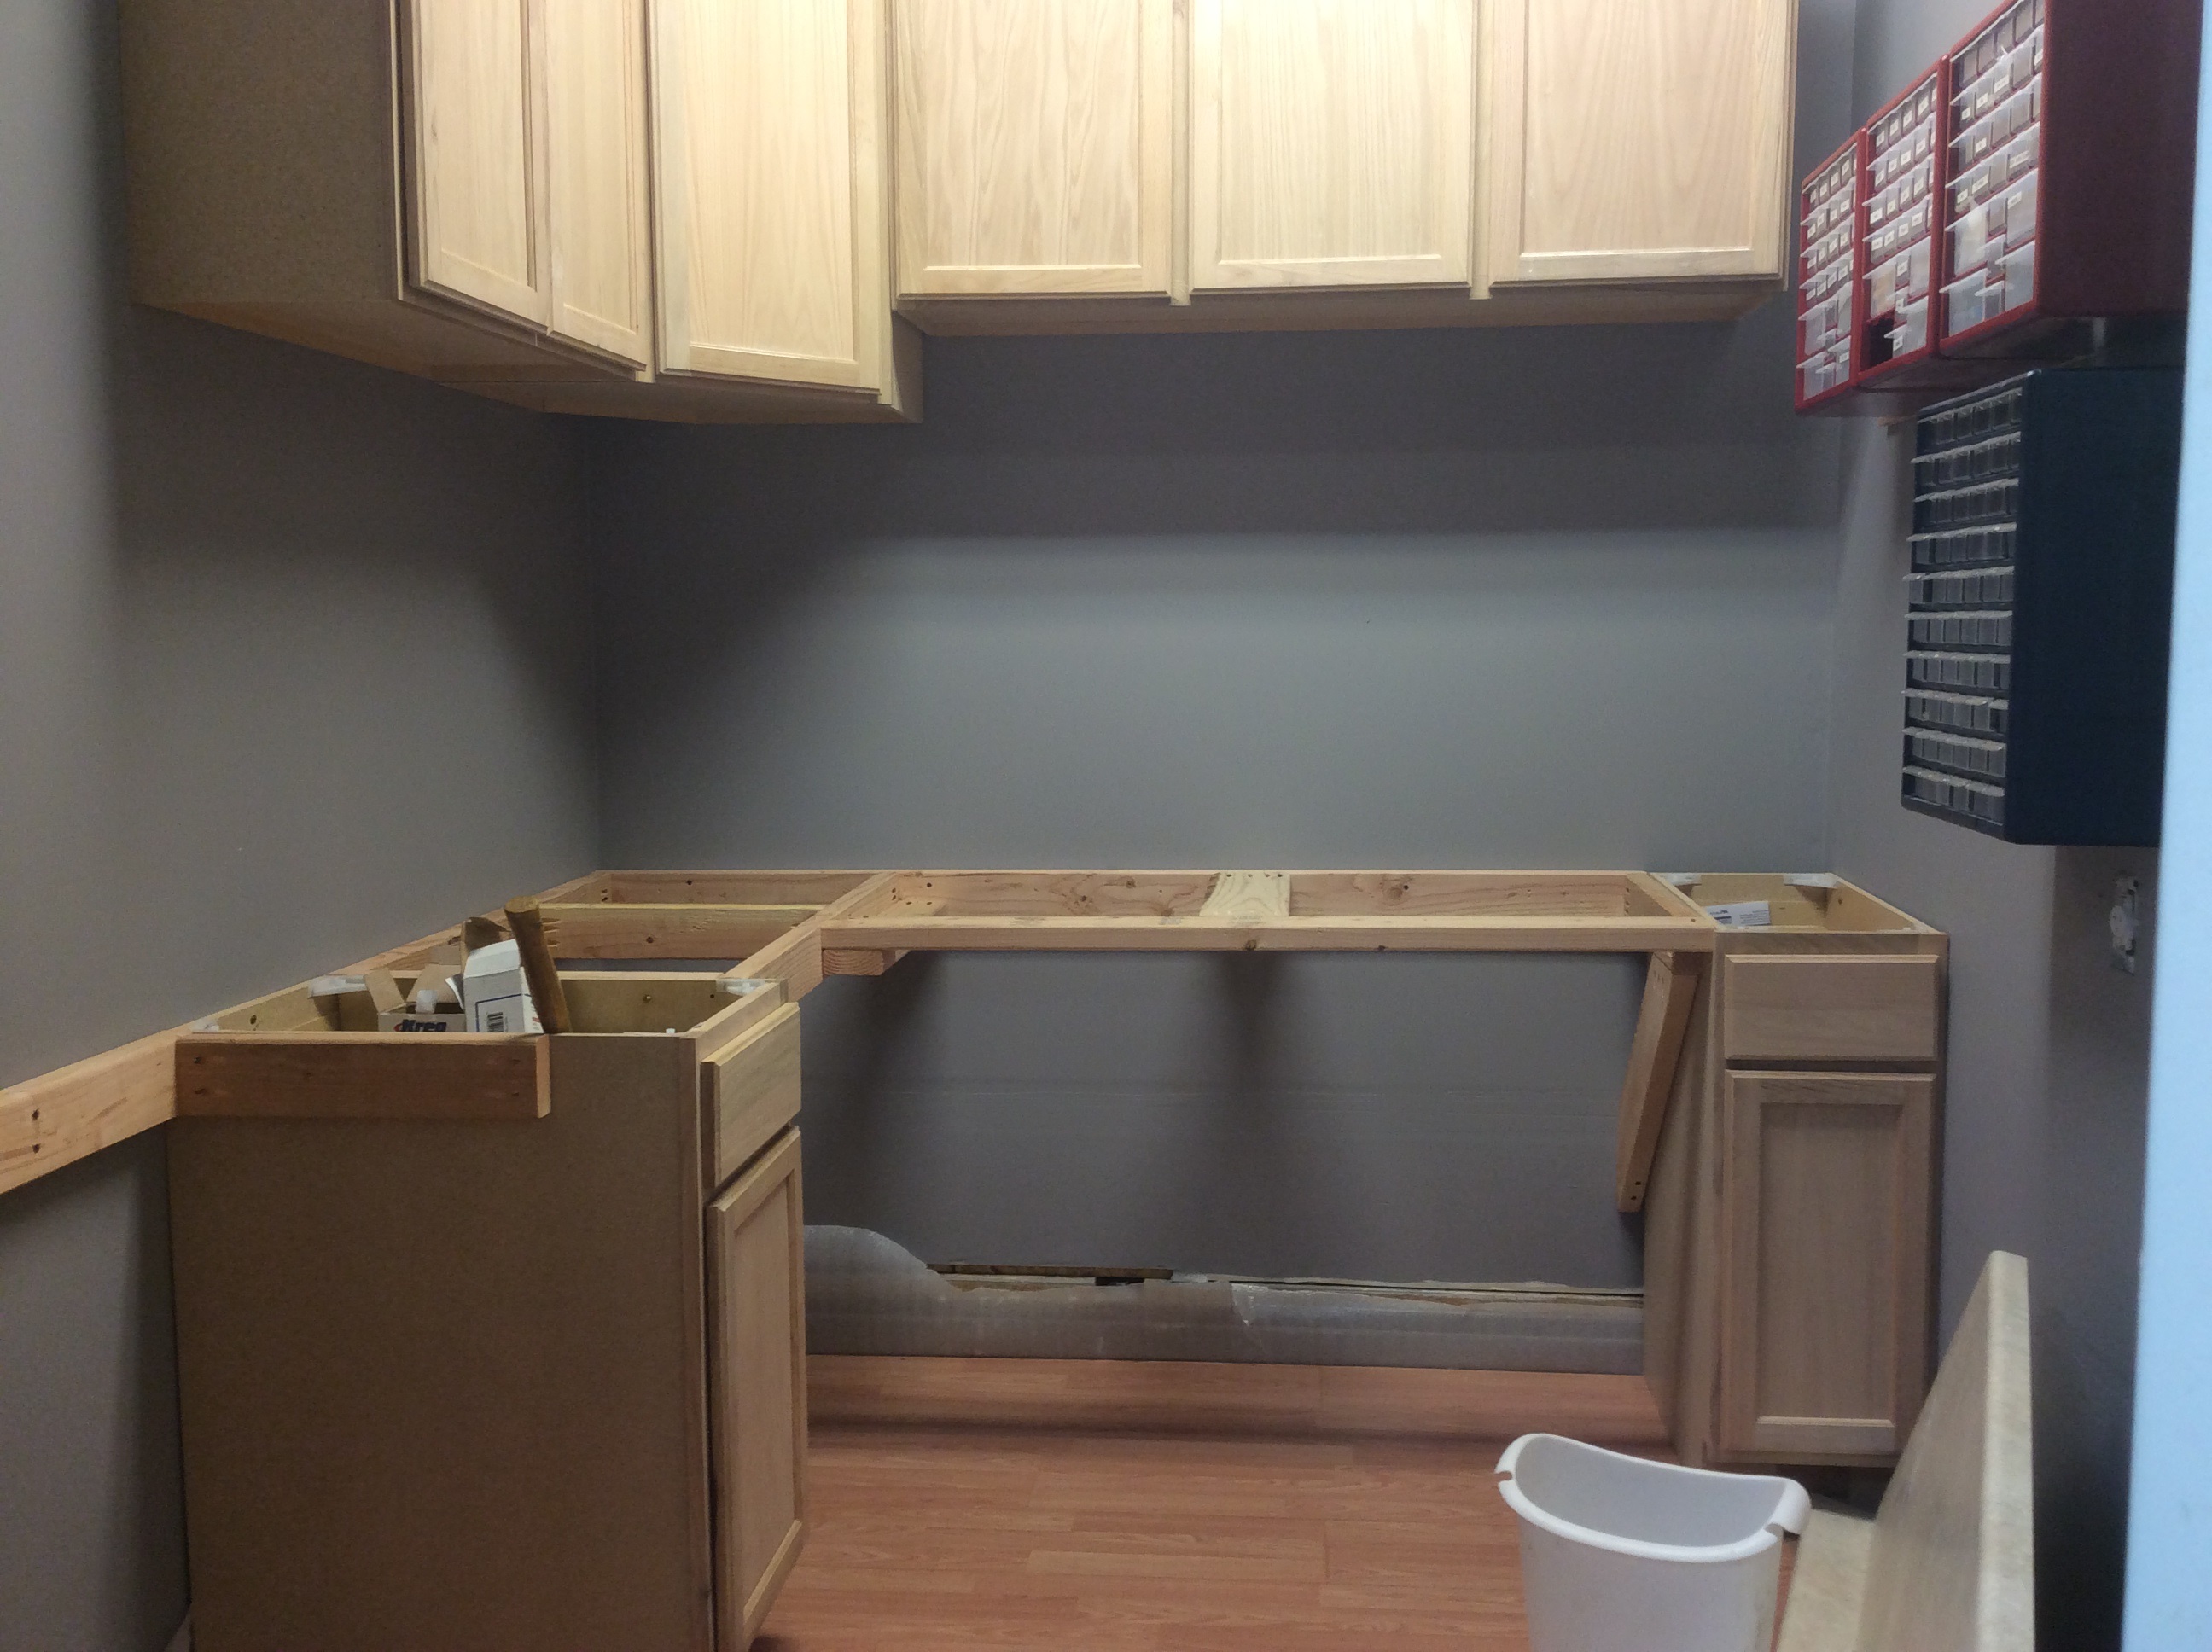
I’m using the cheap unfinished oak cabinets from Home Depot as the overhead primary storage and the base for the cheap laminate counter tops.
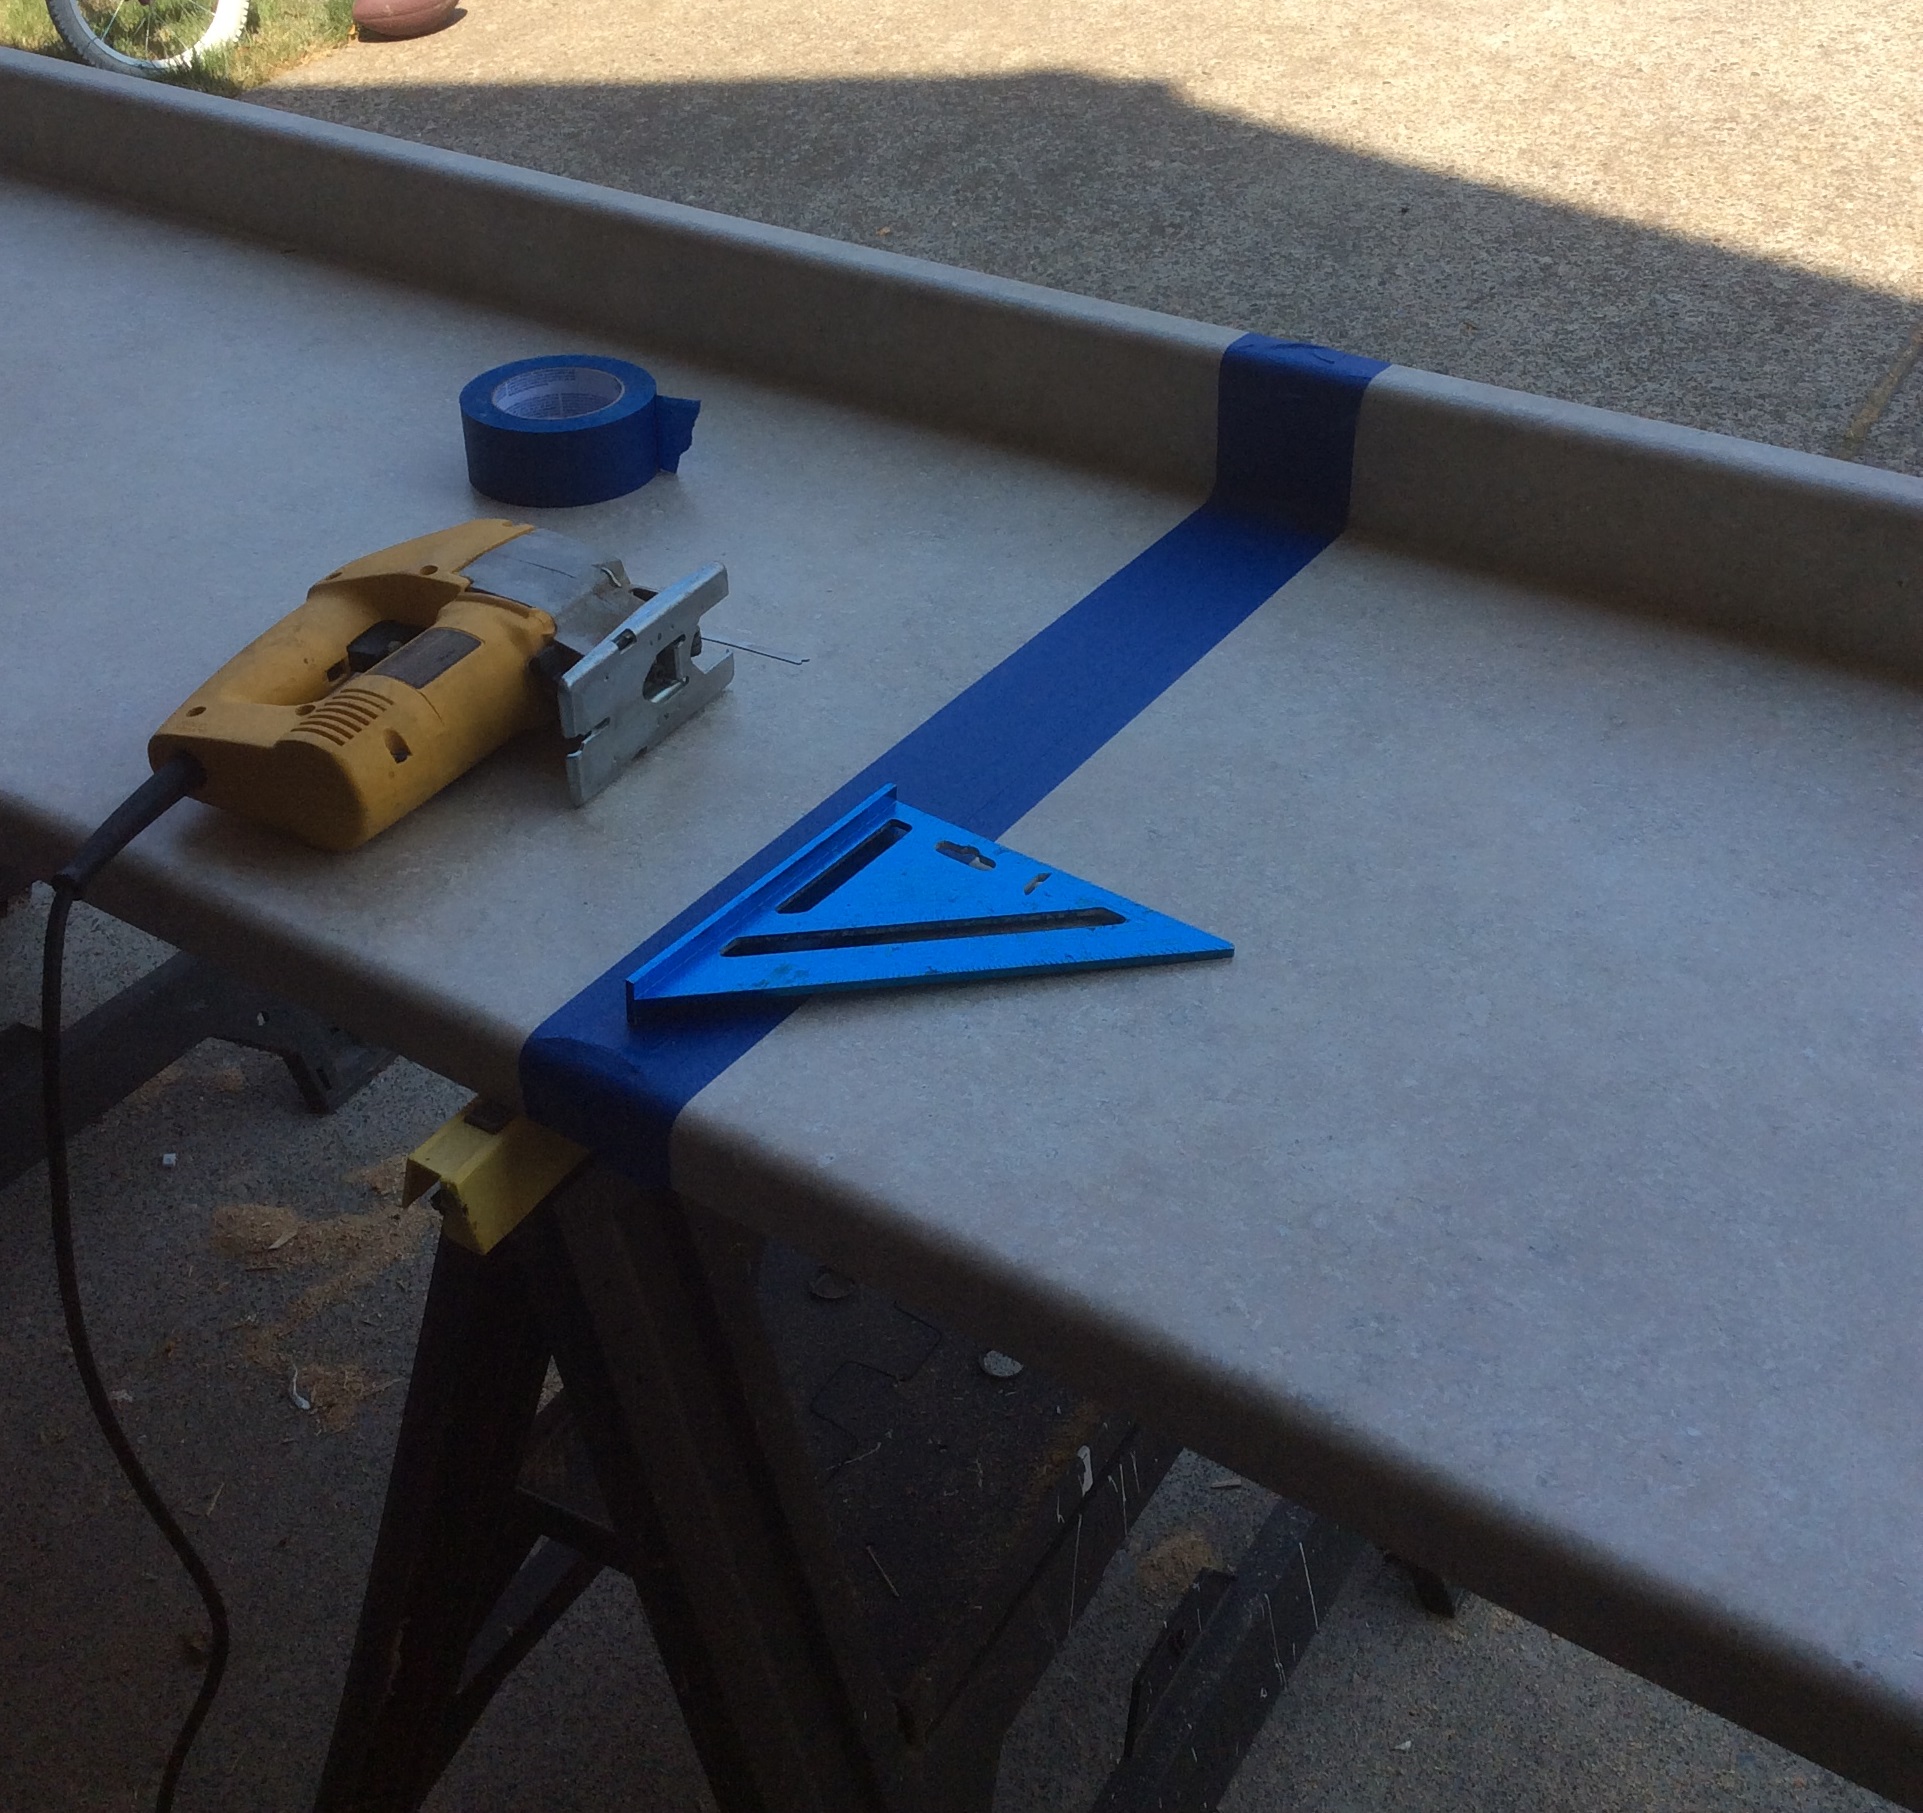
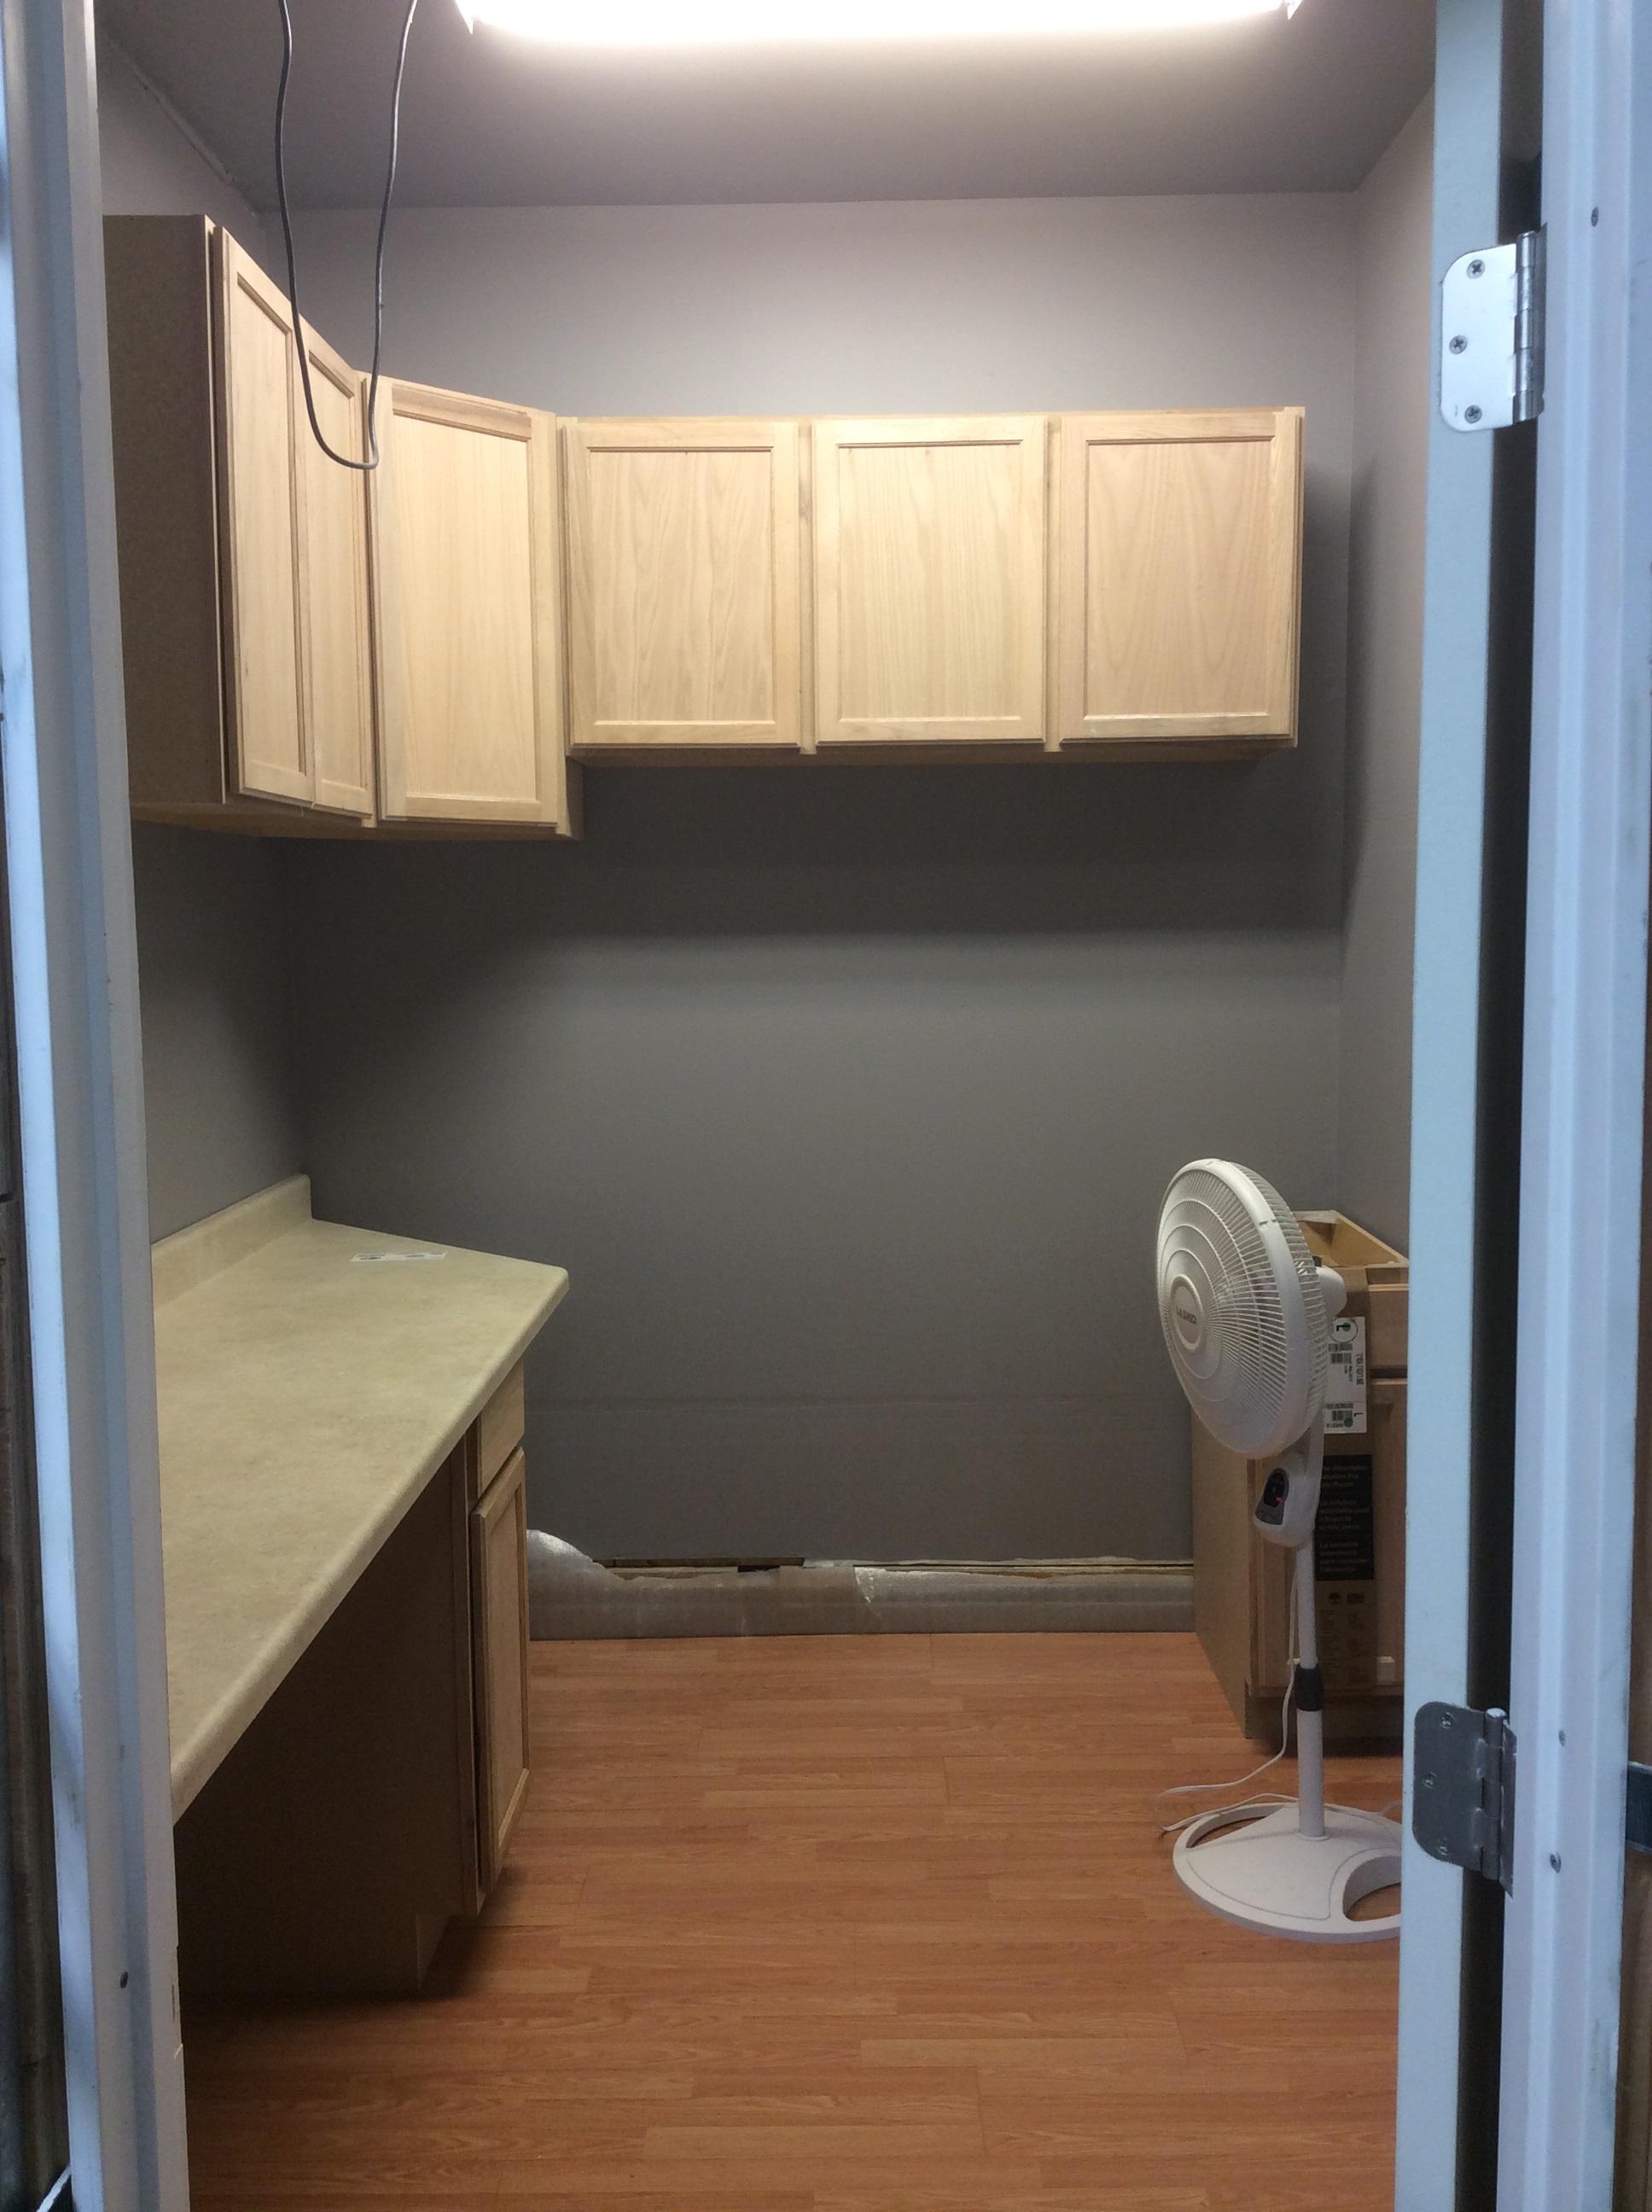
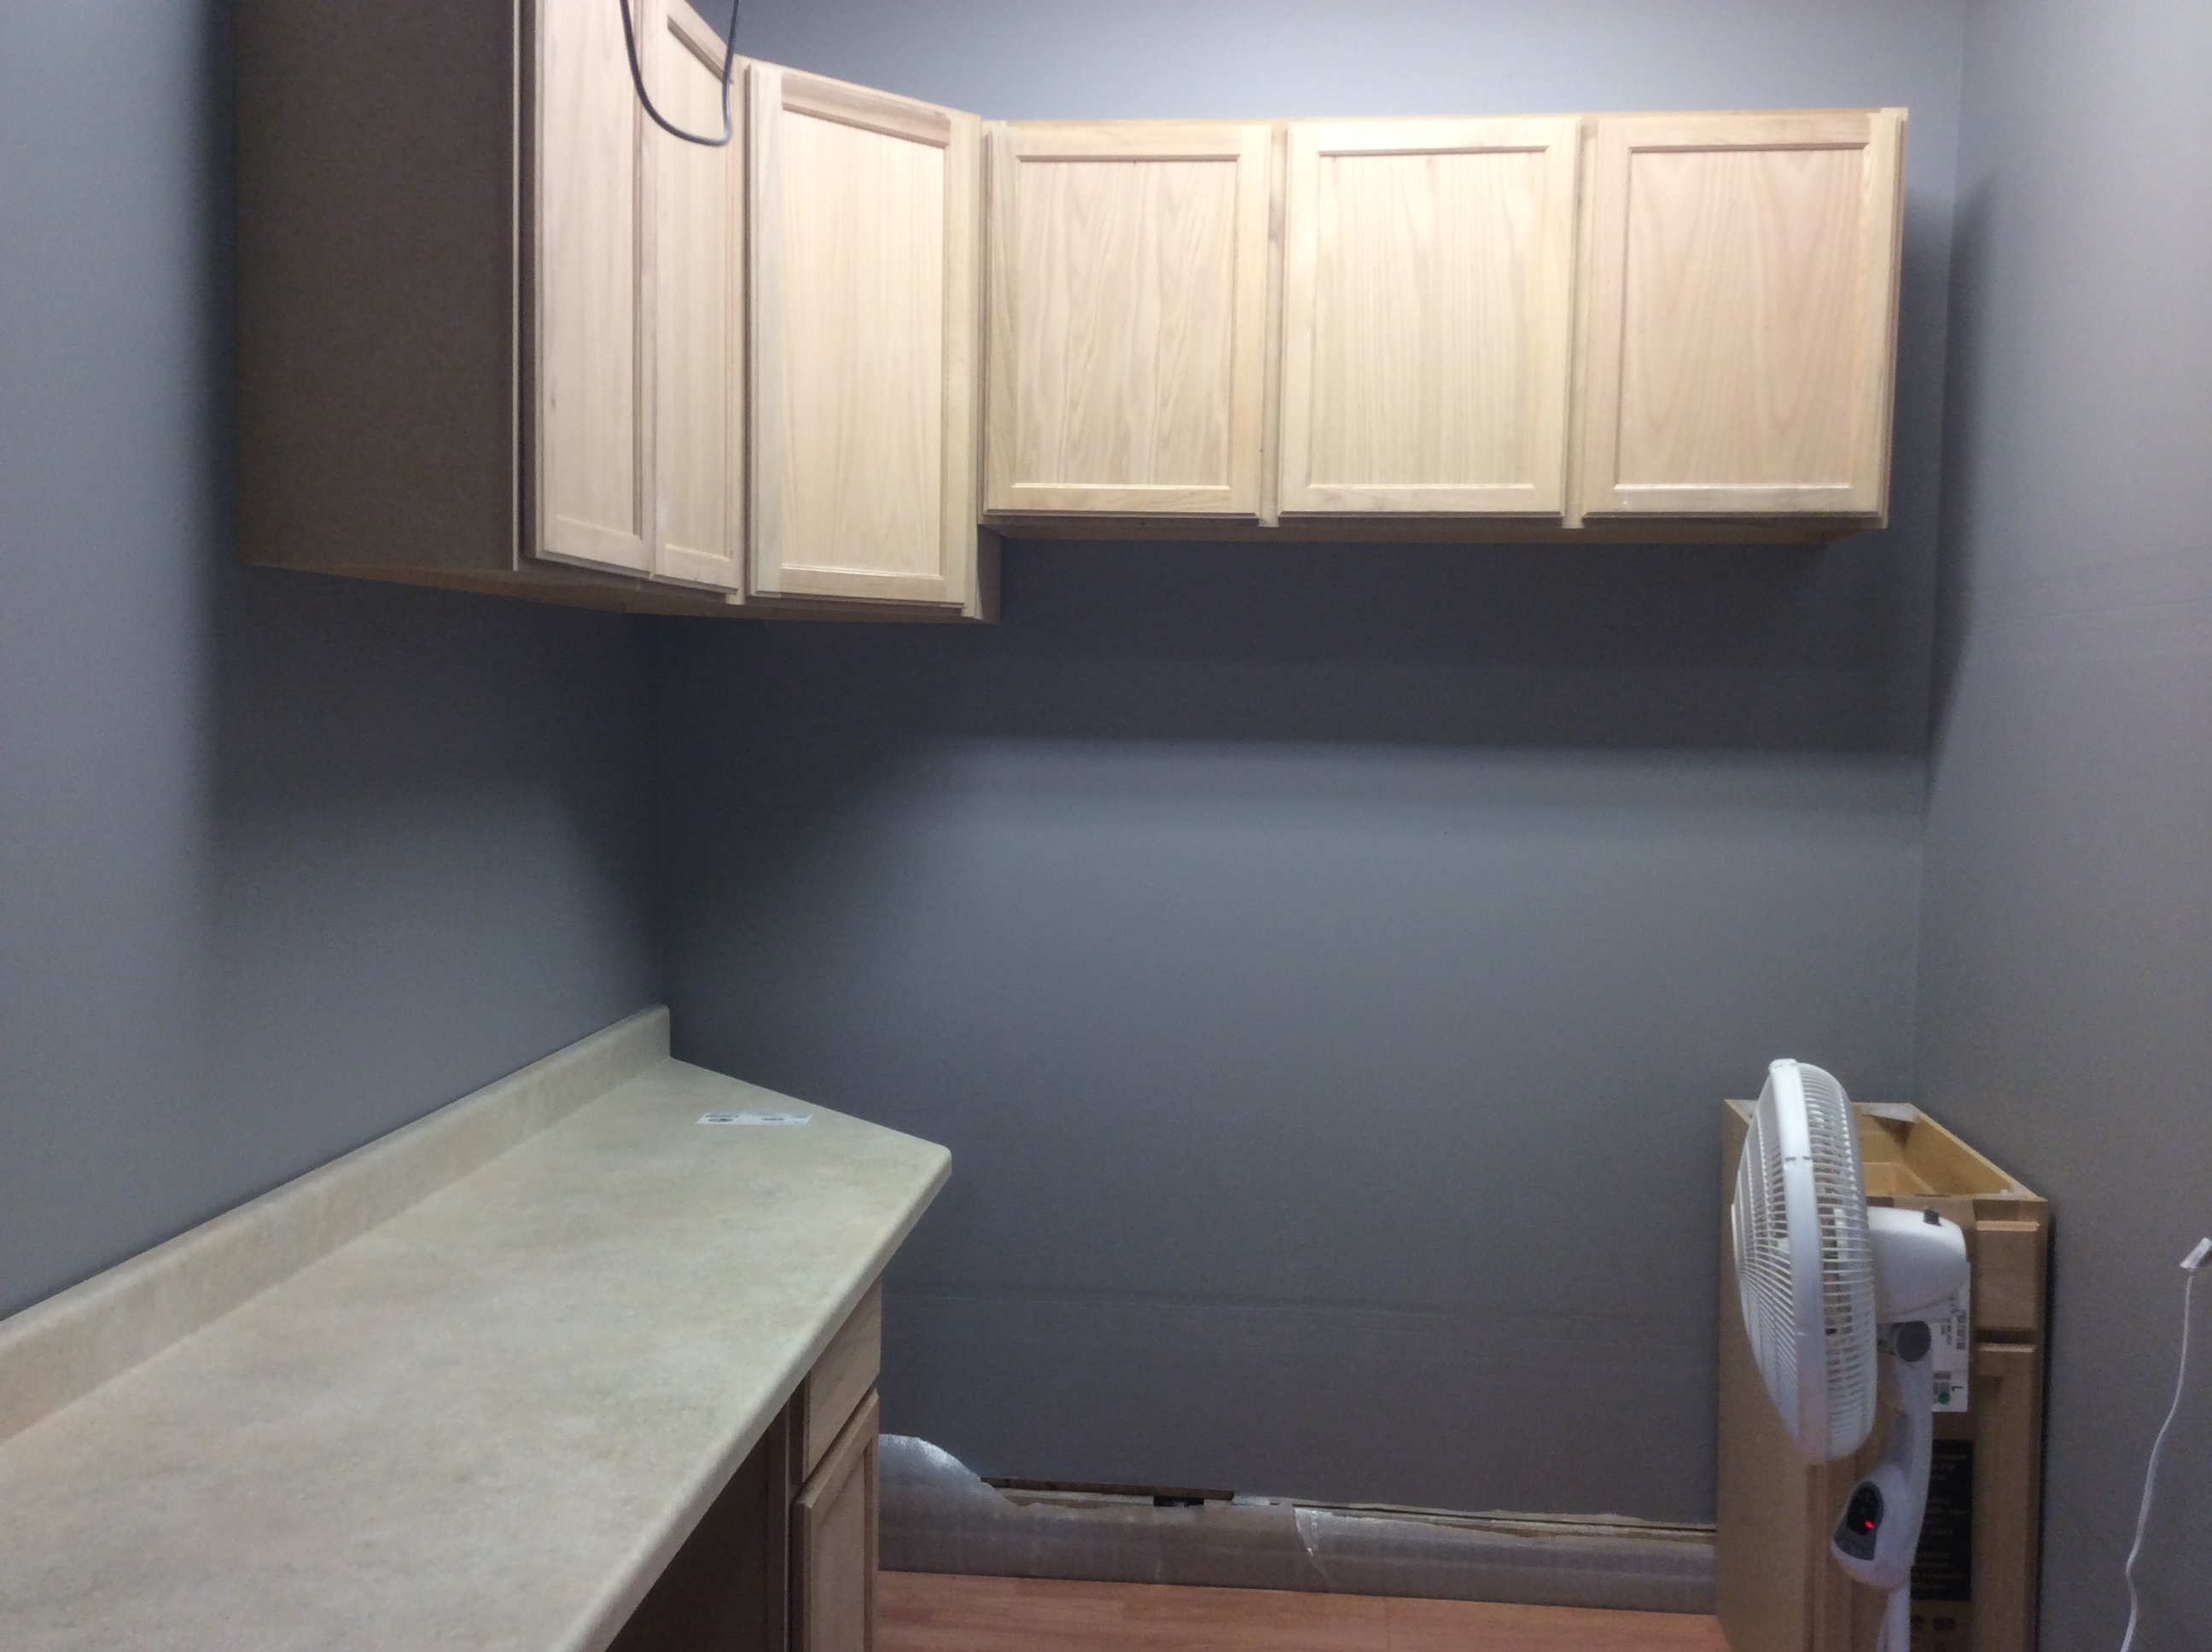
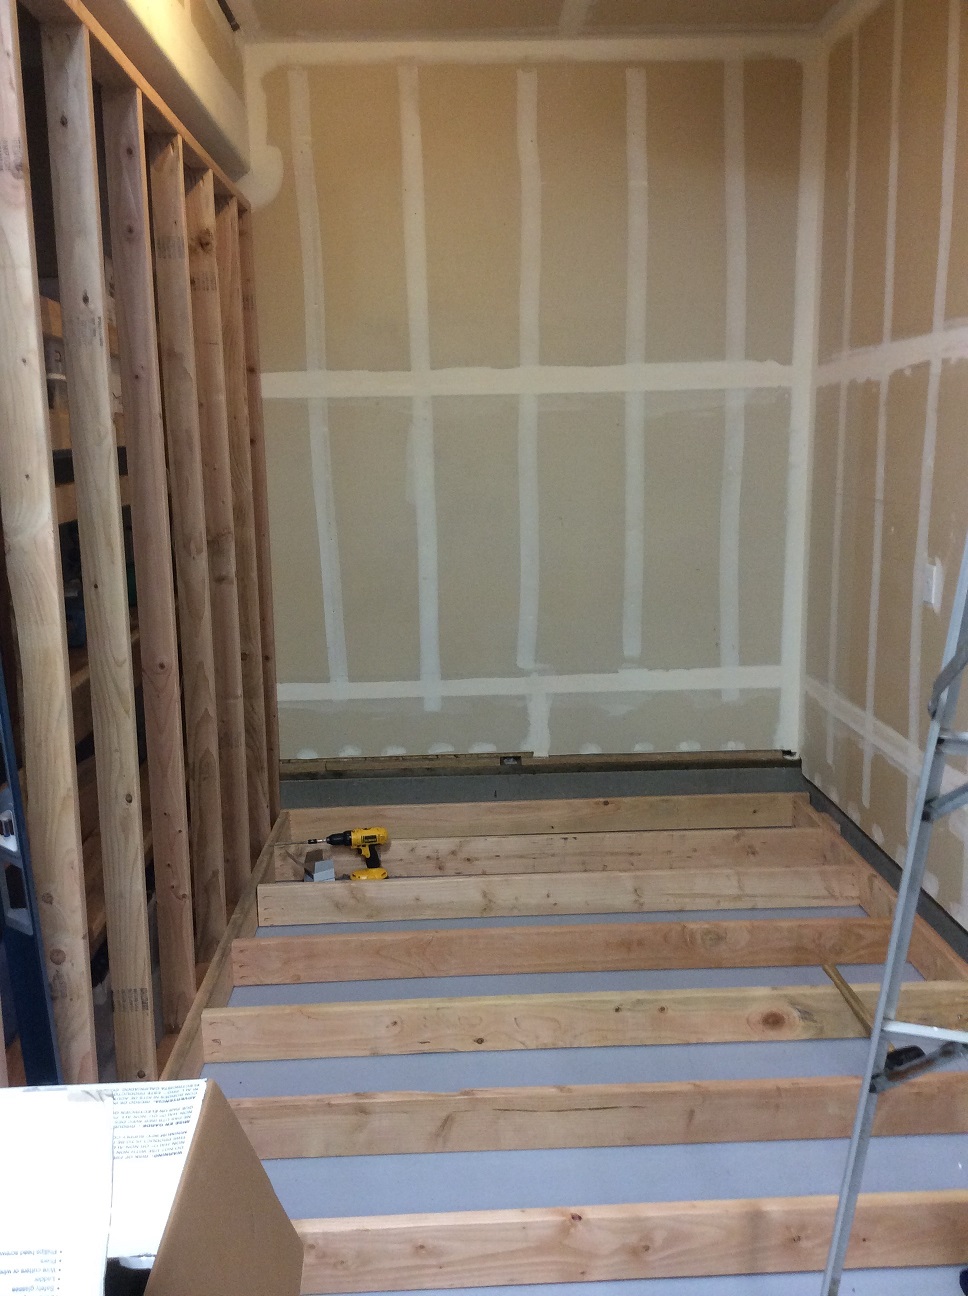
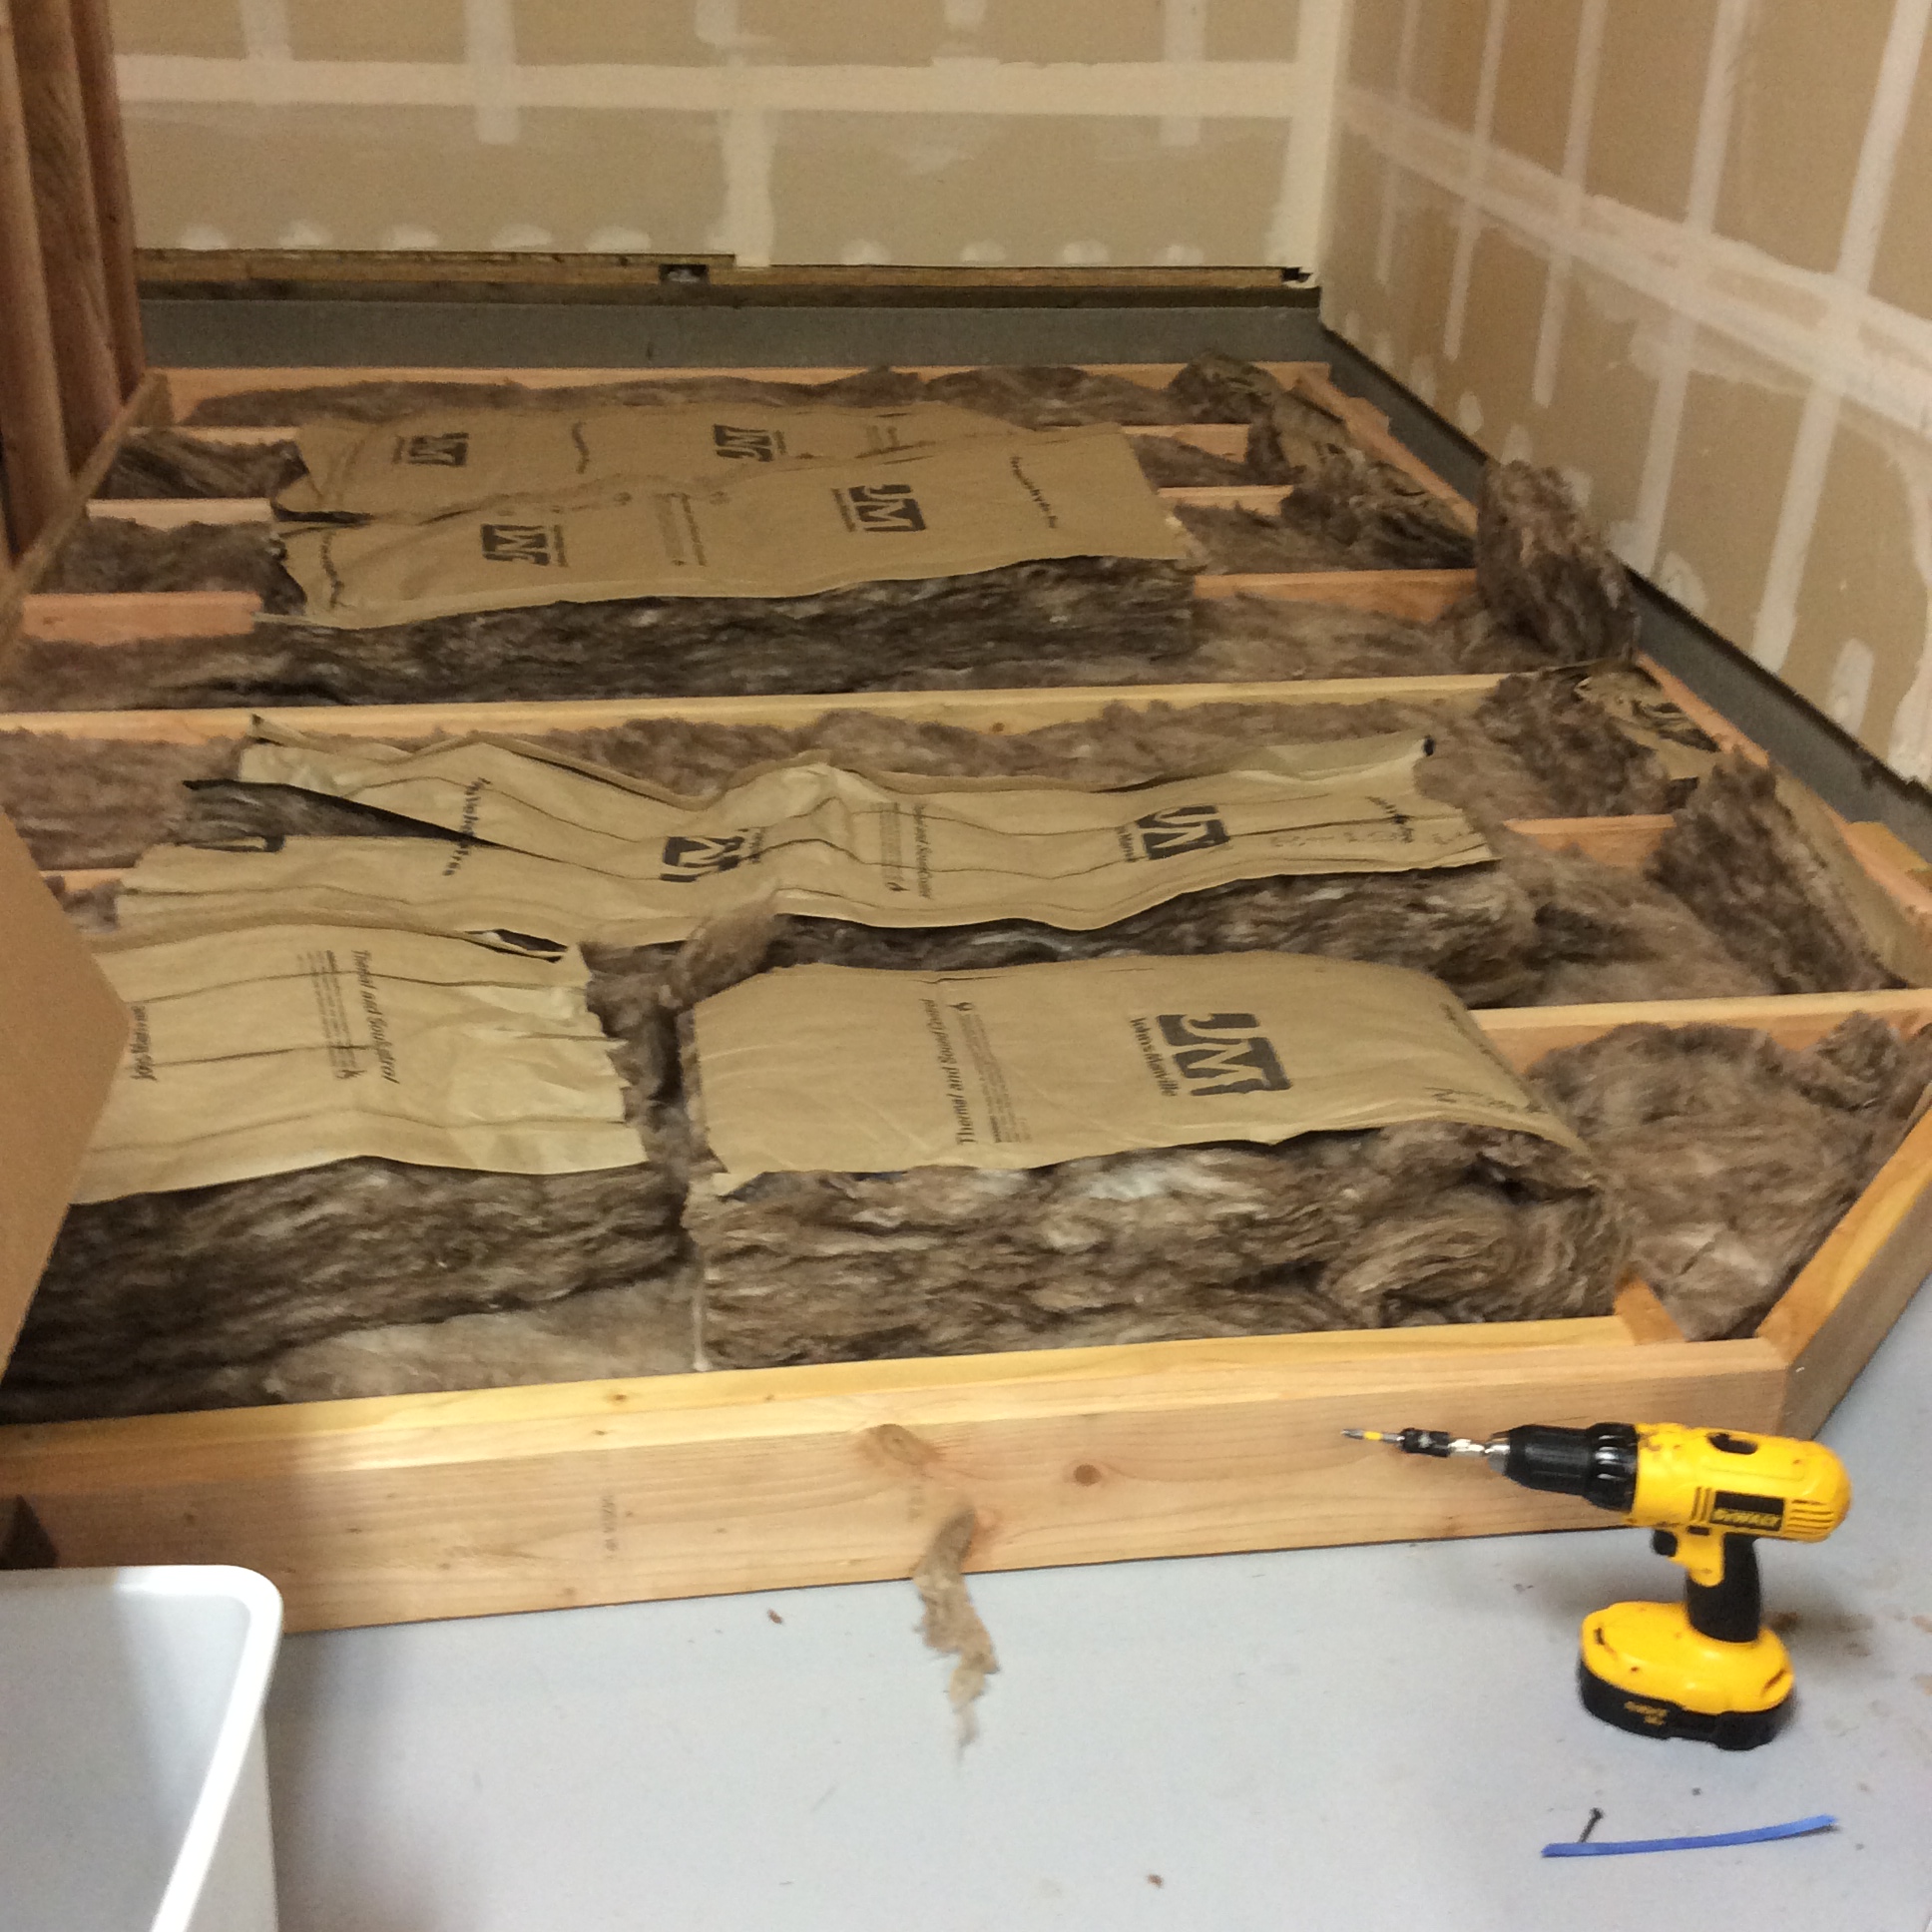
Laid in the sub floor using 3/4″ plywood. I installed some cross bracing to help eliminate any squeaks. Put half inch drywall on the walls, mudded, primed, and painted. I skipped the texture process due to cost. The spray cans are great, but just not cost effective. Renting a texture spray gun would cost at least $80.
I picked a 12-13% gray for the walls from Miller Paint. I’m generally very disappointed with Miller Paint. In the last two years I’ve used at least ten gallons of Miller brand paint. Several gallons at The Cabin and at least six in the new house. I’ve had a lot of chipping, general durability problems, and poor coverage. I believe I’ve used all the correct techniques including using fresh paint, mixing, and priming.
For the gray color, I went into a local Miller paint store with a photo color calibration card. They could not take CYMK, LAB, or Pantone values. They matched the color by eye from a catalog.
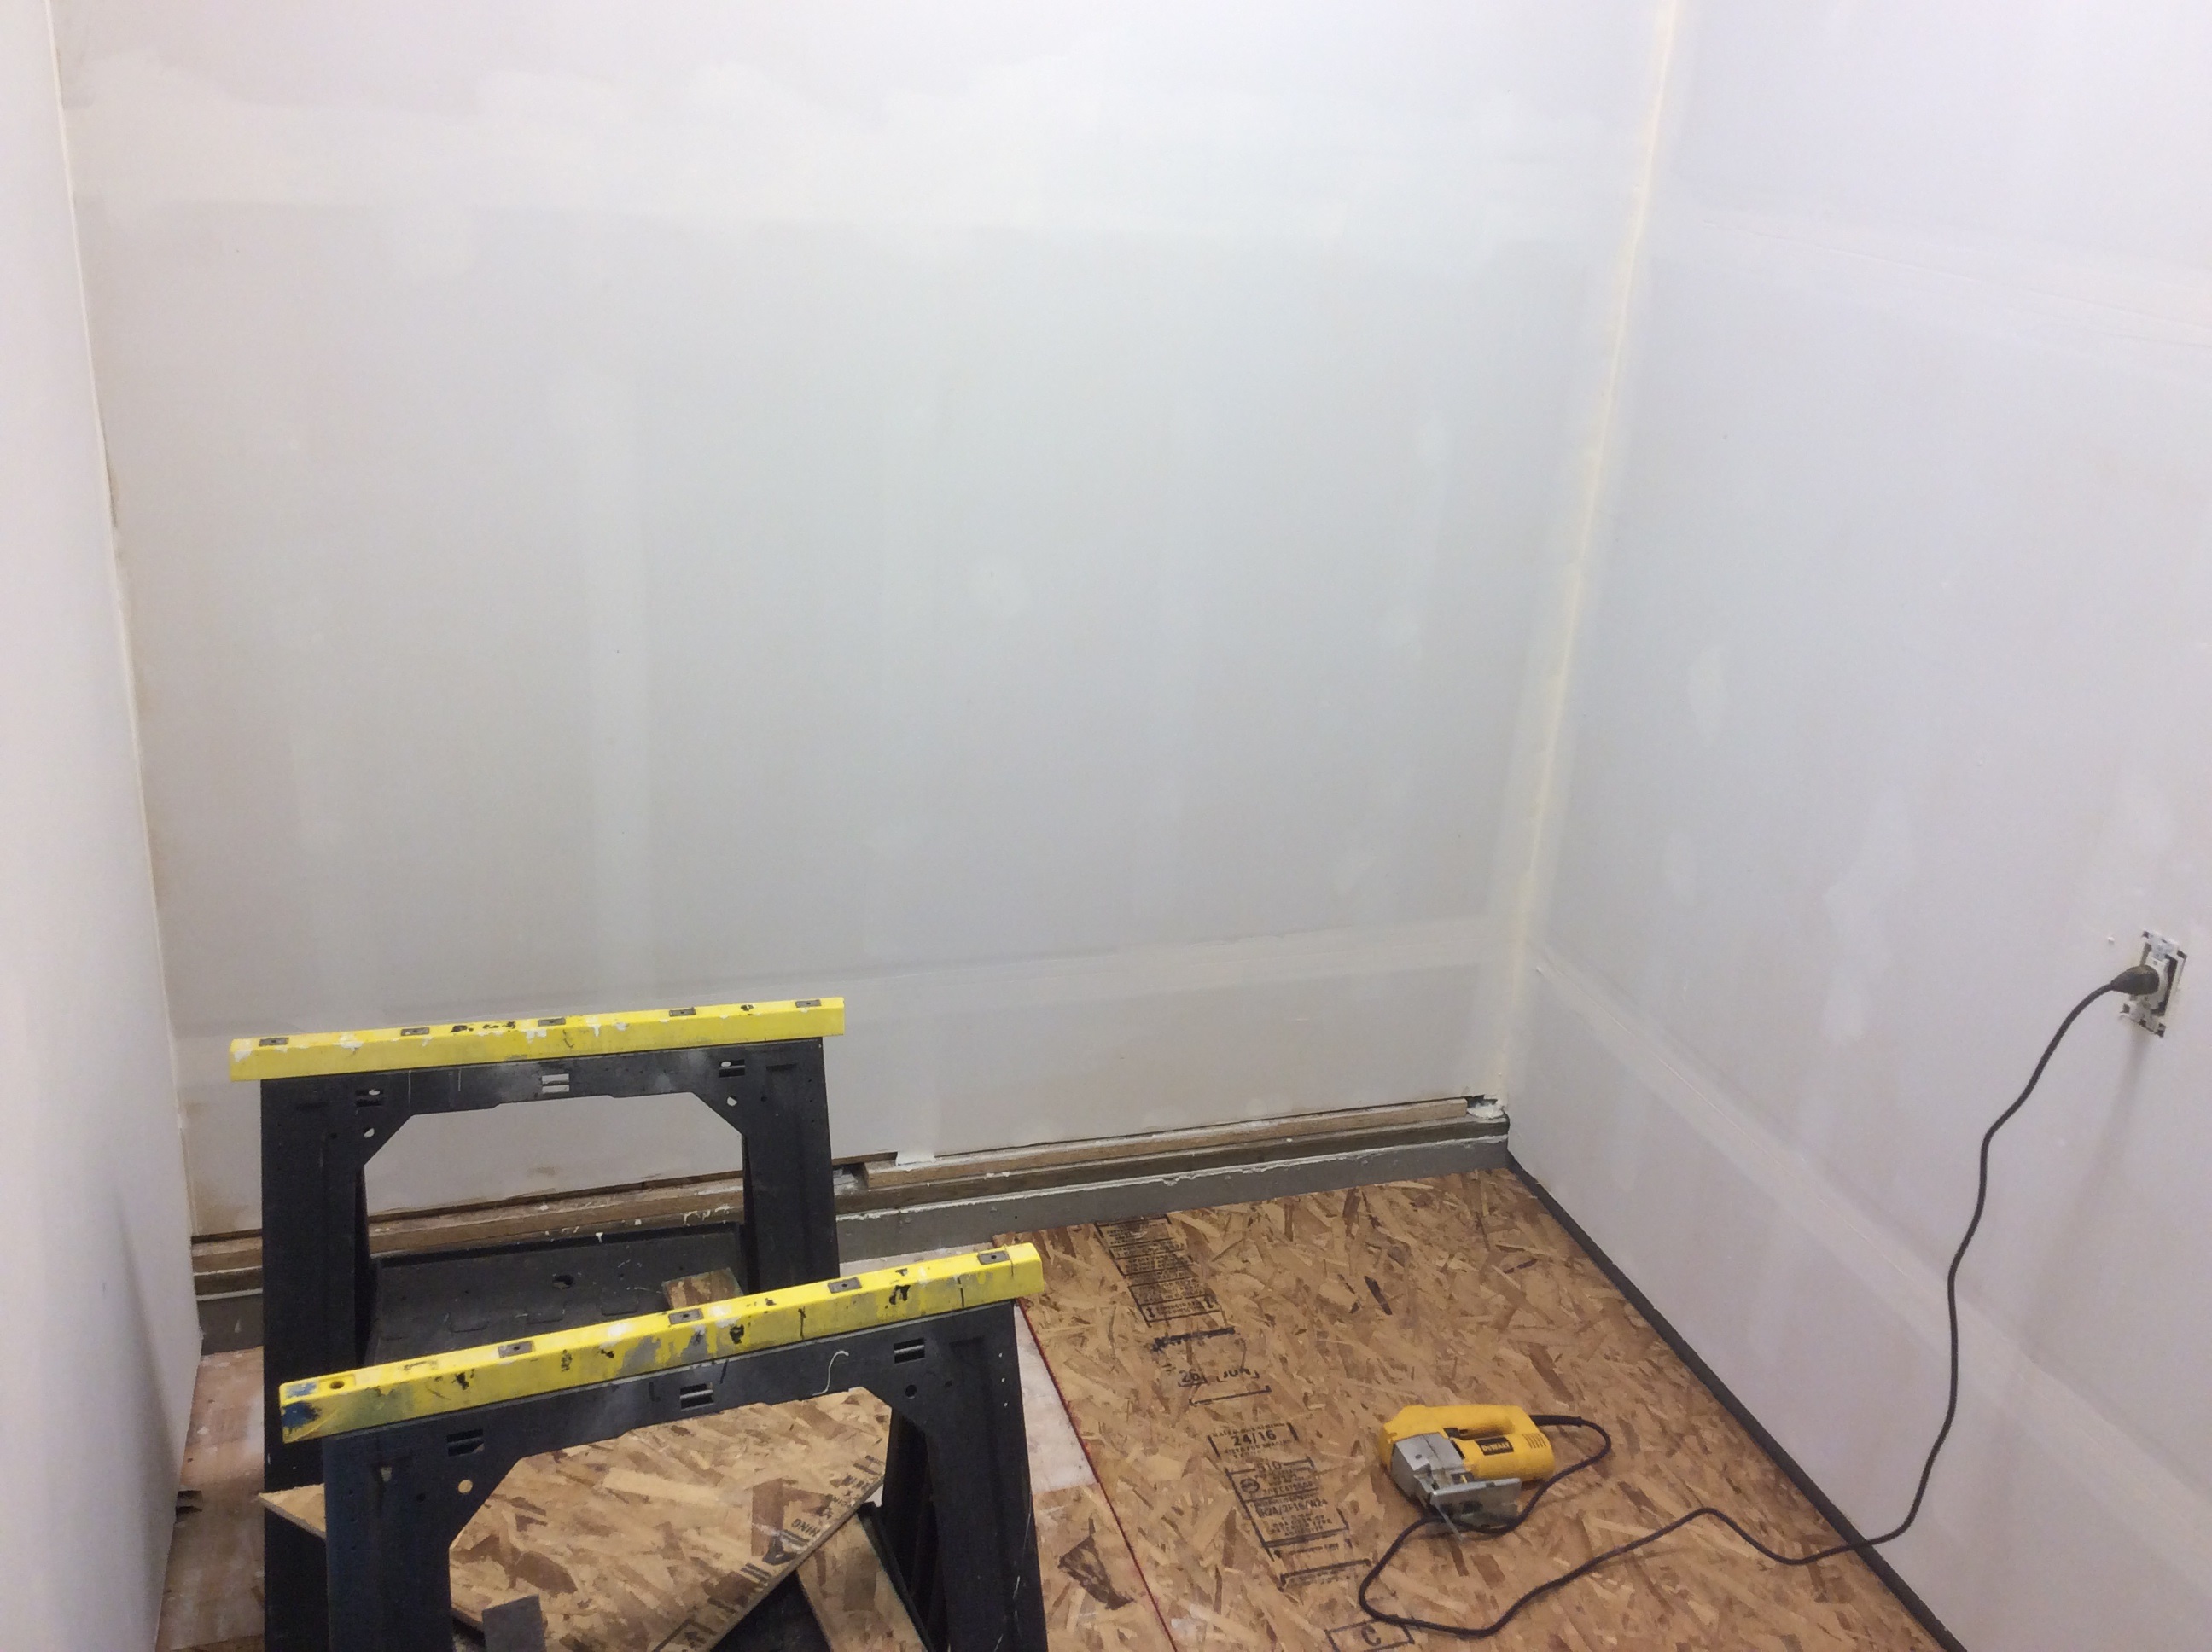
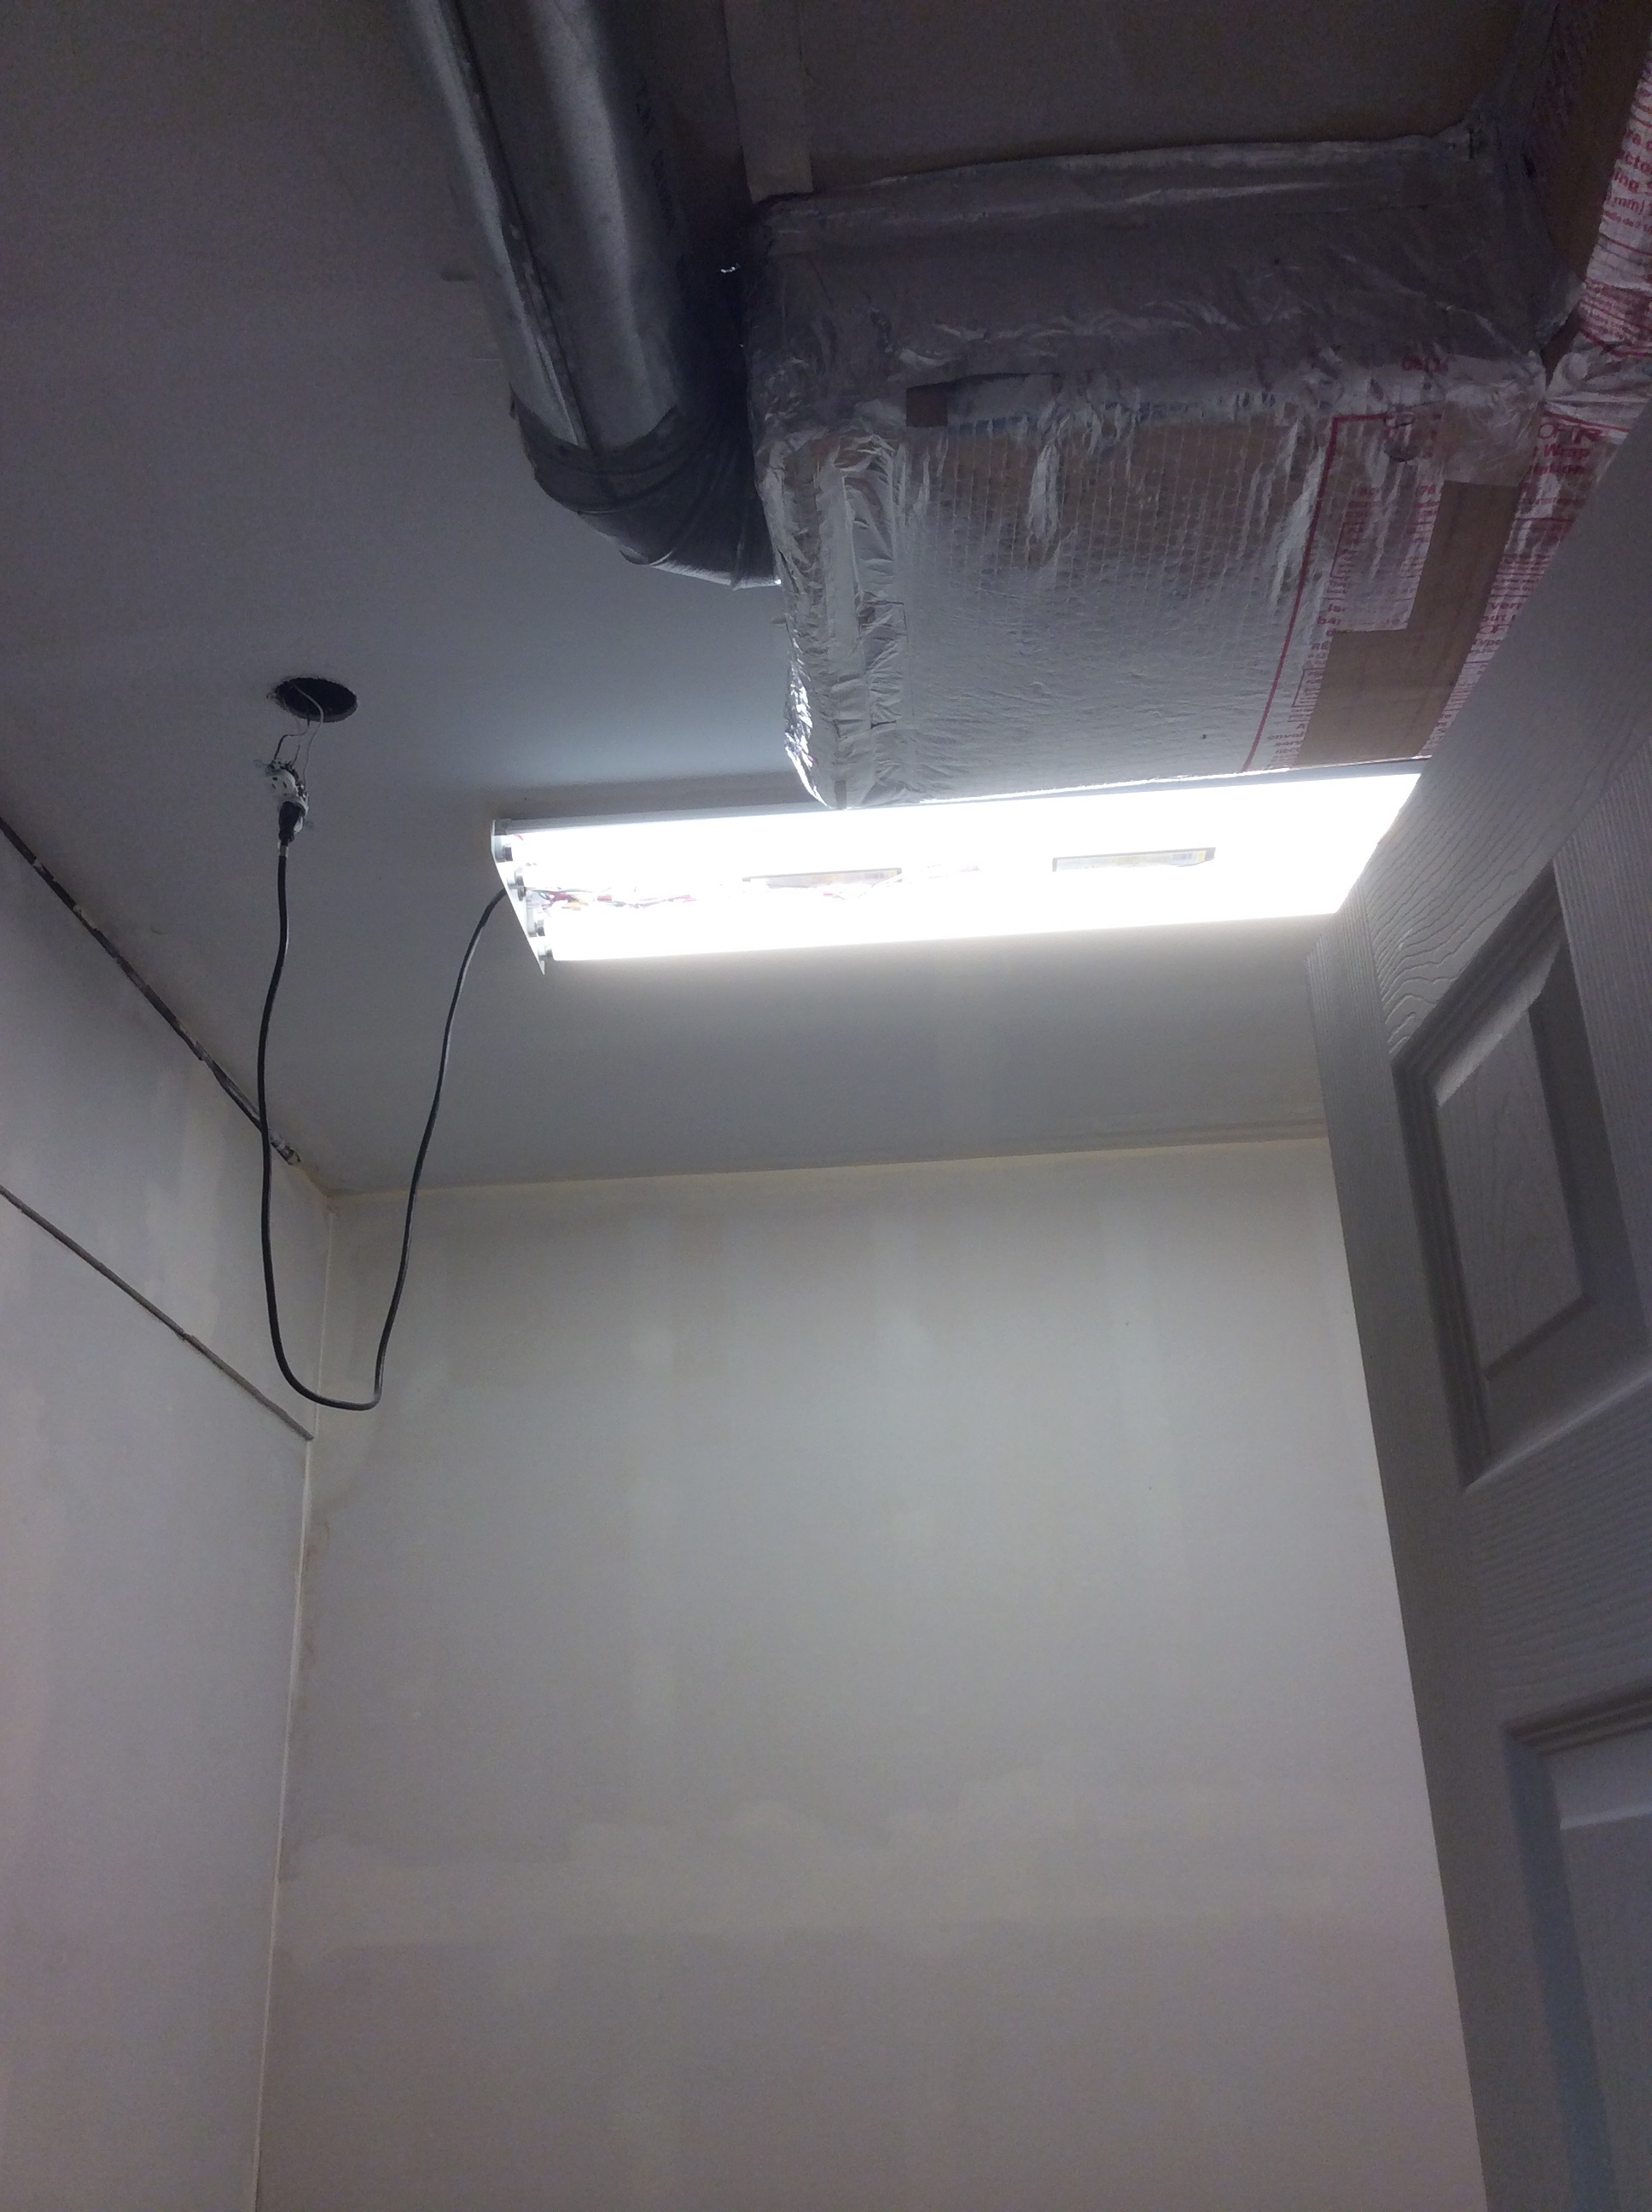
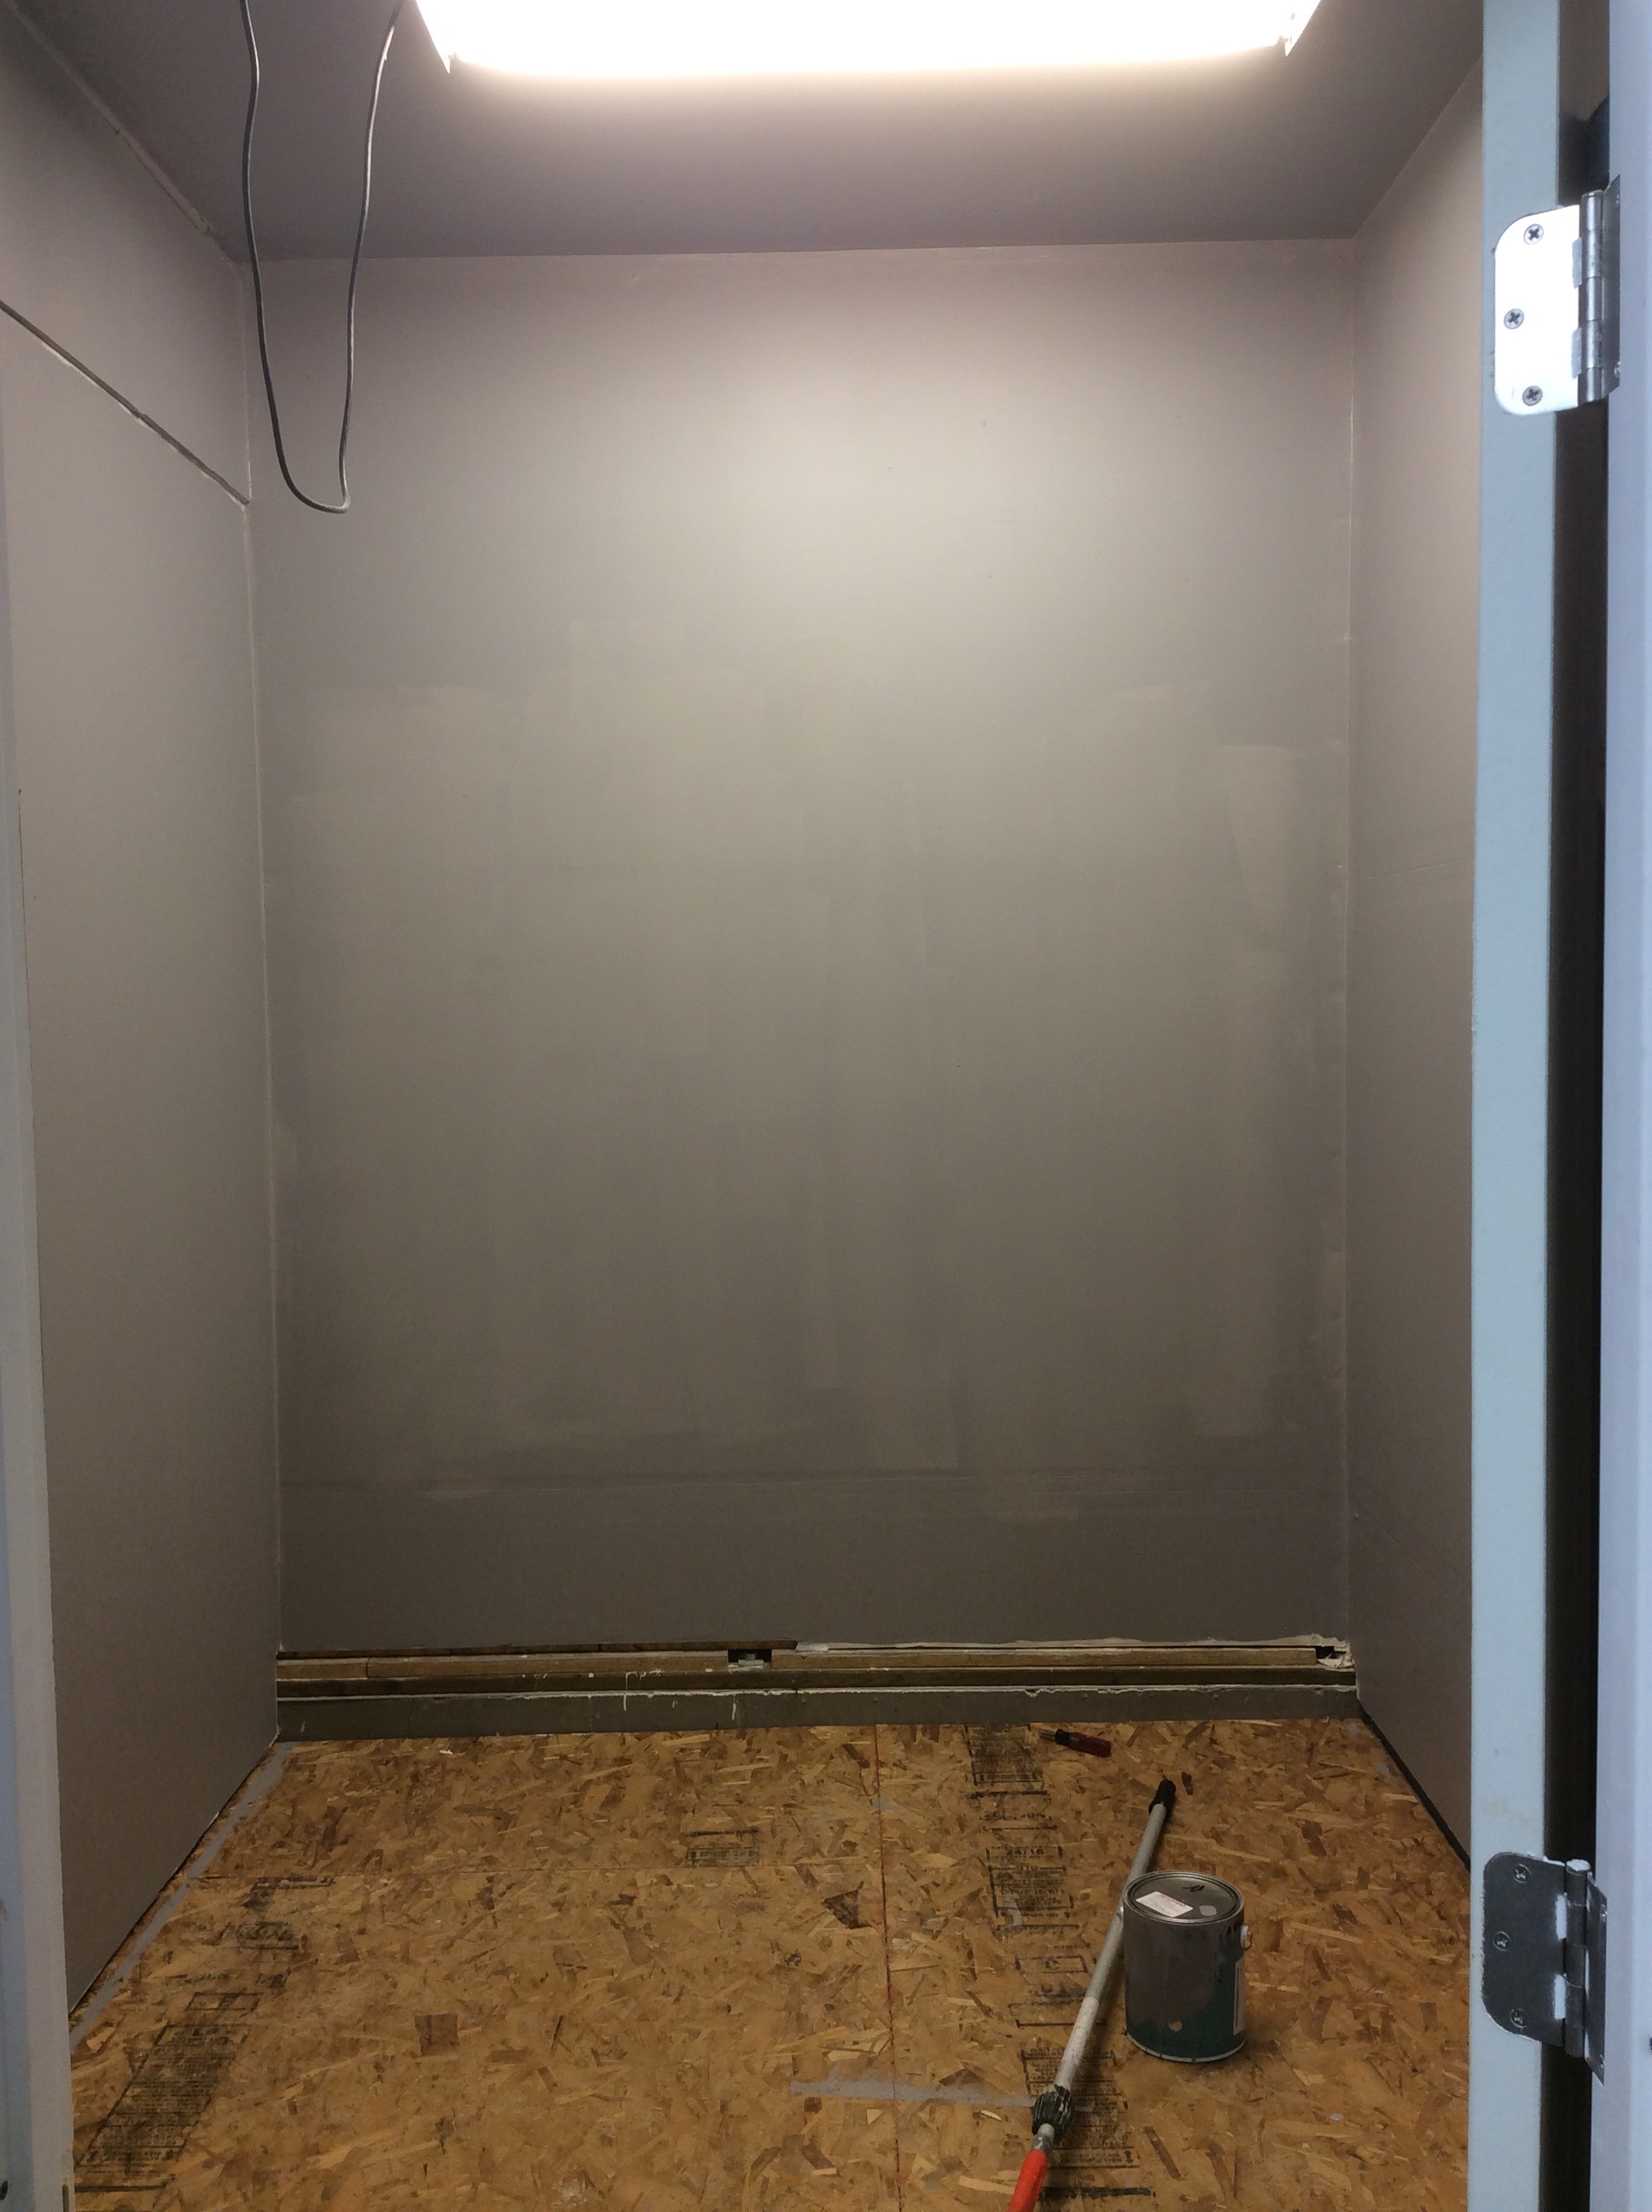
I’m building a new ham “shack” / maker space (for my electronics workbench) in the garage. It is a 80 sq foot space that will be framed, insulated, but easily removable should I decided to move. There is no plumbing or wiring, to avoid code issues.