Build Log: Automated Barn Door Star Tracker

My friend Jim Choate told me about his ideas around building an Arduino based barn door star tracker. I decided I could use one of these for some astro-photography out at The Cabin. After checking my parts bins, I found almost all the parts needed to build one. I set out with the goal of building a tracker with the least out of pocket costs.


I am reusing some MDF 3/4 inch board for the base and top. I drilled and tapped a piece of acrylic for the tripod mount on the bottom. This worked surprisingly well. I had to purchase a hinge at Home Depot. This is the largest source of “slop” in my implementation. The hinge is hard to mount such that the bottom and top “door” align when closed. I’m using the other hinge to anchor the stepper motor. I purchased a $13 lead screw off Amazon and a 5mm to 8mm shaft adapter. The camera mount is a ball head adapter for a tripod.

I have not wired this up yet. I’ve ordered a replacement shaft adapter. The one initially purchased has a spiral anti-backlash cut. It flexes dangerously when rotating the lead screw by hand. I predict it will break.


tracker1


tracker2


tracker mount

Op-amp Arduino Shield

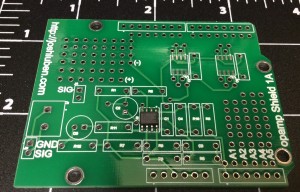
Recently I needed an op-amp front end for taking some measurements using a bpw34. I put together a circuit on a  bread board, took the measurements, then put all the parts back. I decided to build a shield that can be configured for two or three different op-amp configurations, then feed the signal into A0. The core circuit uses a LM358D with a soic footprint. All other parts are thru hole. There is some prototype space, and two additional soic-8 footprints.

The LM358 has two op-amps in it. They are chained together, One could bypass the first or second stage by soldering a jumper.The second stage has a voltage divider that brings the input voltage to Vcc/2. The second stage also provides some feedback (if you solder in R6 and C4). This and a few other changes provide about six permutations of highly useful op-amp circuits.


opamp arduino shield

My first draft has a few minor errors, but is usable.  The next step is to write a comprehensive manual that lays out multiple use cases.


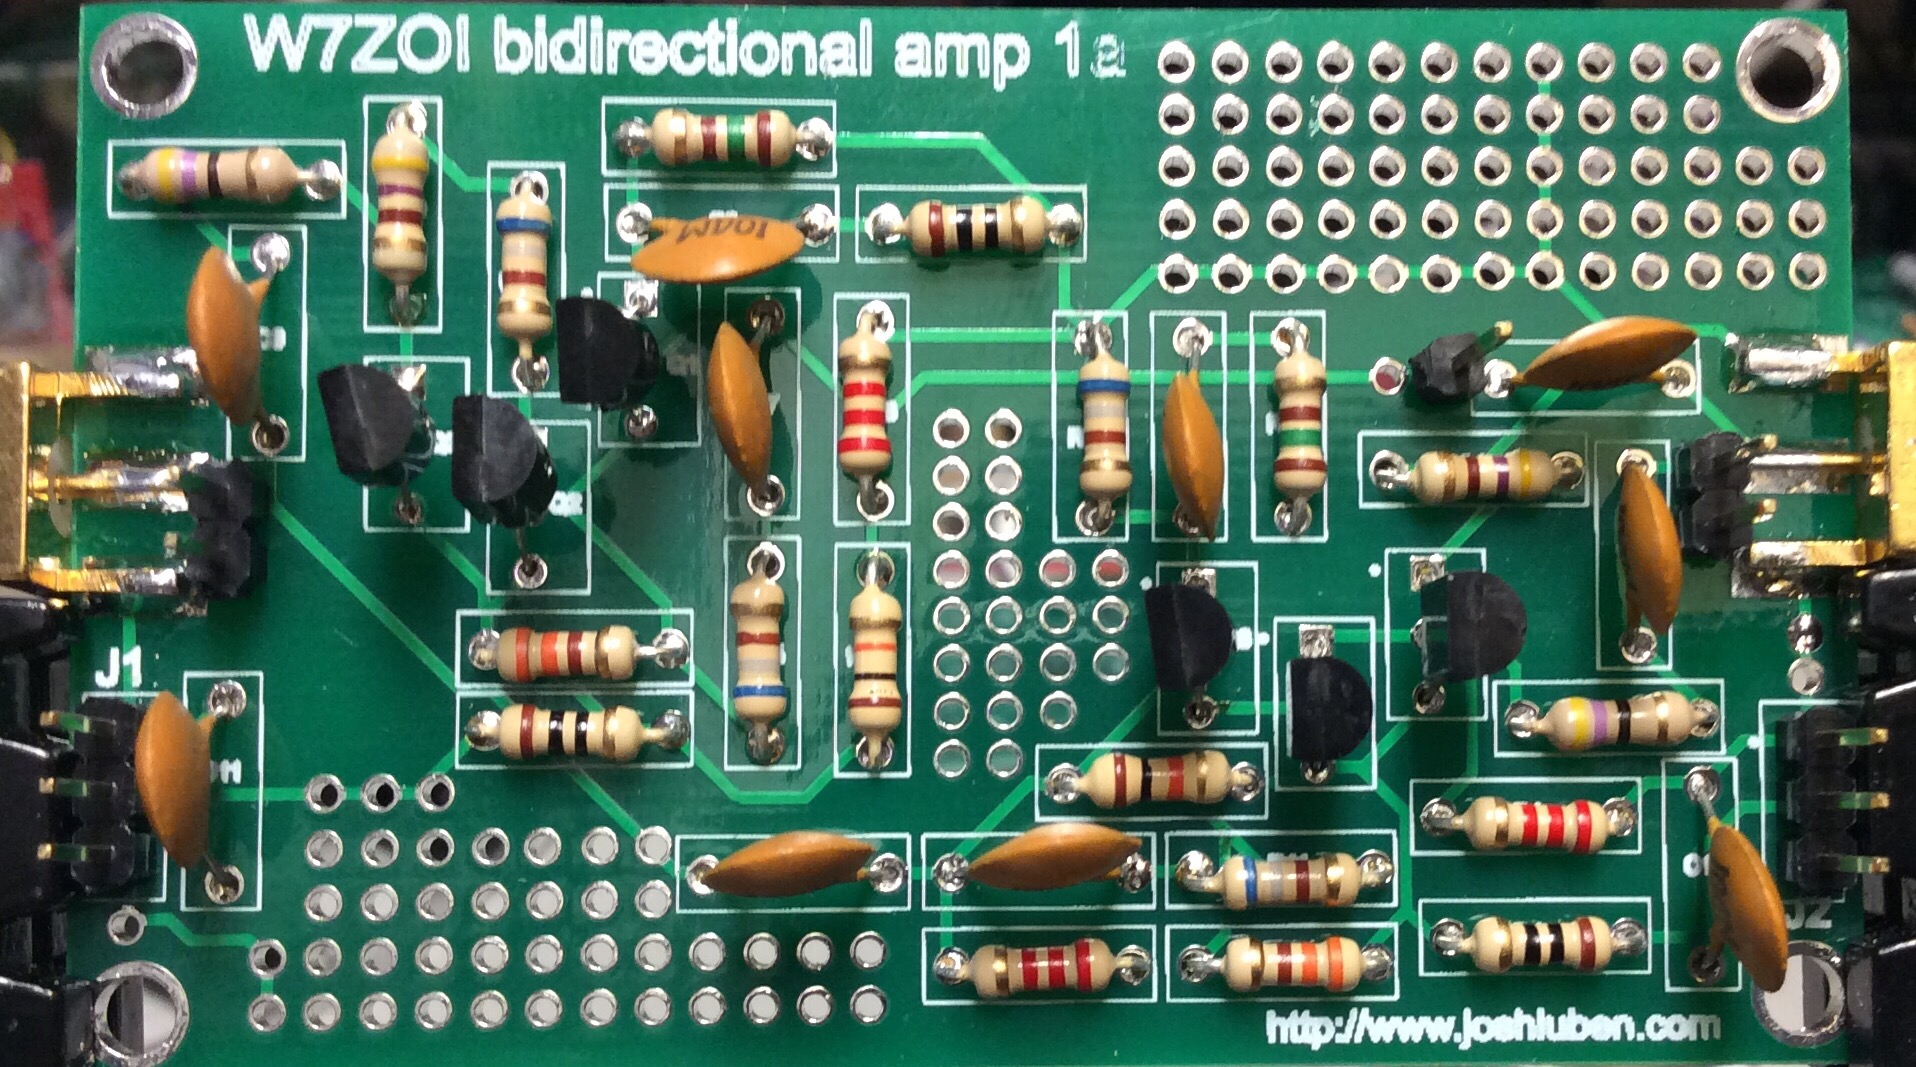
W7ZOI bi-directional RF amplifier PCB

It’s been a busy month. Sent two PCB designs out to Seeed in China for fabrication. The first one is a reproduction of W7ZOI’s IF amplifier circuit. This circuit is termination insensitive, and bi-directional. One could use two of these amplifiers, on each side of a crystal filter to reuse the it for transmit and receive. W7ZOI designed this as a contribution to the BITX transceiver aficionados. This is my own PCB design. I added SMA connectors and prototype space.


img_0908.jpg

Smd inventory 9/3

10k 1206 partial reel

22nf 0805 partial reel

68pf 0805 partial reel

50k 0805 partial reel

100pf 0805 partial reel

22uF 16V partial reel

47uF 6.3V partial reel

680pF 1206 2500pc

82pf np0 0805 partial reel

100nf 0805 partial reel

100pf np0 0805 partial reel

470pf 08085 ~3900 pcs on reel

33nf 0805 partial reel

1nf 0805 partial reel

56pf 0603 partial reel

82pf 0805 partial reel

1uF 0603 ~100 unknown voltage

1uF 0603 ~100 25V (Mouser)

1k 0805 partial reel

22uh 1206 2000pc

red/blue LED Dialight p/n 597-7701-507 705pc

MMSD914T1G 3000pcs SOD123

47pf NP0 0805 360pcs

4.7k 0603 ~5000 pcs on reel

10k ~100

4.7k ~100

100R ~100

Machrone WB-C3-403025 ~500 on reel

78L05 ~100

Red LED 0805 ~20
Green LED 0805 ~20

Blue LED 0805 ~20

Whitre LED 0805 ~20

AP115AY33G-13 LDO 15V ~10

CD4066BM96E4 ~10

74hC4053D ~4 two channel mux

74HC4040PW ~2 twelve stage binary counter

MCP23008-E ~2 in/out I2C interface

AAT3681AIJS4 ~4 usb port/ac adapter

BCX56 ~20 NPN transistor 80V/1A ft 180mhz

2SC3337 ~30 NPN transistor 15V/100ma ft 4.4ghz

BAS16 3000pcs (new reel) TO-236AB

MMBZ5231BLT1 5.1V zener diode SOT-23 ~ 3000

MMBTH32_Q ~300

BAV99W ~50 SOT323

mmbt3904~100 PNP transistor

mmbt3906 ~100 PNP transistor

2N7002K ~100

MC34063A ~10 step-up/step-down switching regulator

C5706 ~20 PNP transistor ft 360mhz

L9110S ~30 Dual channel motor driver

200uf 100V electrolytic ~500

330nf 0603 ~ 4000 reel

BAV70 sot-23 ~ 1000

ZMM5228B 3.9v zener ~1000

3pf C0G 50V 0603 ~4000 reel

BAS19 SOT-23 ~1000

CDLL1A0 schottky diode ~ 700 DO-213AB

Instrument for Measuring Absorbance 

I’ve been thinking about how to teach my kids quantifiable science.  I got a cheap science kit off Amazon for the kids a while back. The kit uses color changes to measure reactions using plant-based powders, but this is a binary outcome. It works or doesn’t. This is great for the first one or two experiments, but doesn’t really teach enduring principles, such as taking measurements, graphing, and ultimately forming to a conclusion.

The general idea behind measuring absorbance is to shine a light through a corvette (or test tube) and measure the amount of light that makes it through. Fancier instruments will use multiple wavelengths or an entire spectrum.

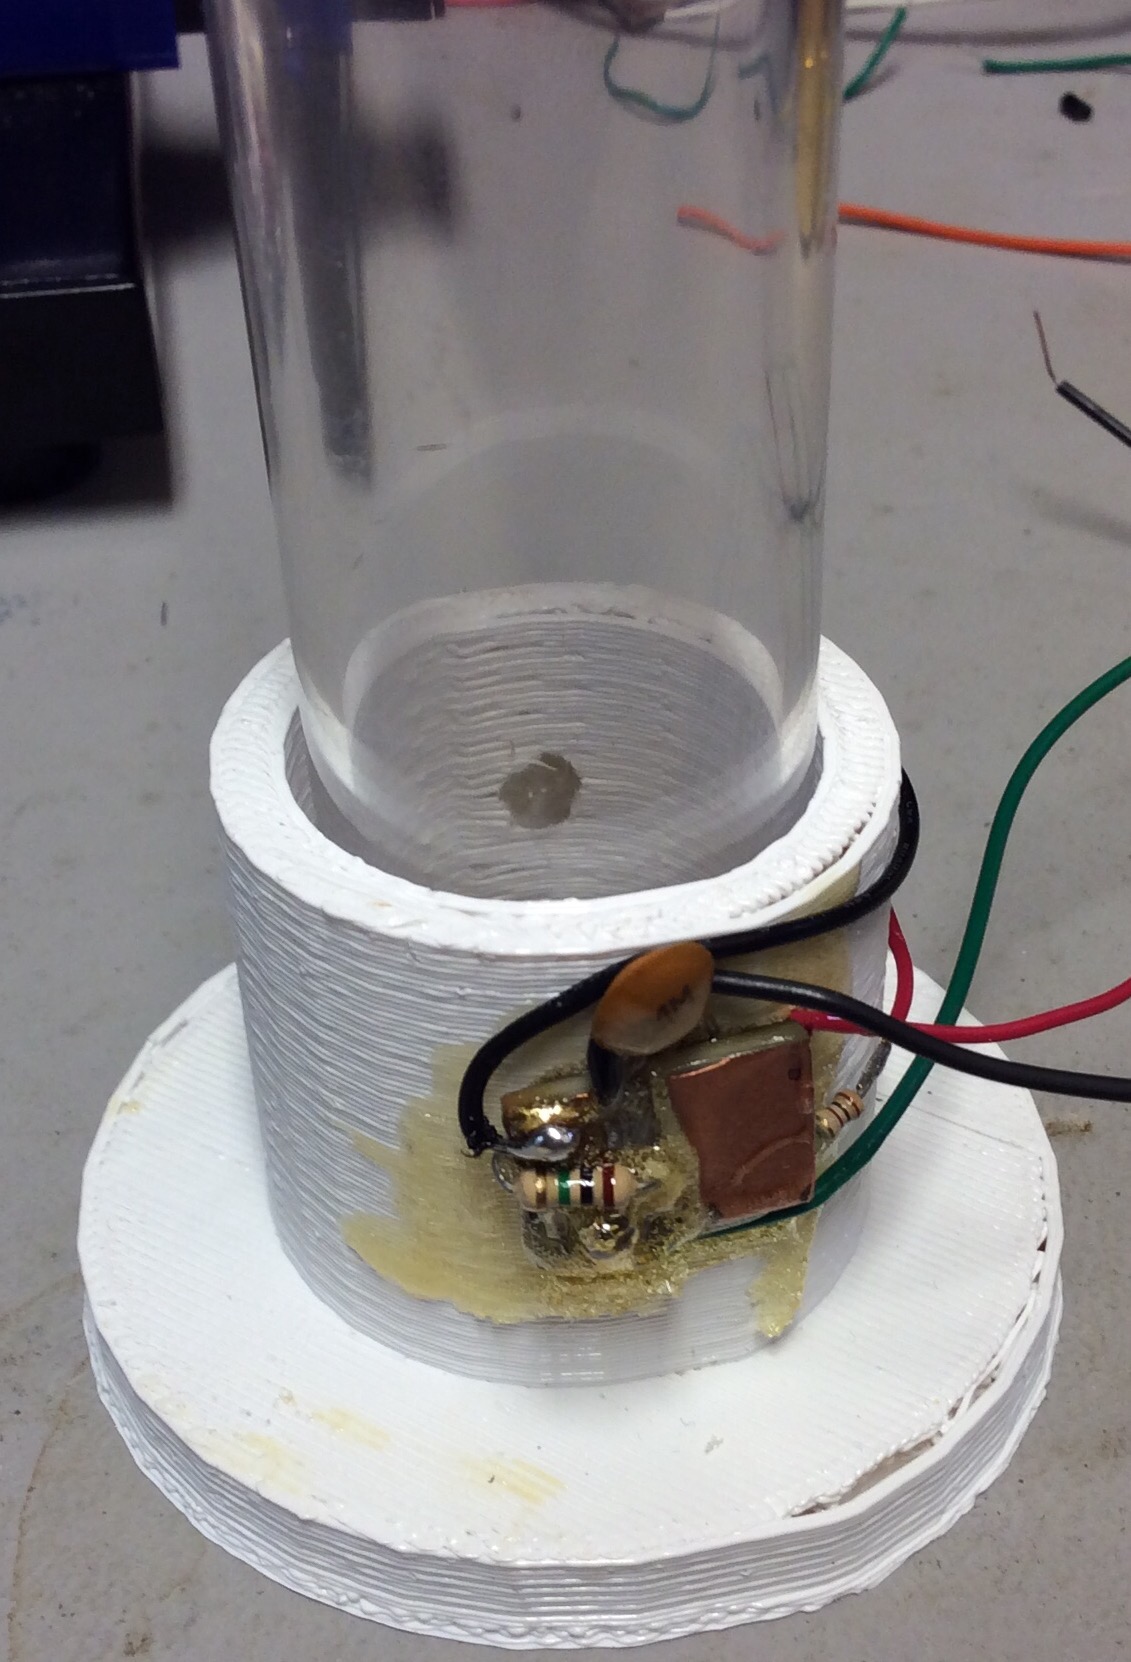
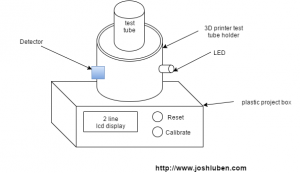
To keep this simple, I used a 3D printer to fabricate a holder for the test tubes from the science kit. A 635nm red LED shines in one side, and a BPW35 detects the light. The next step is to mount this on a small plastic project box with a cheap two line LCD display. A button (or two) will control taking measurements (and some kind of integrated calibration cycle).

This instrument will enable a simple number to be presented to the user. My kids can then perform reactions or dilute samples, and graph those numbers (math yeah).

absorbance instrument img_0880.jpg

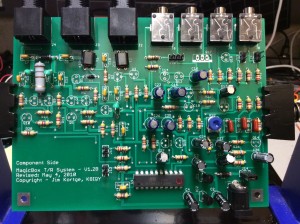
MagicBox Automatic T/R Switch for QRP Radios

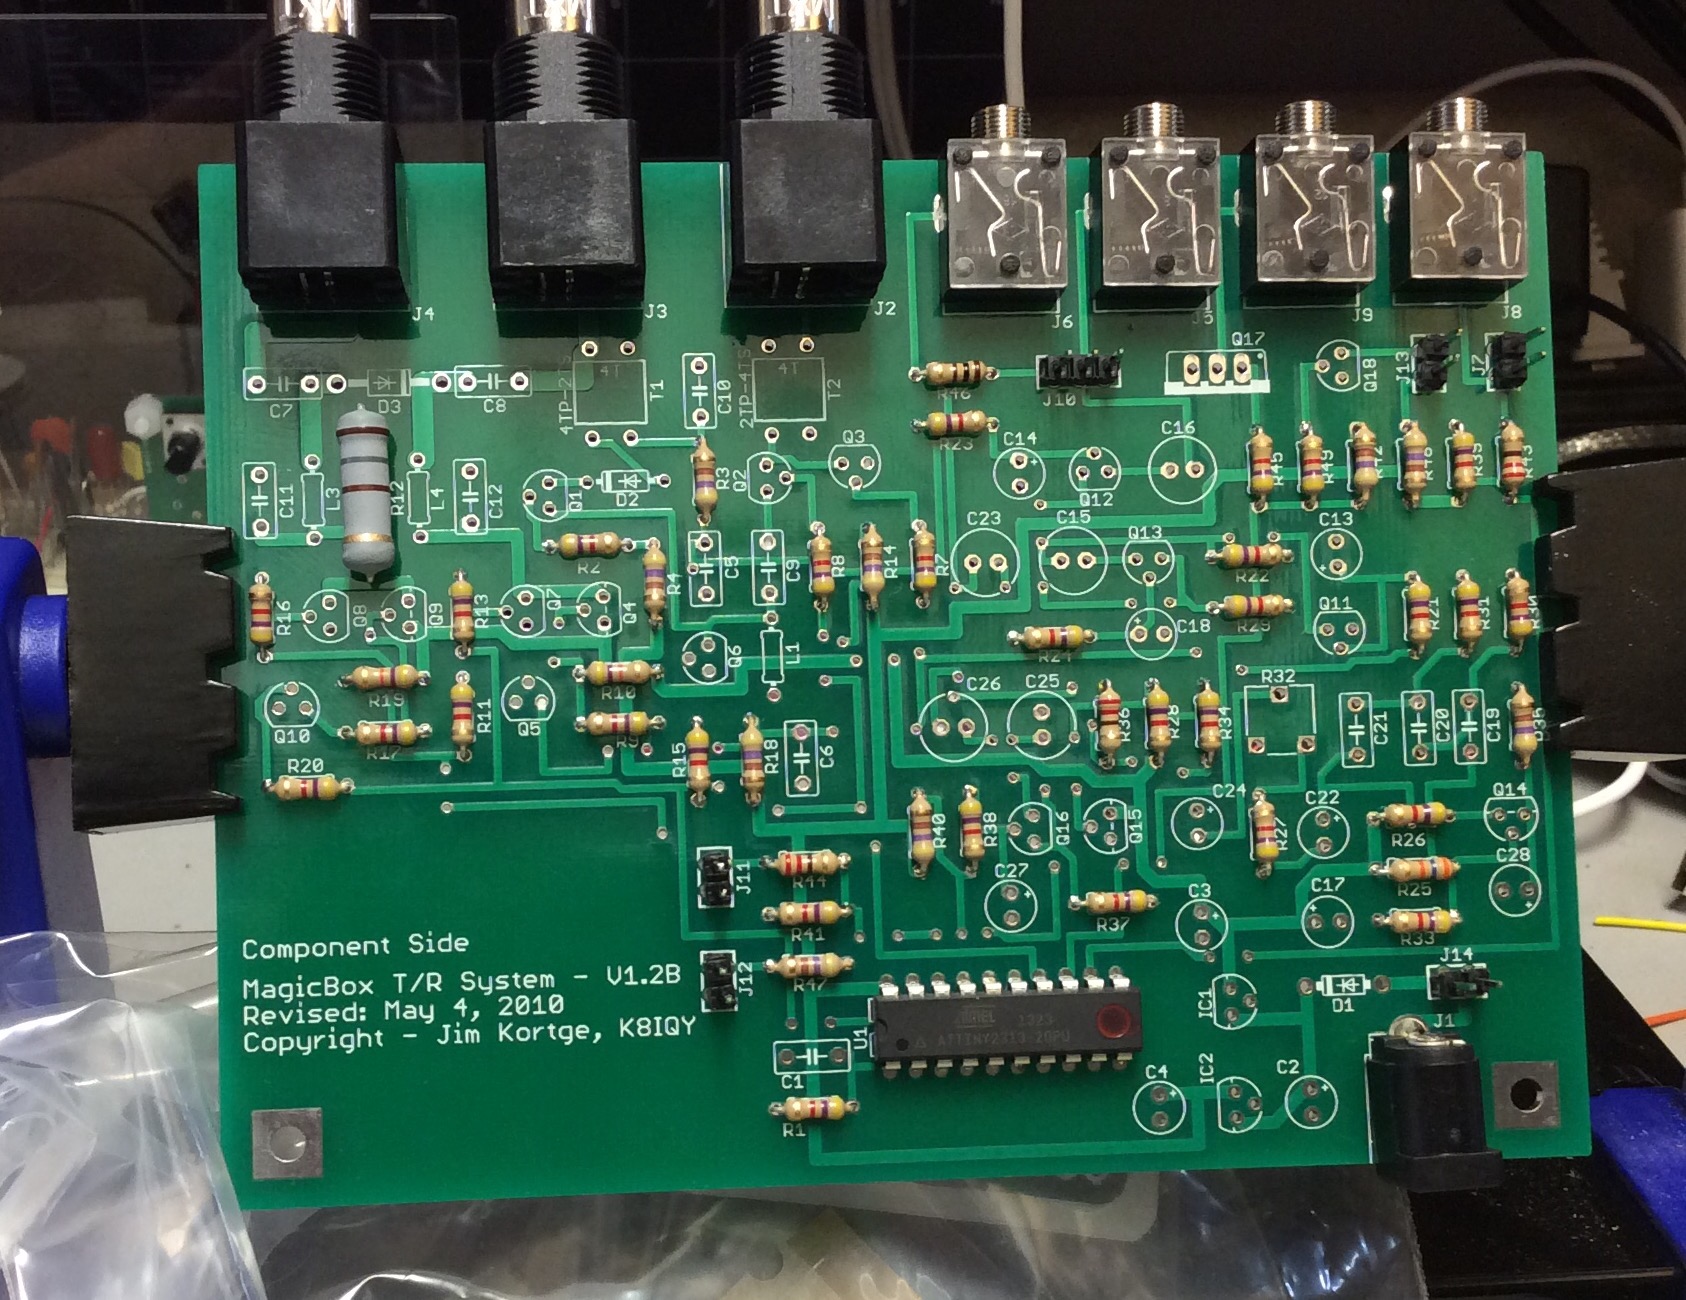
I’m ashamed to say that I’ve had this kit in the manila envelope since I purchased it three years ago. I’m finally at the point where I could really use the capability of switching in/out a transmitter. This is catalyzed by playing with the SDRplay and thinking about using it as half a transceiver.

The kit is straightforward thru-hole assembly. I’m thinking I will probably outsource the drilling of the front panel to a friend who has better accuracy than me 🙂

Crypto Currency Mining on the pcduino8 Uno

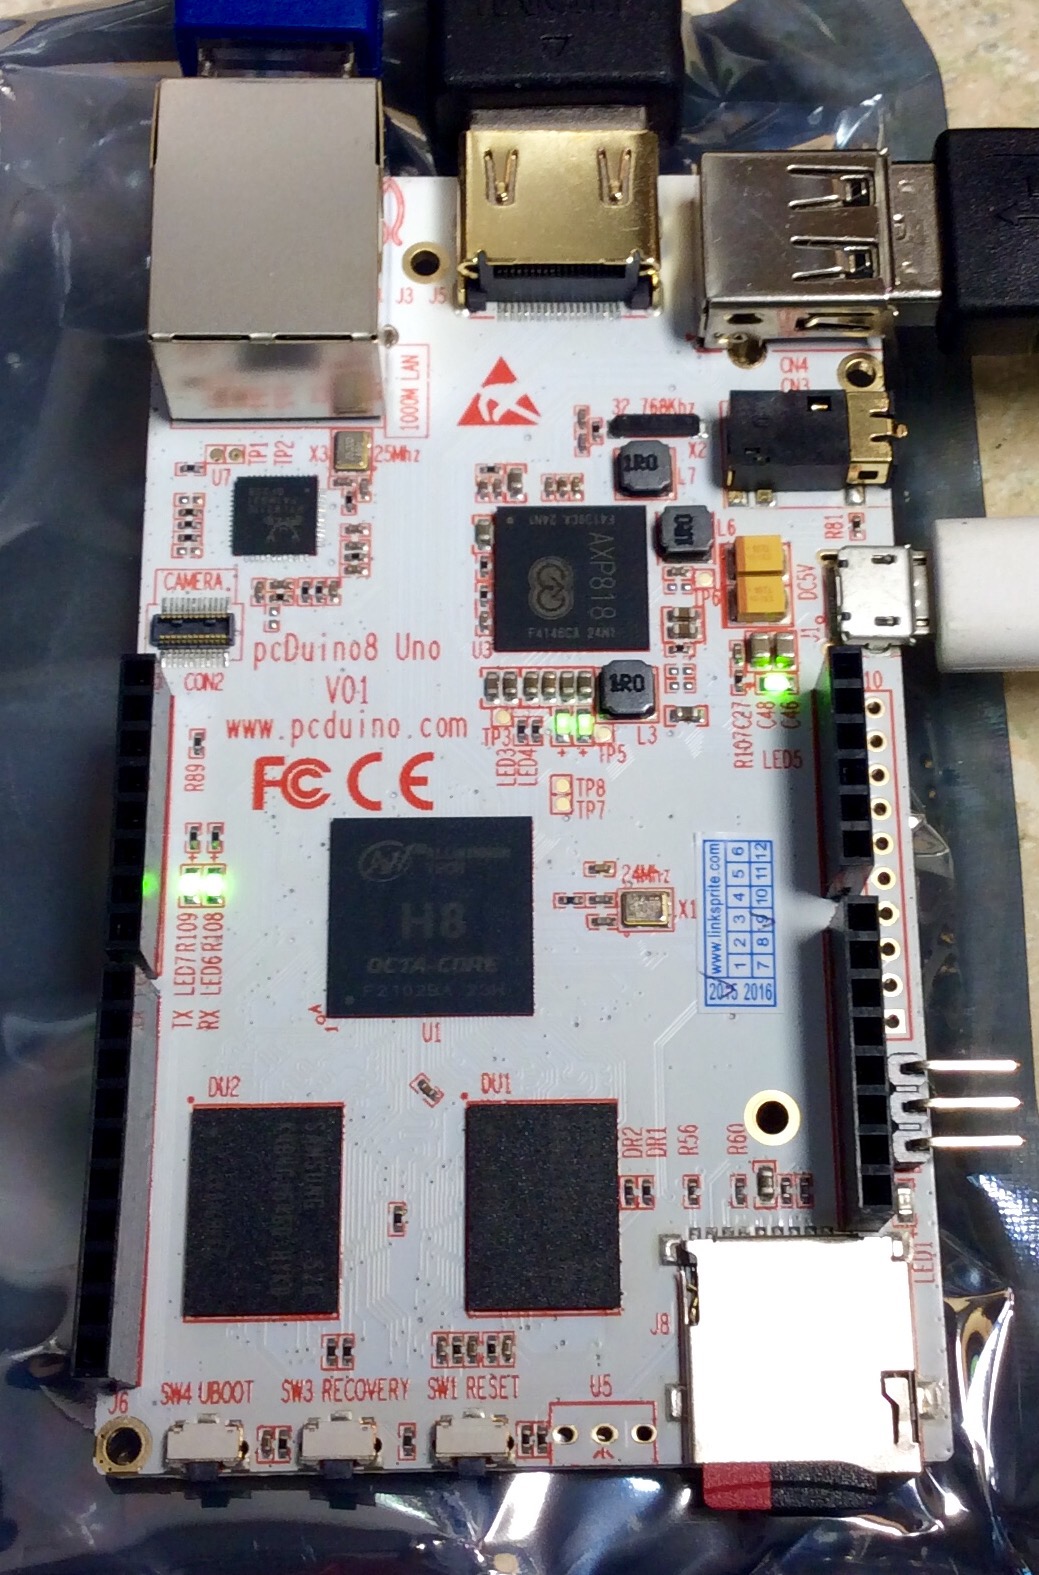
I recently picked up a pcduino8 Uno on Amazon for $40. The prices on the whole pcduino line has dropped a lot this past year due to stiff competition from Raspberry pi. This model is smaller than the pcduino3 line, does not have SATA, but does use the Allwinner H8.

For the record I don’t really believe in crypto currency mining. The ROI does not make sense unless you do this professionally and invest in high end ASIC hardware (and still have the guts to ride out major exchange rate fluctuations). However, cpuminer is an interesting metric to get relative performance data on wildly different hardware platforms and architectures.

The bottom line: cpuminer running on the pcduino8 uno cores (8 of them) produces about 1.6 to 1.7 khashes/second. The Raspberry pi 2 will do roughly 1.5 khashes/second on four cores.

On a side note, there does not yet appear to be a GPU driver for this board.


img_0878.jpg


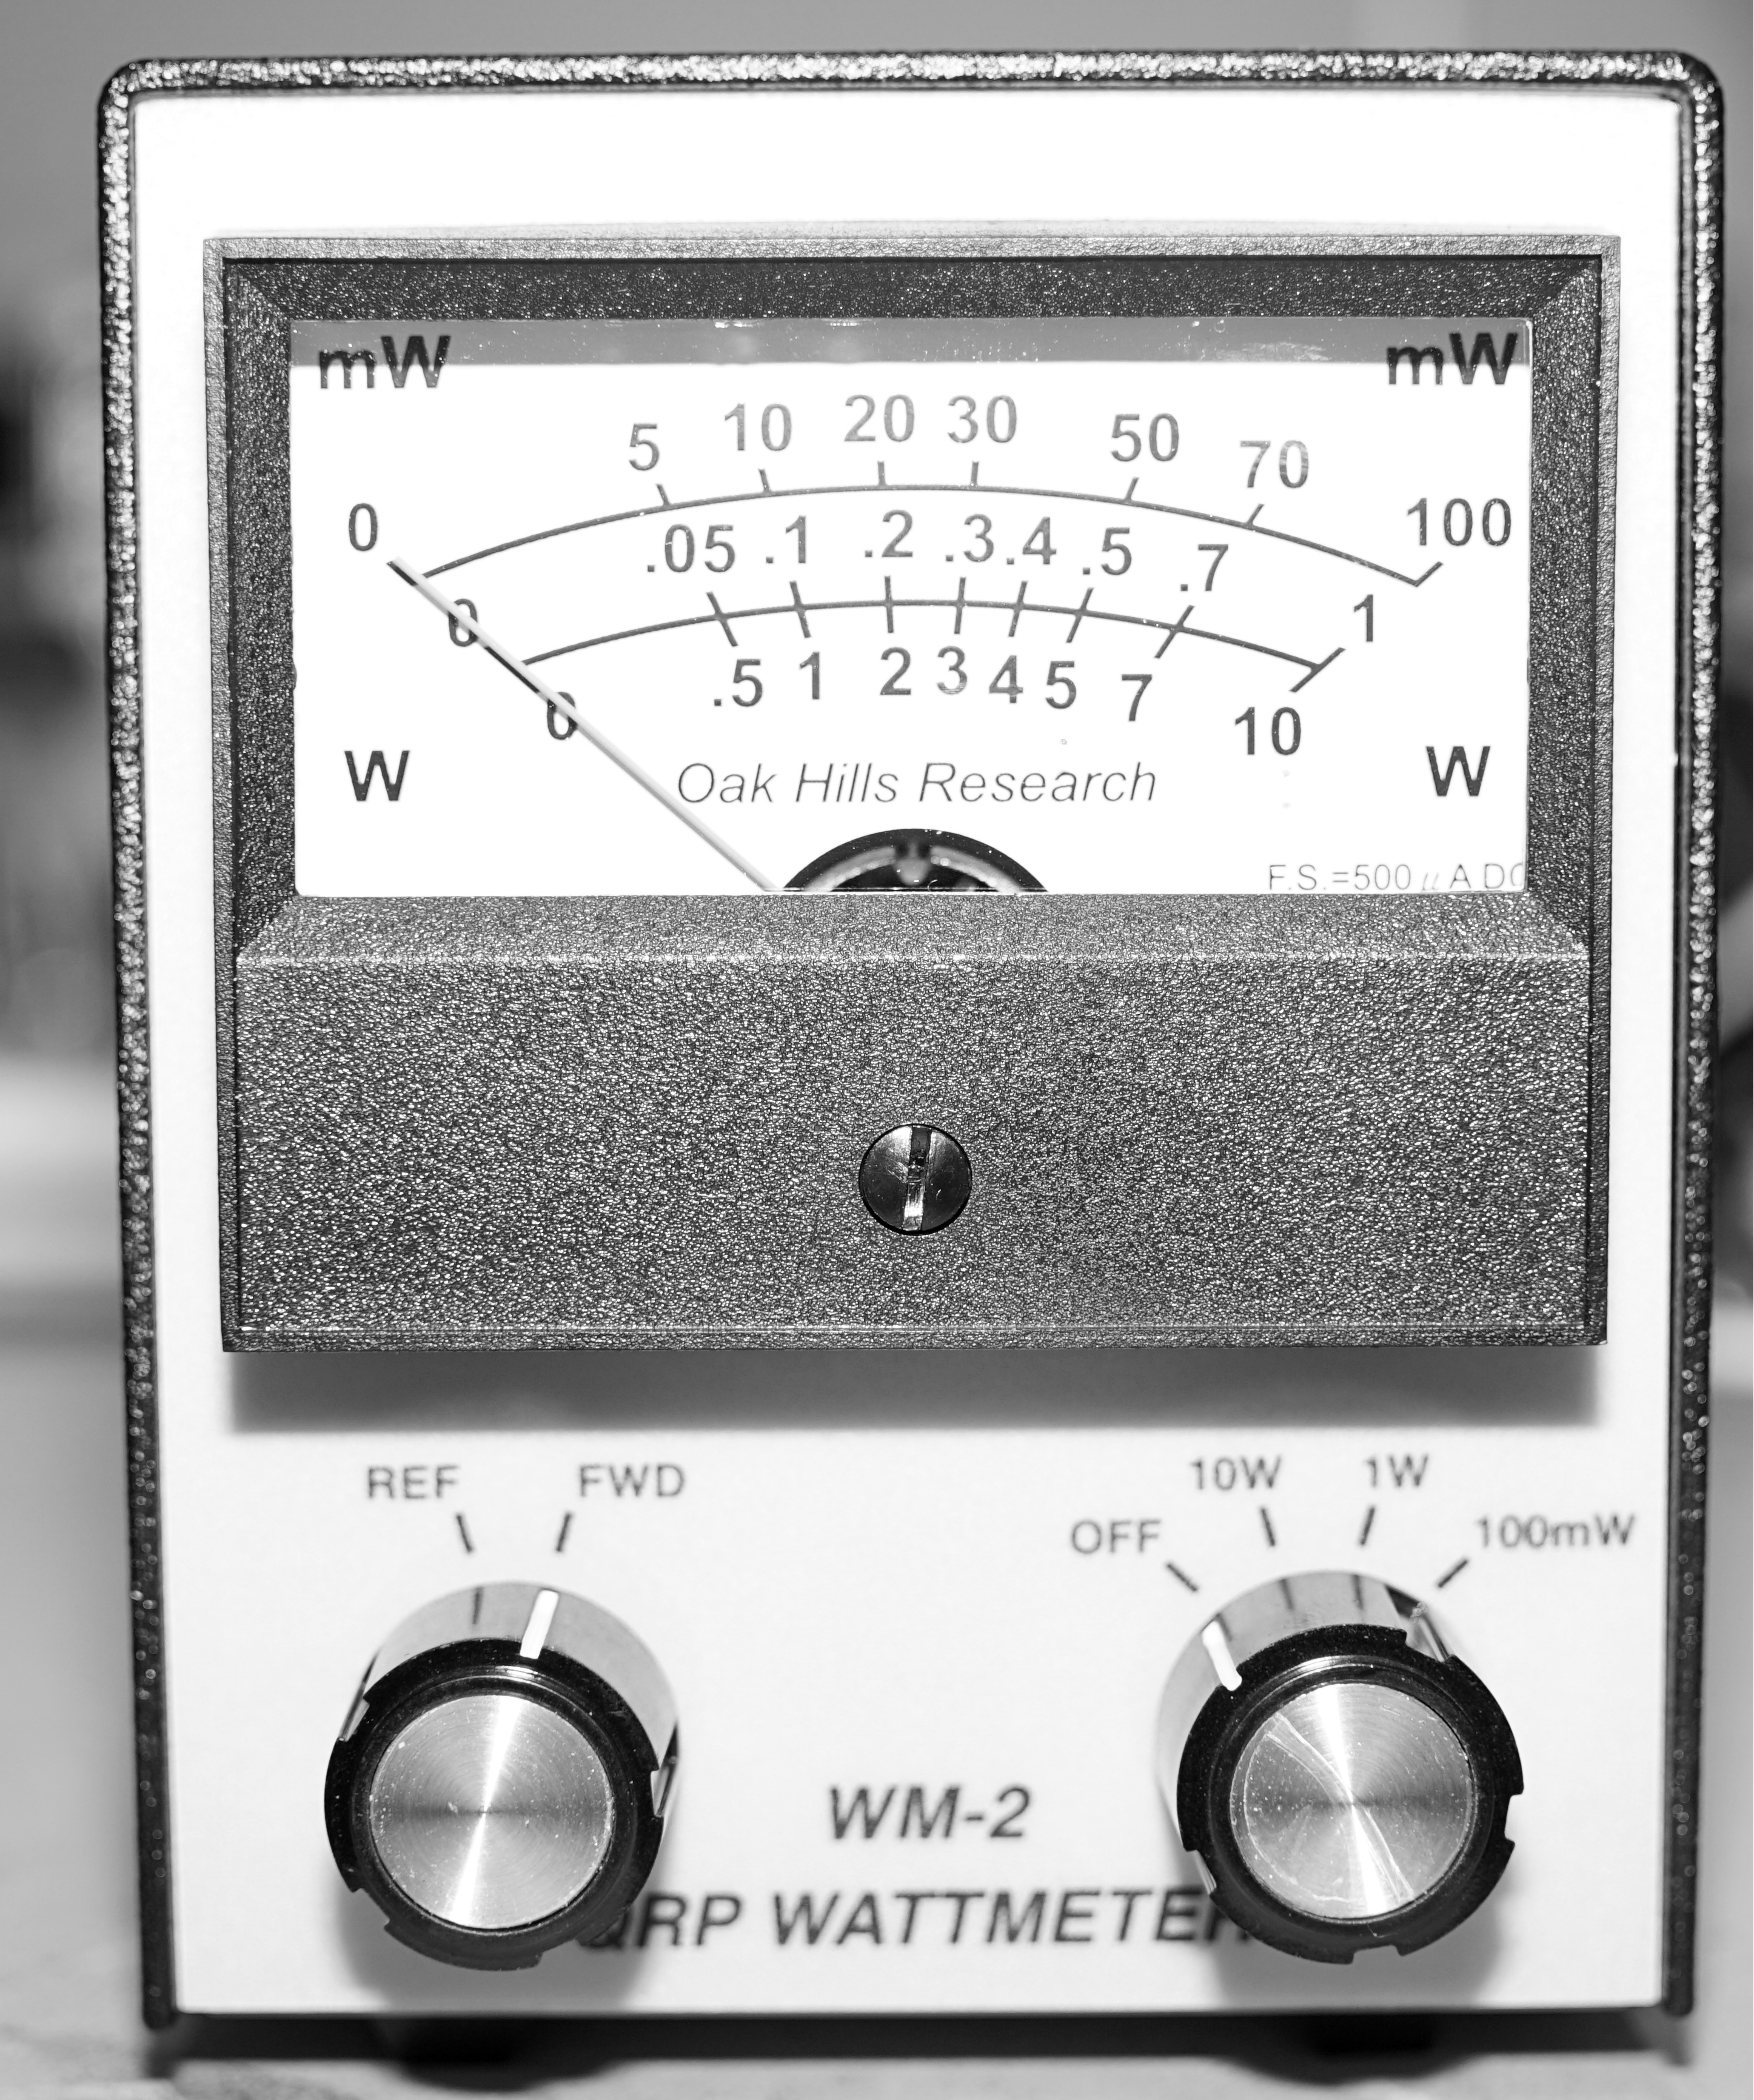
Oak Hills WM-2 QRP Wattmeter

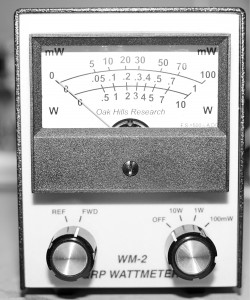
I decided to add a small water meter to my bench. The WM-2 caught my eye as it is made in the USA and boasts 5% accuracy. This little meter will from 5mw to 5 watts. It owns a gorgeous analog meter on its front. I wish my photography would do it justice; turns out its really hard to photograph analog meters because of the reflections and shadows.

The WM-2 comes as a kit. It’s just a handful of parts and can be assembled in a few hours.

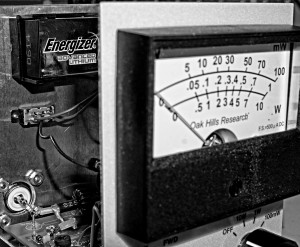
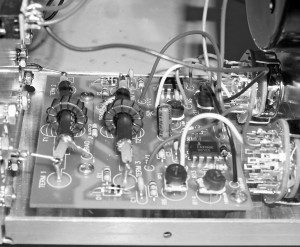
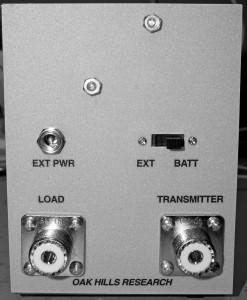
WM2 side WM2 inside WM2 back WM2 front

Epiphyte Build Update #2

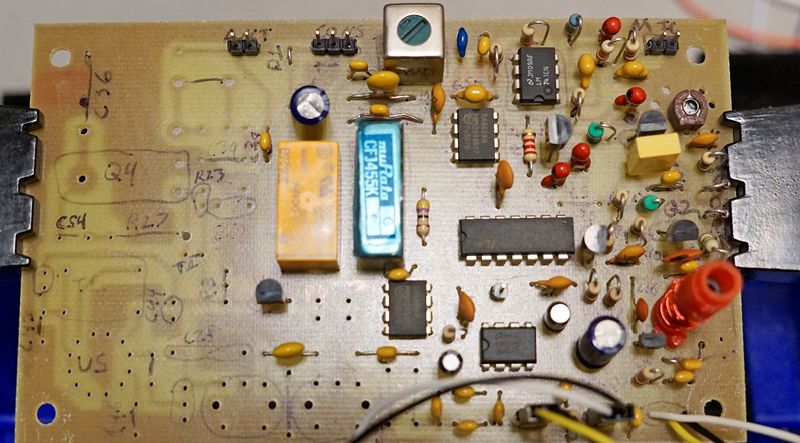
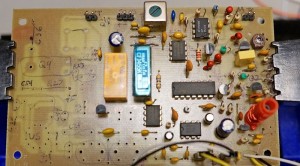
I located a suitable (and cost effective) IF filter from China on ebay. It took me 3 months to take delivery of this part. The part was pulled from some existing piece of equipment. I’m substituting a murata CFJ455K  for the original IF filter. The only difference is the case is ~2mm longer. Unfortunately, this means it’s not pin compatible with the original drilled holes. The pcb has the space to drill new holes and drop the filter in.

I had not expected the IF filter to be easier to find than the CA3020A. I’ve made five purchases of this unit on Aliexpress, and not a single one of the sellers actually has one. If one is willing to pay $35 to $50, luck might be better. At this point, I”m thinking that a custom drop-in amplifier may be a better approach. A simplified push pull amplifier with a buffer will probably suffice as not all capabilities  of the CA3020A are used.

The receiver portion is mostly finished. The LO and VFO are aligned. The LO output is too high, it will need to be reduced by changing the value of C5.


epiphyte with murata filter